
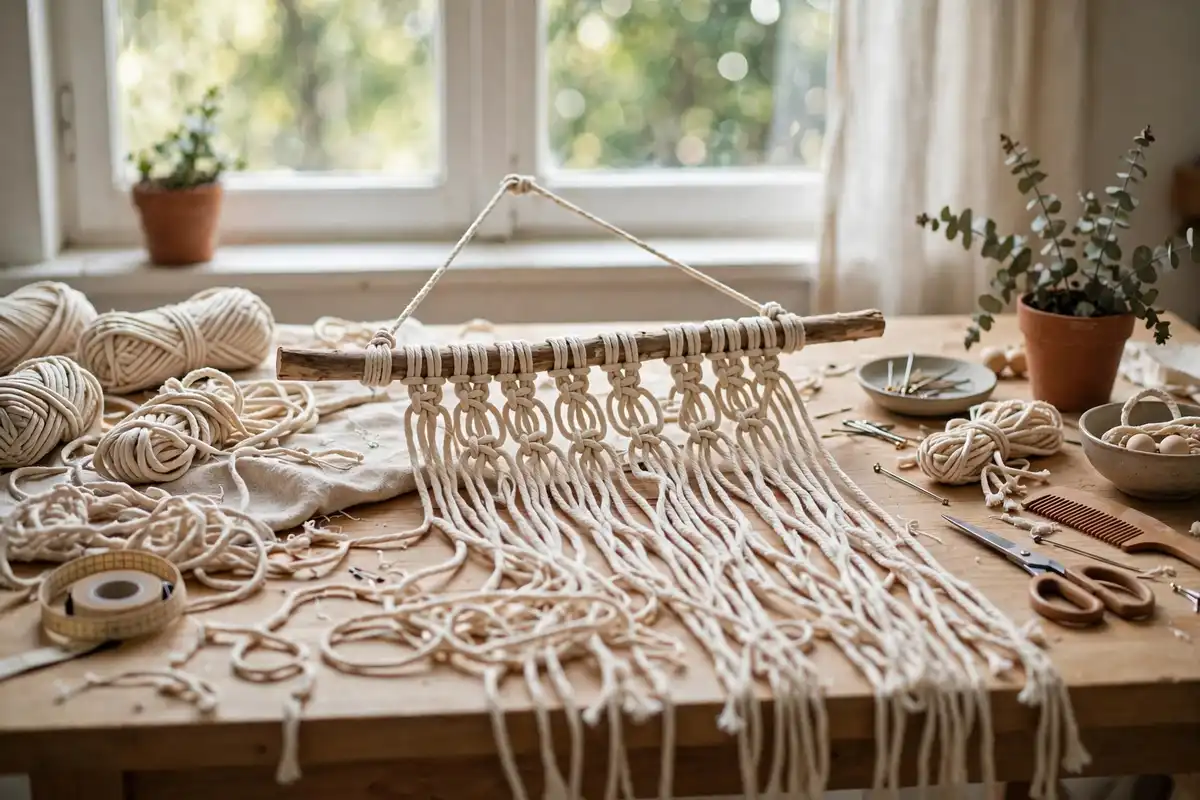
Have you ever walked into a home and admired a beautiful knotted wall hanging above the sofa, or a plant swaying gently in a handmade hanger by the window? That is macrame, and it is one of the most welcoming crafts you can learn. Macrame for beginners is all about tying simple knots in cord to create wall hangings, plant hangers, table runners, and bags. You do not need a sewing machine, paint, or any special talent. If you can tie your shoes, you can learn your first macrame knots today.
Macrame has made a huge comeback across the United States. From farmhouse living rooms in Texas to sunny apartments in California, handmade knotted decor fits almost every style. It is affordable, relaxing, and deeply satisfying, because you can see your project grow knot by knot. In this guide, you will learn what macrame is, which cords and tools to buy, the four essential knots, and how to finish your first wall hanging step by step.
What Is Macrame for Beginners?
Macrame is the art of knotting cord into decorative patterns. Unlike weaving or knitting, it uses no loom and no needles. Instead, you tie knots with your hands, working from a dowel, a ring, or a branch. The word comes from an old Arabic word for fringe, and sailors once used similar knots to decorate their ships. Today, American makers use the same idea to create modern home decor.
For beginners, macrame is wonderfully forgiving. Knots can be untied and redone, and small mistakes often disappear into the pattern. You also need very little space. A hook on a door, a clothes rail, or a curtain rod can hold your project while you work. If you enjoy hands-on crafts like embroidery stitches for beginners, you will love macrame, because it shares the same slow, mindful rhythm.
Essential Macrame Supplies
You can start macrame for less than the cost of a takeout dinner. However, choosing the right cord makes a big difference to how your finished piece looks and feels.
Choosing the Right Cord
Most beginners start with cotton cord, which is soft, easy to knot, and frays beautifully at the ends. A 3 mm or 4 mm single-twist cord is ideal for wall hangings and plant hangers, because it is thick enough to show the knots clearly but still easy on your hands. Braided cord is stronger and better for bags or outdoor pieces, while a chunky 5 mm cord creates bold, dramatic designs. Start with natural, undyed cotton so you can focus on technique before worrying about color.
Tools and Extras
Beyond cord, you need only a few simple tools. A wooden dowel, a driftwood branch, or a metal ring gives your project something to hang from. Sharp scissors cut cord cleanly, and a measuring tape helps you cut even lengths. A comb or a pet brush is useful for brushing out fringe at the end. Finally, a sturdy hook or a clothing rack holds your work at a comfortable height. As with any craft, good color theory for beginners will help you later when you start choosing dyed cords that suit your home.
The Four Essential Macrame Knots
Almost every macrame pattern is built from just a few knots. Learn these four, and you can make dozens of projects.
Lark’s Head Knot
The lark’s head knot attaches your cords to the dowel. Fold a cord in half, place the loop over the dowel, then pull the two ends through the loop and tighten. That is it. Every project starts this way, so practice until the knot feels natural. Keep the tension even so your top row looks neat.
Square Knot
The square knot is the workhorse of macrame. It uses four cords: the two outer cords do the tying, while the two middle cords stay straight. Cross the left cord over the middle cords and under the right cord, then bring the right cord under the middle cords and up through the loop on the left. Tighten, then repeat starting from the right side. Two halves make one full square knot, and rows of square knots create the classic macrame net pattern.
Double Half Hitch Knot
The double half hitch creates diagonal and horizontal lines, including the curved shapes in many wall hangings. Hold one cord as the anchor, then wrap a working cord around it twice and pull tight. Repeat with the next cord along the line. This knot takes a little practice, but it is the key to making diamonds, curves, and chevron patterns.
Gathering Knot
The gathering knot finishes plant hangers and bundles cords together neatly. Wrap a separate cord around the whole bundle several times, thread the end through the loop you left at the bottom, and pull the top end to tuck it inside. Trim the excess, and you have a clean, professional finish.
Step-by-Step: Your First Macrame Wall Hanging
Let us make a simple wall hanging together. Choose a 12-inch wooden dowel and cut sixteen cords, each about 4 yards long. That sounds like a lot, but knots eat up cord quickly, and extra length is always better than running short.
Step 1: Mount Your Cords
Attach all sixteen cords to the dowel with lark’s head knots. You will now have thirty-two working strands hanging down. Hang the dowel on a hook at eye level, and comb the cords straight so they hang evenly.
Step 2: Knot the First Rows
Starting from the left, tie square knots across the row in groups of four cords. On the next row, skip the first two cords and tie square knots in the gaps, creating a net pattern. Continue alternating rows until your knotted section is about 10 inches long. Keep your tension relaxed and even, and step back often to check the pattern.
Step 3: Add a Diagonal Design
Now try a row of double half hitch knots from each outer edge toward the center, forming a V shape. This simple detail instantly makes your piece look designed rather than plain. If a knot goes wrong, untie it calmly and redo it. No one will ever know.
Step 4: Finish the Fringe
When you are happy with the length, trim the bottom into a V or a straight edge, leaving at least 6 inches of fringe. Comb the fringe gently with a brush until it looks soft and full. Finally, add a hanging cord to each end of the dowel, and your wall hanging is ready. It will look right at home beside other handmade pieces, as in these bedroom wall art ideas.
Easy Macrame Projects After Your First Piece
Once you know the basic knots, many projects open up. A plant hanger uses the same square knots plus a gathering knot, and it makes a wonderful gift. A table runner repeats the wall hanging pattern on a wider scale. Small pieces like coasters, keychains, and jar covers are perfect for using up leftover cord, and they help you practice new knots without a big commitment. Many makers also combine macrame with other media, and mixed media art for beginners shows how different materials can work together beautifully.
Common Mistakes Beginners Make
The most common mistake is cutting cords too short. As a rule, cut each cord four times the finished length of your project, and more for dense knot patterns. Another mistake is pulling knots too tight, which makes the piece stiff and puckered. Aim for firm but relaxed tension. Beginners also sometimes skip measuring, which leads to a lopsided design. Taking five minutes to plan your pattern saves an hour of untying later. Finally, do not compare your first piece to photos online. Those makers started exactly where you are.
Caring for and Displaying Macrame
Macrame is easy to care for. Dust it gently with a dry cloth or a low vacuum setting, and keep it out of direct sunlight to prevent fading. If it gets dirty, hand wash it gently in cool water and let it air dry. For display, hang pieces where they can be seen but not constantly brushed past, such as above a console table or beside a reading chair. You can also pair a wall hanging with framed art or a journal display, using ideas from junk journal ideas to build a creative corner that feels personal.
Turning Macrame Into Extra Income
Many beginners eventually sell their work. Plant hangers and small wall hangings sell well at craft fairs and online shops, because buyers love handmade, natural decor. Start by making pieces for friends, photograph them in good light, and price them to cover your cord and your time. If you want to learn how artists price and present their work, read about how to sell art online. Even a few sales a month can fund your next batch of cord.
Macrame also pairs well with other handmade crafts. A knotted hanger holding a hand-painted pot, for example, combines two skills into one gift. You can explore color and surface design through acrylic pour painting for pots, or try resin art for beginners for beads and accents. Simple hand-lettered tags, inspired by calligraphy for beginners, add a lovely finishing touch, and folded paper decorations from origami for beginners make charming additions to a craft fair table.
Conclusion: Tie Your First Knot Today
Macrame for beginners is a craft that rewards patience with beauty. You need only cord, a dowel, and four knots to begin. Start with a small wall hanging, enjoy the rhythm of knotting, and do not worry about perfection. Each project will teach your hands something new.
Cut your cords today, hang your dowel, and tie your first row of square knots. By the weekend, you could have a handmade piece on your wall that you made with your own two hands, and that feeling is hard to beat. If you enjoy making soft, handmade home decor, rug tufting for beginners is another cozy fiber craft to try next.


