
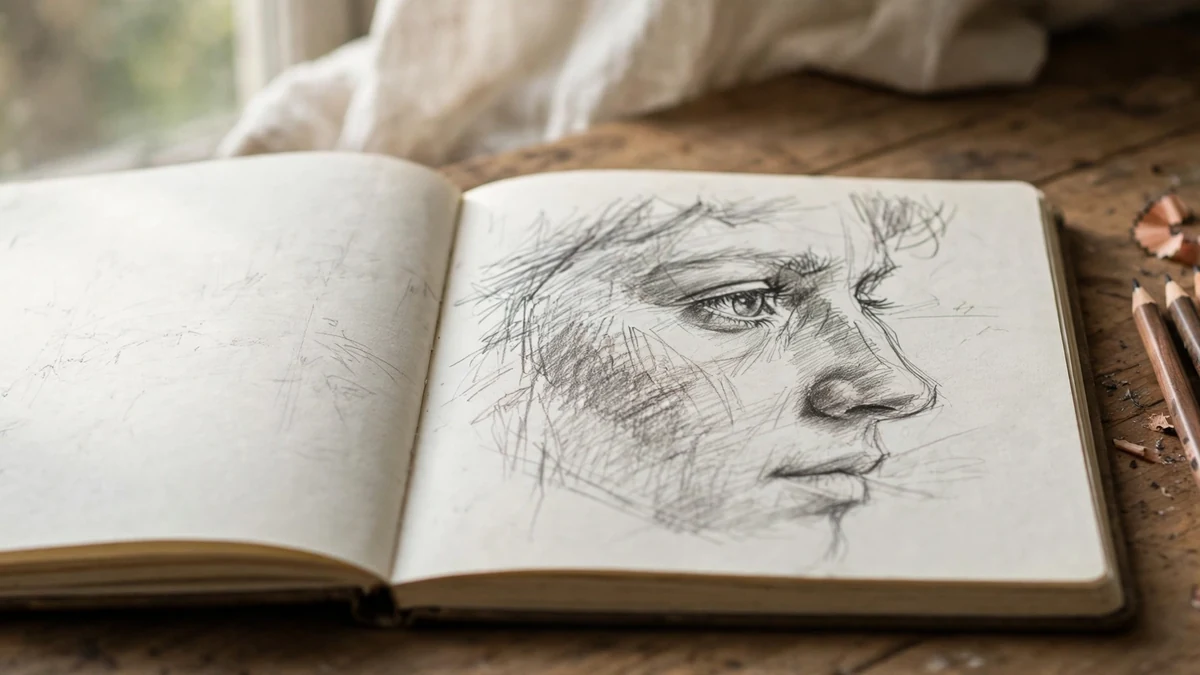
Drawing a face that actually looks like a face is one of the most satisfying moments in any artist’s journey. Most beginners quit before they get there — not because they lack talent, but because they draw the eyes first and hope the rest of the head falls into place. It never does. This guide on how to draw faces reverses the process: learn the structure of the human head first, place the features, then bring everything to life with shading.
How to Draw Faces: Start with Proportions, Not Features
Ask a beginner how to draw faces and most will say “draw the eyes first.” Professional illustrators do the reverse. They block in the skull, map the landmarks, and only then commit to features. The reason is simple: a face is a three-dimensional object, and every feature sits at a specific address on that object. Once you know the addresses, the features almost place themselves.
The average adult head divides vertically into equal thirds: hairline to eyebrows, eyebrows to nose base, nose base to chin. The eyes sit on the horizontal midline of the skull — halfway between the top of the head and the chin, not near the top like most beginners assume. Keep these landmarks in mind and your portraits will instantly look more believable.
Proportions also shift with the angle of the head. A three-quarter view compresses the far side of the face, while a profile collapses everything into one line. Beginners should master the front view and the side view before attempting three-quarter portraits, because each angle rebuilds the same landmarks on a different plane. If you are also exploring paint, our acrylic painting techniques for beginners will help you translate these same drawing skills onto canvas.
The Loomis Method: A Simple Framework for Beginners
Andrew Loomis, the legendary American illustrator, created the most widely taught system for drawing the head, and it remains the fastest way for beginners to learn how to draw faces with correct structure. The method starts with a ball — a simple sphere that represents the cranium — then slices off the sides to create the flat planes where the face’s sides turn. Finally, you attach a jaw shape to the lower portion of the ball to form the face’s lower half.
Here is the method in practice. Draw a circle, then a horizontal brow line and a vertical center line for symmetry. Cut angled slices off both sides of the circle, ending at cheekbone level. Then attach a tapered jaw block beneath the circle, its bottom edge sitting about one radius below the circle’s bottom. You now have a head at any angle — tilt the ball and the whole face follows.
The beauty of the Loomis method is that it survives every angle and expression. Practice drawing the head from the front, from the side, and tilted down until you can do it from memory. Artists who later move to digital portrait work find this same framework essential — see our Procreate drawing tutorial for carrying the method onto the iPad.
Step-by-Step: How to Draw a Face from Start to Finish
With the framework in place, here is the exact sequence to follow for every face you draw. Do not skip steps — the order is what makes the process reliable.
Step 1: Block the head. Draw the Loomis ball, brow line, center line, and jaw block. Keep every line light — these are construction lines you may erase later.
Step 2: Place the features using landmarks. Eyes sit on the brow line with one eye width between them. The nose base lands halfway between brow line and chin. The mouth center sits one-third of the way from nose base to chin. Mark these with tiny dots first.
Step 3: Draw the eyes. Sketch almond shapes on the brow line, add irises and pupils, and suggest the upper lid with a slightly darker line than the lower. Avoid heavy outlines — real eyes are defined by value, not borders.
Step 4: Draw the nose. Two curved lines for the nostrils, a hint of the bridge, a soft shadow under the tip. Beginners consistently overdraw noses; less line work looks better.
Step 5: Draw the mouth. Sketch the line where the lips meet first, then build the lip shapes around it. The upper lip is typically thinner and darker in value than the lower.
Step 6: Add hair and ears. Hair is a mass, not strands — draw the overall hairstyle shape first, then carve in strands and highlights. Ears align with the brow line and nose base. Erase construction lines, then shade. For painters ready to take portrait skills further, our guide to oil painting techniques for beginners shows how portrait structure transfers to oils.
Drawing Eyes That Look Alive
The eyes carry most of a portrait’s likeness. A common beginner error is drawing both eyes as identical symbols. In reality, the upper lid curves down at the inner corner while the outer corner lifts slightly; the iris is partially covered by the upper lid in a relaxed gaze; and the pupil carries a small highlight that gives the eye its wet, alive quality.
Eyelashes grow in clumps, not single lines, and they follow the curve of the lid. Draw them with quick, tapered strokes that flick outward. Eyebrows frame the eye and tell half the emotional story of the face — draw them as a mass of short strokes following the brow bone’s shape, darker and denser toward the nose. Reference photos make an enormous difference here; the same lighting awareness that powers golden hour photography tips applies when choosing a reference photo with clear, soft shadows.
How to Draw the Nose Without Overdoing It
The nose defeats more beginners than any other feature because they try to draw its outline. In real life, the nose has no outline — it is a form defined by light and shadow. Train yourself to draw the shadows and planes instead of the edges.
Start with the two nostril wings as soft, curved shapes and a gentle line for the shadow under the nose tip. The bridge of the nose is often just one soft line on the shadow side and nothing at all on the lit side. Blend the tones gradually; the nose should feel like a gentle bump emerging from the face’s mid-plane rather than a separate object pasted on. When you shade the nose correctly, viewers will “see” nostrils and a tip even where you drew almost no lines — a lesson in the power of value that also underpins great watercolor techniques for beginners.
Common Mistakes When Learning How to Draw Faces
Mistake 1: Eyes too high. Remember the midline rule. If your portraits look baby-like, the eyes are probably sitting too high on the skull. Drop them to the halfway point and the age of your subject will mature instantly.
Mistake 2: Floating features. Every feature must connect to the structure. Eyes that do not follow the brow line’s curve, or a mouth that ignores the chin’s angle, will look pasted on. Always draw the feature ON the head’s plane.
Mistake 3: Overworked outlines. Heavy, uniform outlines flatten a face. Vary your line weight: darker where forms turn into shadow, lighter where light grazes the surface. Better yet, replace outlines with value edges.
Mistake 4: Symmetry obsession. Real faces are not perfectly symmetrical — the eyes differ slightly, the mouth tilts a hair. Chasing perfect symmetry makes portraits look robotic. Get the construction symmetrical, then let the features relax into their natural asymmetry.
Mistake 5: Neglecting the skull. Beginners draw the face and forget the cranium. The top and back of the head are still there under the hair — block the full skull first and your hairstyles will sit correctly. Structure before decoration, every time.
Shading Techniques That Make Faces Look Three-Dimensional
A flat line drawing becomes a portrait through shading. Learn the five-value system: highlight, light, mid-tone, core shadow, and reflected light. On a face lit from the side, the forehead and cheekbone catch the highlight, the temple and jaw turn into core shadow, and the shadow side picks up a faint reflected glow.
Work from general to specific. Lay in the big shadow shapes across the whole head with the side of your pencil, then refine their edges — most facial shadow edges are soft, not hard. Finally, deepen the darkest accents: nostrils, mouth corners, the shadow under the lower lip, and the eye sockets. Squint at your drawing frequently; squinting reveals whether your values are grouped correctly.
Blend with caution. A blending stump smooths graphite beautifully, but over-blending erases the value structure you just built. Blend lightly, then re-establish the darkest darks and lightest lights. The contrast between smooth skin and textured hair is what gives a portrait its tactile realism.
A 7-Day Practice Plan for Drawing Faces
Day 1: Draw twenty Loomis heads — front view only, no features. Speed matters more than perfection; you are training your hand to feel the skull.
Day 2: Add feature landmarks to ten heads: brow line dots for eyes, nose base, mouth line. Check every placement against the landmark rules.
Day 3: Draw eyes all day. Fill a page with eyes at different angles, focusing on the lid curves and highlights rather than the iris.
Day 4: Draw noses and mouths. Practice the shadow-based nose approach and the lip-meeting-line method until they feel natural.
Day 5: Draw three complete faces from reference photos, following the full six-step sequence. Time yourself — aim for thirty minutes each.
Day 6: Shade one portrait fully using the five-value system. Photograph your progress at each stage to see the values build up.
Day 7: Draw a self-portrait from a mirror or photo, then compare it to your Day 5 work. The improvement will shock you — and it is only week one. Once faces feel comfortable, branch into new territory: our guide to starting digital art in 2026 pairs perfectly with traditional portrait skills.
Best Pencils and Paper for Beginners
You do not need expensive supplies, but the right basics help. A set of graphite pencils from 2H (hard, light) through 6B (soft, dark) covers everything a beginner portraitist needs: use the H pencils for construction lines, HB to 2B for general drawing, and 4B to 6B for the darkest accents. A kneaded eraser lifts highlights without damaging the paper, and a blending stump smooths mid-tones.
Paper matters more than most beginners expect. Smooth Bristol paper suits precise, detailed faces; medium-tooth sketch paper grabs graphite better for expressive shading. Standard 80–100 lb drawing paper handles erasing and layering without pilling. Start with an affordable sketchbook you are not afraid to fill — fear of wasting good paper is the real enemy of practice. And if you enjoy working with structured guides in any medium, these graphic design tips for beginners reinforce the same “plan before you polish” mindset.
Finally, give your finished portraits the audience they deserve. Studying master portraits up close teaches lessons no tutorial can; visiting an art exhibition lets you see how the great portraitists handled eyes, noses, and mouths in person. And if portraiture sparks a love of patient handcraft in general, you may enjoy the meditative rhythm of old-fashioned darning. For a look at where portrait traditions are heading, our coverage of modern abstract art trends shows how contemporary artists are reinventing the human face.
Learning how to draw faces is not about talent — it is about structure, landmarks, and deliberate practice. Build the skull, place the features on their addresses, shade with a clear value system, and repeat until your hand knows the way. Your first faces will be imperfect, and that is exactly the point: every imperfect face teaches your eye something new. Keep drawing and keep measuring, and within weeks you will see faces as maps of planes and values waiting to be drawn.


