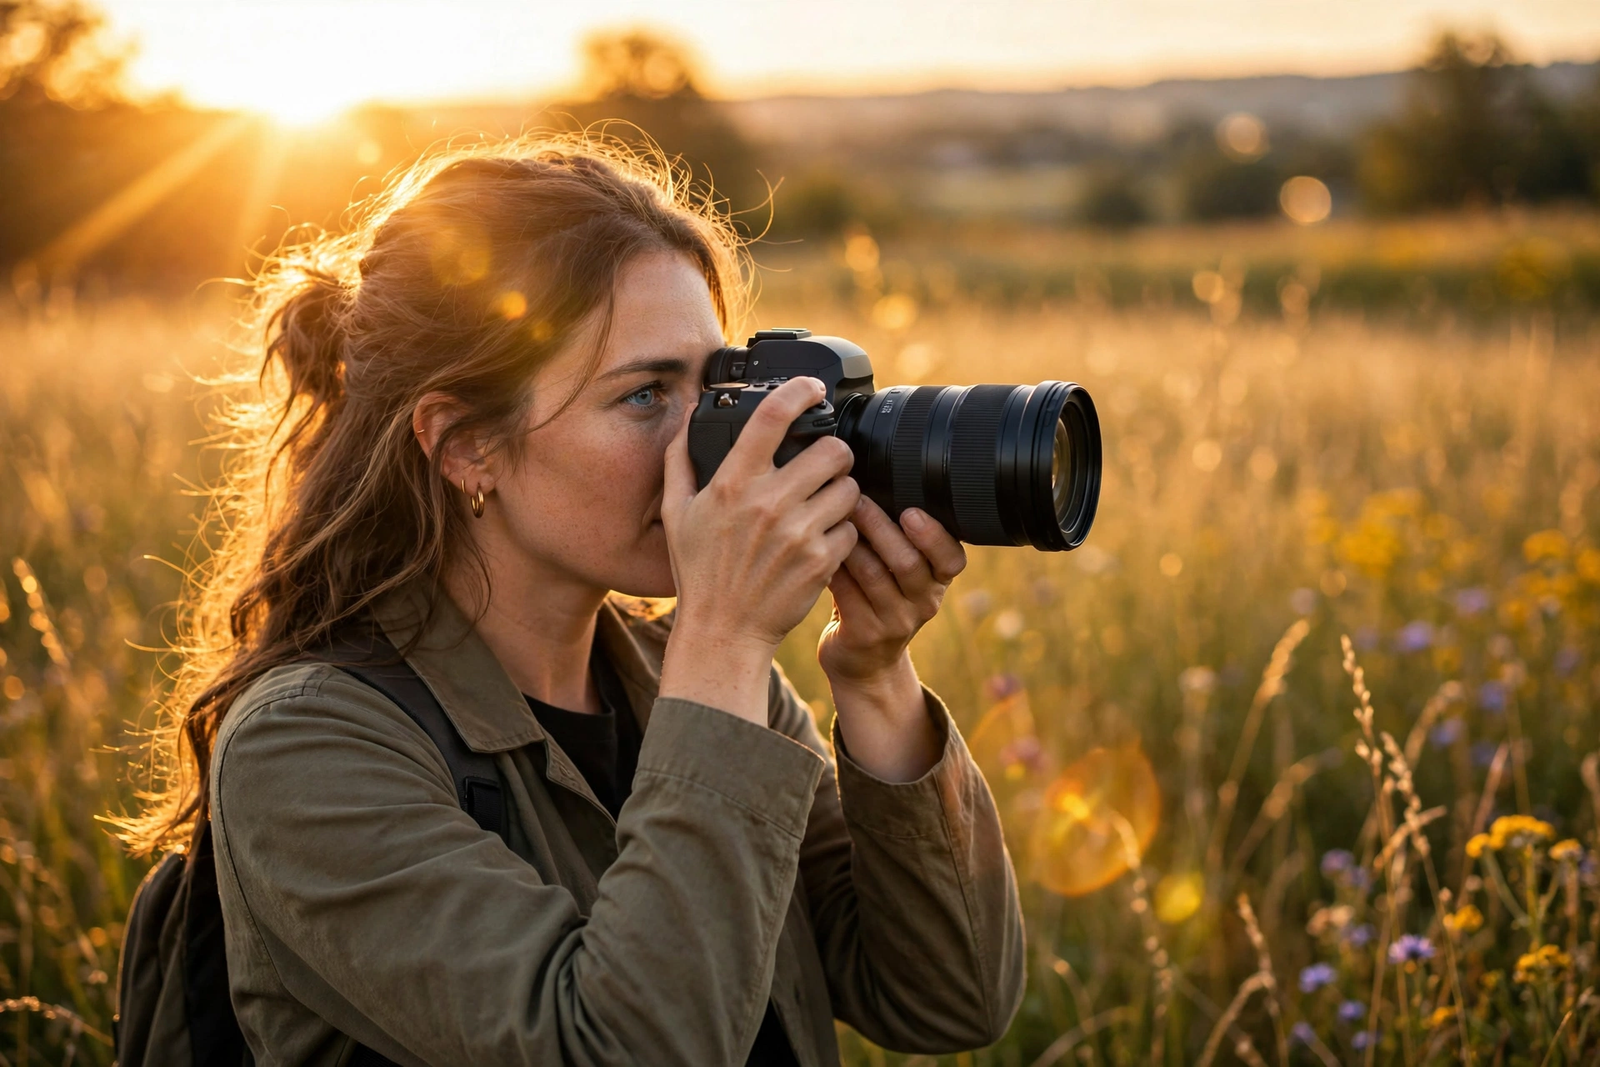
There is a reason photographers obsess over golden hour — that magical window just after sunrise and just before sunset when light turns warm, soft, and impossibly flattering. Whether you shoot with a mirrorless camera or a smartphone, golden hour photography can elevate ordinary scenes into extraordinary images. Whether your creative outlet is photography, painting, or traditional crafts, learning to see light is the skill that changes everything. Here are 10 practical tips to make the most of it.
1. Know Exactly When Golden Hour Happens
Golden hour is not an hour — it is roughly the first hour after sunrise and the last hour before sunset, and its length changes with the seasons and your latitude. Use a free app like PhotoPills or The Photographer’s Ephemeris to pinpoint the exact timing for your location. In winter, the window is shorter but the light is often richer.
2. Arrive Early, Stay Late
Show up at least 30 minutes before golden hour begins. This gives you time to scout compositions, set up your tripod, and catch the sweet transitional light. The very best color often appears in the final 15 minutes — do not pack up early.
3. Shoot in RAW for Maximum Flexibility
Golden hour’s warm tones and high dynamic range push your camera’s limits. Shooting in RAW preserves far more color and shadow detail than JPEG, giving you room to fine-tune white balance and recover highlights in editing. If your phone supports it, enable RAW capture too.
4. Expose for the Highlights
Bright skies fool camera meters into underexposing your subject — or worse, blowing out the sky. Use exposure compensation to protect the highlights (dial in -0.3 to -1.0 EV), then lift the shadows in post. Slightly underexposed golden hour shots almost always look richer than overexposed ones.
5. Use Backlight for Dreamy Portraits
Position your subject between you and the sun for glowing rim light and dreamy lens flare. This technique is pure magic for engagement photoshoots and family portraits — skin tones turn creamy, hair glows, and backgrounds melt into golden bokeh. Use a reflector or gentle fill flash so faces do not go too dark.
6. Chase Long Shadows and Silhouettes
Low sun means long, dramatic shadows. Use them as leading lines, or expose for the sky and let your subject go completely black for a bold silhouette. Strong, recognizable shapes — a person jumping, a tree, a city skyline — make the best silhouettes.
7. Include the Sun — Carefully
Placing the sun in your frame creates starbursts and atmosphere. Stop down to f/11 or smaller for a crisp starburst effect, and partially obscure the sun behind a building or tree branch to control flare. Never stare directly at the sun through your viewfinder for extended periods.
8. Experiment Beyond the Obvious
Once you have mastered classic golden hour shots, push further. Try intentional camera movement for painterly blurs, shoot through foreground elements for natural framing, or explore alternative processes — even niche techniques like infrared photography can teach you to see familiar light in unfamiliar ways.
9. Edit With a Light Touch
Golden hour photos need less editing than you think. Warm up the white balance slightly, lift shadows gently, and add a touch of clarity — then stop. Over-saturated, over-processed sunsets look dated fast. Aim for the scene as your eyes remember it, not a fantasy version.
10. Print Your Best Work
Golden hour images deserve better than a phone screen. Printing your favorites — even as affordable 8x10s — teaches you what makes an image truly strong. Learn the basics of printing your photos so colors stay true, then build a gallery wall at home to enjoy your best shots every day.
Bonus: Golden Hour on a Smartphone
Do not let the lack of a “real” camera stop you. Modern phones handle golden hour beautifully if you help them a little. Tap to focus on your subject, then drag the exposure slider down slightly to protect those glowing highlights. Use portrait mode for creamy background blur, and try your phone’s night mode as the light fades — it can extend your shooting window by 20 minutes. A tiny clip-on wide-angle lens opens up landscapes, and a pocket tripod keeps everything sharp when shutter speeds drop.
Common Golden Hour Mistakes to Avoid
The biggest mistake is only shooting the sunset itself while ignoring the world the light falls on — turn around and photograph what the golden light touches. Second, do not rely on auto white balance alone; it often cools down the warmth you came for, so set a custom Kelvin value around 6000–7000K or adjust in post. Third, watch your backgrounds: a gorgeous sky cannot save a cluttered composition. Move your feet, simplify, and let the light be the star.
Golden hour photography rewards one thing above all: showing up. Check the timing, charge your batteries, and get outside. Bookmark this guide and revisit it before your next shoot — the light will do the rest, as it always does.