
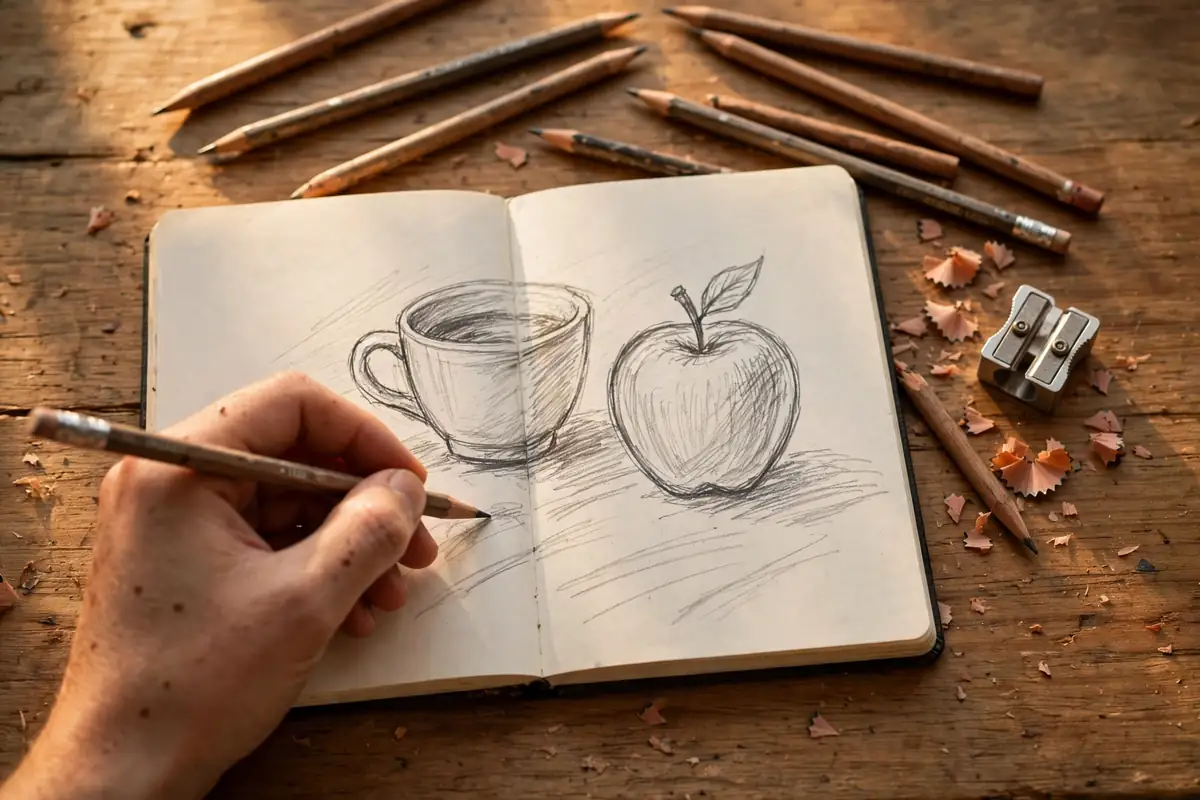
Sketching for beginners sounds simple, yet many new artists freeze when they face a blank page. What should you draw? How hard should you press? And why does the sketch never match the picture in your head? The good news is that sketching is a trainable skill, not a mysterious gift, and this guide shows you exactly how to build it.
A sketch is a fast, loose drawing that captures the essentials of a subject. Unlike a finished artwork, a sketch welcomes mistakes, because each wobbly line teaches your eyes to see more accurately. Professional illustrators, architects, and fashion designers all begin their ideas as rough sketches.
By the end of this guide, you will know which supplies to buy, how to hold your pencil, and which daily exercises turn shaky first attempts into confident drawings. Grab a sketchbook, and let us begin.
What Is Sketching, Exactly?
Sketching is drawing in its most honest form. You work quickly, you focus on big shapes instead of tiny details, and you accept that the page is a place to think rather than perform. Because the pressure is low, sketching becomes the fastest way to improve your overall drawing ability.
Think of sketches as visual notes. A musician practices scales before a concert, and an artist fills sketchbook pages before a painting. Those warm-up pages build hand control, proportion sense, and patience all at once.
Many beginners later turn their favorite sketches into finished pieces. A pencil study can become a painting, a print, or even a digital illustration, which is why strong sketching habits support every other medium you try.
Essential Sketching Supplies for Beginners
First, buy a sketchbook with smooth or lightly textured paper around 70 to 100 pounds. Heavy paper survives erasing, while a medium size, such as 9 by 12 inches, gives your arm room to move. Avoid tiny pocket books at first, because cramped pages encourage cramped lines.
Next, pick up a small range of graphite pencils: an HB for light construction, a 2B for general drawing, and a 4B or 6B for rich darks. Add a kneaded eraser, a basic sharpener, and a blending stump, and your kit is complete for under the price of a pizza night.
Later, you can experiment with charcoal, ink pens, or toned paper. Our breakdown of charcoal drawing techniques is a great next step once basic pencil control feels comfortable.
How to Hold the Pencil and Control Your Lines
Most beginners grip the pencil like a pen and draw from their fingers. Instead, try the overhand grip: rest the pencil across your fingers, guide it with your thumb, and draw using your whole arm. This grip produces longer, smoother lines and looser shading.
Practice three core strokes daily. Draw straight lines across the page, then rows of circles, then smooth curves that swell and taper. These drills feel boring for two minutes, yet they transform your line quality within a couple of weeks.
Line control matters in every subject. The same confident strokes appear in hand studies, portraits, and even lettering practice, as you can see in our calligraphy for beginners guide, where stroke pressure shapes the whole art form.
The Five Foundations Every Beginner Sketch Needs
1. Shape
Every object reduces to circles, squares, cylinders, and cones. A mug is a cylinder, an apple is a sphere, and a house is a box with a triangular roof. When you sketch the simple shapes first, the details have a solid structure to sit on, and your drawings stop looking flat.
2. Proportion
Proportion means how the parts relate in size. Measure with your pencil: hold it at arm’s length, close one eye, and compare lengths with your thumb. This classic trick keeps heads, bodies, and objects in believable ratios, and it is the same measuring habit taught in our guide on how to draw faces.
3. Light and Shadow
Shading gives your sketch volume. Find the light source, keep the lit side light, and build the shadow side with smooth layers. Squinting at your subject merges details into simple light and dark masses, which makes shading decisions much easier for beginners.
4. Line Weight
Vary the darkness of your lines on purpose. Use bold lines where objects overlap or sit in shadow, and whisper-light lines where light strikes a surface. This one technique adds instant depth, and it is essential in detailed studies like those in our tutorial on how to draw hands.
5. Observation
Above all, draw what you actually see, not what you think you see. Your brain loves symbols: a generic eye, a generic tree. Slow down, compare angles, and let the real shapes surprise you. Observation is a habit, and every sketch strengthens it.
Your First Sketch: A Simple Still Life, Step by Step
Set a mug, an apple, and a book on a table near a window. First, block in the big shapes with light lines: a cylinder for the mug, a sphere for the apple, and a box for the book. Check the proportions against each other before adding anything else.
Next, refine the outlines and place the mug handle, the apple stem, and the book’s edge lines. Then shade the shadow sides gradually, keeping your strokes in the same direction. Finally, darken the contact shadows under each object so they sit convincingly on the table.
Step back and compare your sketch with the real setup. You will spot mistakes, and that is wonderful progress: seeing errors is the skill that fixes them in the next sketch.
Daily Sketching Exercises That Actually Work
Consistency beats marathon sessions. Ten focused minutes a day will teach you more than three hours once a month, because your hand remembers what it practices daily.
Try the contour challenge: draw an object without lifting your pencil or looking at the page. The results look wild, yet this exercise welds your eyes to your hand faster than almost anything else. Then try timed sketches: two minutes per object, which forces you to capture shapes instead of fussing over details.
Fill pages with subjects you love. Sketch your pet, your sneakers, or characters from your imagination. Fans of Japanese animation often warm up with the construction method from our how to draw anime tutorial, which pairs perfectly with daily sketchbook practice.
Sketching Outdoors and From Photos
Once indoor still lifes feel familiar, take your sketchbook outside. Parks, coffee shops, and farmers markets offer endless free subjects, and sketching people in motion teaches you gesture like nothing else. Keep your lines fast and forgiving, because your subject will move.
Photos are useful too, especially your own. If you shoot reference pictures on your phone, the composition advice in our phone photography tips guide will help you capture clearer, better-lit references worth drawing from.
For landscape sessions, morning and evening light create strong shadows that make sketching easier. Photographers chase the same window, as explained in our guide to golden hour photography, and artists benefit from it just as much.
Turning Sketches Into Finished Artwork
A good sketch often deserves a second life. You can ink it, paint it, or scan it and develop it digitally. Many artists keep a “greatest hits” folder of sketches that later become prints, gifts, or portfolio pieces.
If crafts are your thing, strong sketches also feed hands-on projects. Use them as templates for the layered paper projects in our junk journal ideas collection, or as design drafts before carving a block from our linocut printing for beginners guide.
Digital finishing is equally popular. Scanning a pencil sketch and coloring it on a tablet preserves its energy while adding endless color options, and our Procreate drawing tutorial for beginners walks through that exact workflow step by step.
Keeping a Sketchbook Habit That Sticks
A sketchbook only works if it is within reach. Keep yours where you actually spend time: beside the couch, in your work bag, or next to the coffee maker. Attach the pencil to the book with a clip, so opening it takes two seconds and starting never feels like a project.
Lower the bar on purpose. Tell yourself you only owe the page five lines, and you will usually draw fifty. Date every page, too, because a dated sketchbook becomes a timeline of proof that showing up daily works better than waiting for inspiration.
Common Beginner Sketching Mistakes
The most common mistake is pressing too hard too early. Dark construction lines cannot be erased cleanly, so sketch lightly until the drawing proves itself. The second mistake is starting with details, like eyelashes or wood grain, before the big shapes are correct.
Another trap is comparing your day-ten sketchbook with an expert’s year-ten portfolio. Compare only with your own earlier pages. Steady, dated pages show growth clearly and keep motivation high.
Finally, do not abandon a sketch halfway because it looks wrong. Finish it, note what went off track, and start the next one. Finished ugly sketches teach more than perfect unfinished ones.
Conclusion
Sketching for beginners comes down to a few friendly habits: simple supplies, light lines, honest observation, and a page a day. Master shapes, proportion, shading, and line weight, and every subject, from a coffee mug to a city street, becomes drawable.
Open your sketchbook today and fill one page without judging it. Then do it again tomorrow. Within a month, you will hold proof that your hands can learn anything your eyes can see, one sketch at a time.


