What watercolor wet on wet Means for Artists
Watercolor wet on wet means painting wet paint onto wet paper, and it is the technique behind watercolor’s most beautiful accidents and softest effects. Colors bloom, blend, and feather into each other, creating skies, mist, water, and backgrounds that no amount of careful dry painting can imitate. The technique looks effortless when it works, but it depends on timing, water control, and knowing exactly when to stop touching the paper.
The magic of wet on wet is that the water does much of the work, carrying pigment across damp paper in organic, unpredictable ways. That unpredictability is both the joy and the challenge: the same wash can produce a luminous sky or a muddy puddle depending on how wet the paper is and how much pigment you add. Learning to judge wetness by sheen, touch, and experience is the core skill of this technique. A related guide is watercolor techniques for beginners.
Why watercolor wet on wet Matters
Wet on wet matters because many natural subjects are soft by nature. Clouds have no hard edges, distant hills dissolve into atmosphere, and water reflects light in shifting bands. Painting those subjects with hard, dry edges looks wrong, while a wet wash lets edges soften naturally and gives the painting air and depth. Even in detailed paintings, a wet background can make a crisp foreground subject stand out beautifully.
Timing is everything in wet on wet work, since paper passes through stages from shiny wet to damp to dry, and each stage gives a different result. Very wet paper creates dramatic blooms and wide diffusion, damp paper gives softer, more controlled blends, and nearly dry paper produces textured, broken edges. Experienced painters watch the sheen of the paper and choose their moment rather than painting on a fixed schedule. For more on a nearby skill, see color theory for beginners.
Tools and Materials You Will Need
Start with a small, reliable kit rather than buying everything at once. The items below cover most early projects, and you can add specialty supplies later as your interests narrow. This pairs well with botanical illustration for beginners.
- Cold-press watercolor paper, 140 lb or heavier, that stays wet long enough to work
- Large round or mop brushes that hold plenty of water and pigment
- A spray bottle for rewetting paper evenly
- Two water jars and paper towels for controlling brush wetness
- A palette with wells for juicy, watery color mixes
Key Techniques to Practice
Even wet wash
Wet the paper evenly with clean water, then paint a smooth wash across it with a loaded brush, tilting the paper slightly so the wash flows. An even wet surface gives an even wash, while dry patches will create hard edges and unwanted blooms. You may also enjoy gouache painting for beginners.
Charging color into wet paper
Drop or brush color into a wet wash and let it spread on its own, adding a second color nearby so the two meet and blend softly. Resist the urge to stir the colors with the brush, since the water’s natural movement creates more beautiful transitions than manual mixing.
Wet on wet skies
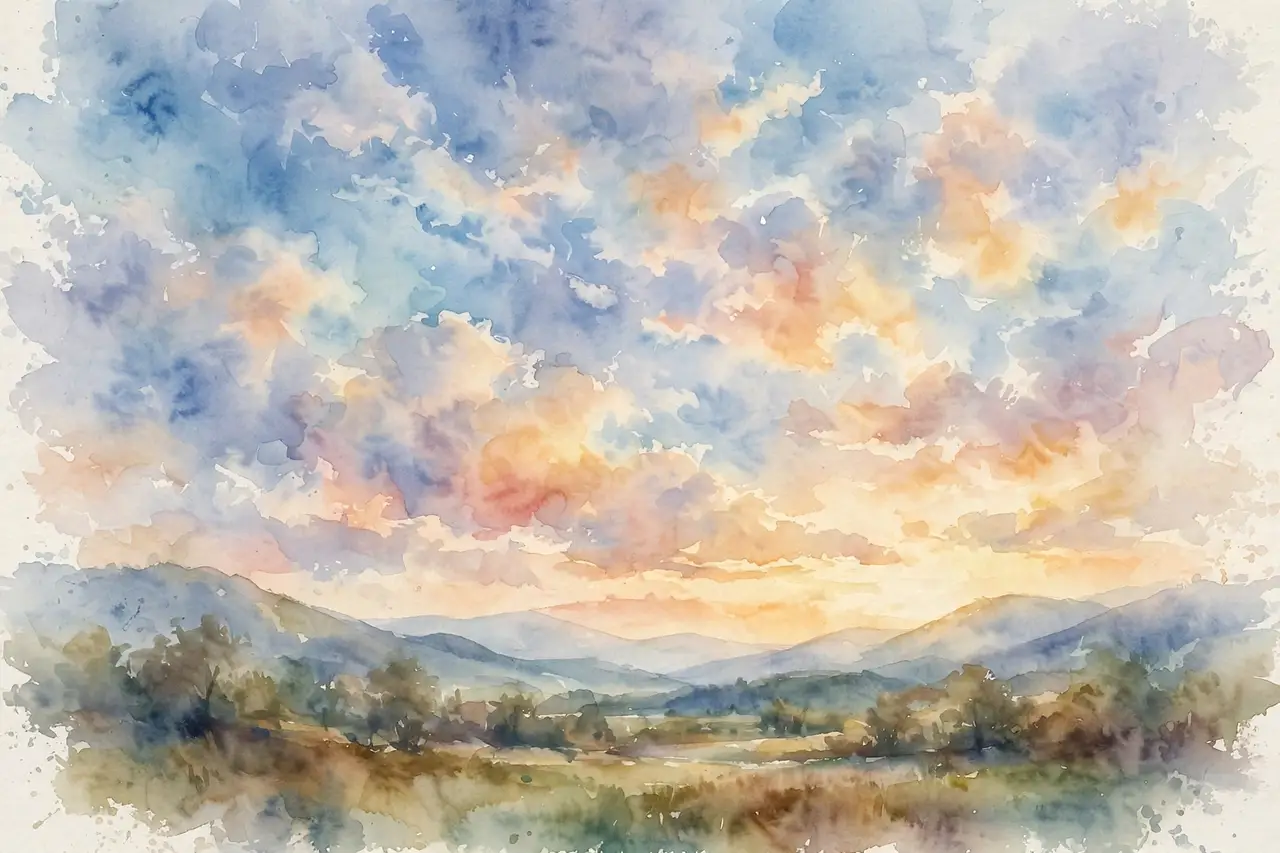
Wet the sky area, paint the blue wash, then charge in warm color near the horizon and white or pale color for clouds, lifting some areas with a dry brush or tissue. Skies painted this way feel luminous and atmospheric, with clouds that look like weather rather than cut-out shapes. A useful companion guide is mixed media art for beginners.
Controlled blooms and textures
Use a very wet brush on damp paper to create blooms, or sprinkle a little water onto a damp wash for textured spots that suggest foliage or stone. Blooms are often called mistakes, but when placed deliberately they become one of watercolor’s most expressive textures.
Step by Step: Your First Project
- Tape the paper down so it stays flat while wet, and plan which areas will be wet and which will stay dry.
- Wet the chosen area evenly with clean water, using a large brush or spray bottle, and wait for an even sheen. For a related approach, see sketching for beginners.
- Charge color into the wet area with a loaded brush, working quickly and letting colors meet naturally.
- Add a second color or lift highlights while the paper is still damp, then stop and let the wash settle.
- Leave the painting completely alone until it is dry, since touching a drying wash creates hard marks that are difficult to remove. This connects naturally with colored pencil drawing.
Common Mistakes to Avoid
- Painting on paper that is too wet, which makes colors run uncontrollably and lose all shape.
- Adding too much pigment to a wet wash, which creates dark, muddy pools instead of luminous color. A helpful next read is landscape painting for beginners.
- Fiddling with a wash as it dries, which leaves hard edges, backruns, and cauliflower blooms in the wrong places.
- Letting the paper dry unevenly, so some areas set hard while others are still wet and colors stop blending.
Practical Tips That Make a Difference
- Practice timing on scrap paper first, noting how long your paper stays shiny, damp, and dry in your room. For broader context, see how to draw faces.
- Tilt the board slightly to guide washes, but keep the tilt gentle so colors do not all run to one edge.
- Use less pigment than you think you need, since wet washes look paler when dry and a second glaze can deepen them later.
- Work on a second painting while the first dries, so you are never tempted to touch a wash too soon. A related topic worth exploring is still life drawing for beginners.
Choosing Materials and Subjects
Paper weight and fiber make a real difference for wet on wet painting, because heavier cotton paper stays wet longer and gives you more working time than thin cellulose paper. If your paper dries too fast, try soaking it briefly, working in a cooler room, or misting the back as well as the front. Large brushes also matter: a mop brush holds enough water to wet a sky in one pass, while a small brush will leave dry streaks that break the wash. This builds nicely on acrylic painting techniques for beginners.
For subjects, start with skies, sunsets, and simple landscapes, since these forgive soft edges and reward atmospheric color. A sunset over water is an ideal first wet on wet painting, because warm and cool colors can meet and blend across a wet wash without any precise drawing. Save detailed subjects for later, and use wet on wet mainly for backgrounds and atmosphere while keeping foreground details for drier, more controlled painting.
A Four-Week Practice Plan for watercolor wet on wet
A short, regular practice plan will improve your watercolor wet on wet faster than occasional long sessions, because skills consolidate between sessions and each week builds on the last. Treat the plan as a guide, not a rigid rule, and adjust the pace to fit your schedule and energy.
- Week one: focus on fundamentals. Spend three short sessions on basic exercises for watercolor wet on wet, keeping each session under an hour and noting what felt easy and what felt difficult in a sketchbook.
- Week two: apply the fundamentals to a simple finished piece using watercolor wet on wet, working slowly and comparing your result with your reference or your earlier exercises at each stage.
- Week three: try a slightly harder subject or a new material related to watercolor wet on wet, and deliberately practice the part you found hardest in week one, since targeted practice improves weak areas fastest.
- Week four: complete a small project that combines everything you practiced, share it with a friend or an online art community for feedback, and choose one skill to carry into your next month of practice.
Frequently Asked Questions
How wet should the paper be for wet on wet painting?
The paper should have an even sheen without puddles of standing water, which is wet enough for colors to spread but not so wet that they run off the page. Test on scrap paper and watch how far a drop of color travels at different wetness levels.
Why do I get cauliflower blooms in my washes?
Blooms, also called backruns, happen when wet paint meets a partly dry area and pushes pigment to the edge. They are caused by uneven drying or by adding wet paint to a damp wash, and they can be avoided by working on evenly wet paper or embraced as texture when placed deliberately.
Can I fix a wet on wet wash that went wrong?
Once a wash is dry, you can glaze over it, lift some color with a damp brush, or crop the painting to the best area. While it is still wet, you can blot gently with tissue, but scrubbing will damage the paper and usually makes the problem worse.
Do I need special paper for wet on wet work?
Heavier watercolor paper, at least 140 lb and preferably cotton, handles wet on wet work much better than thin paper. It stays wet longer, buckles less, and survives lifting and rewetting, so it is worth the investment for this technique.
Final Thoughts
Watercolor wet on wet painting is a conversation between pigment, water, and paper, and the artist’s job is to set up the conditions and then step back at the right moment. Learn your paper’s timing, use water generously but deliberately, and let soft edges do their quiet work, because the most atmospheric watercolors are often the ones where the painter trusted the water to finish what the brush began. For another angle, see how to sell art online.