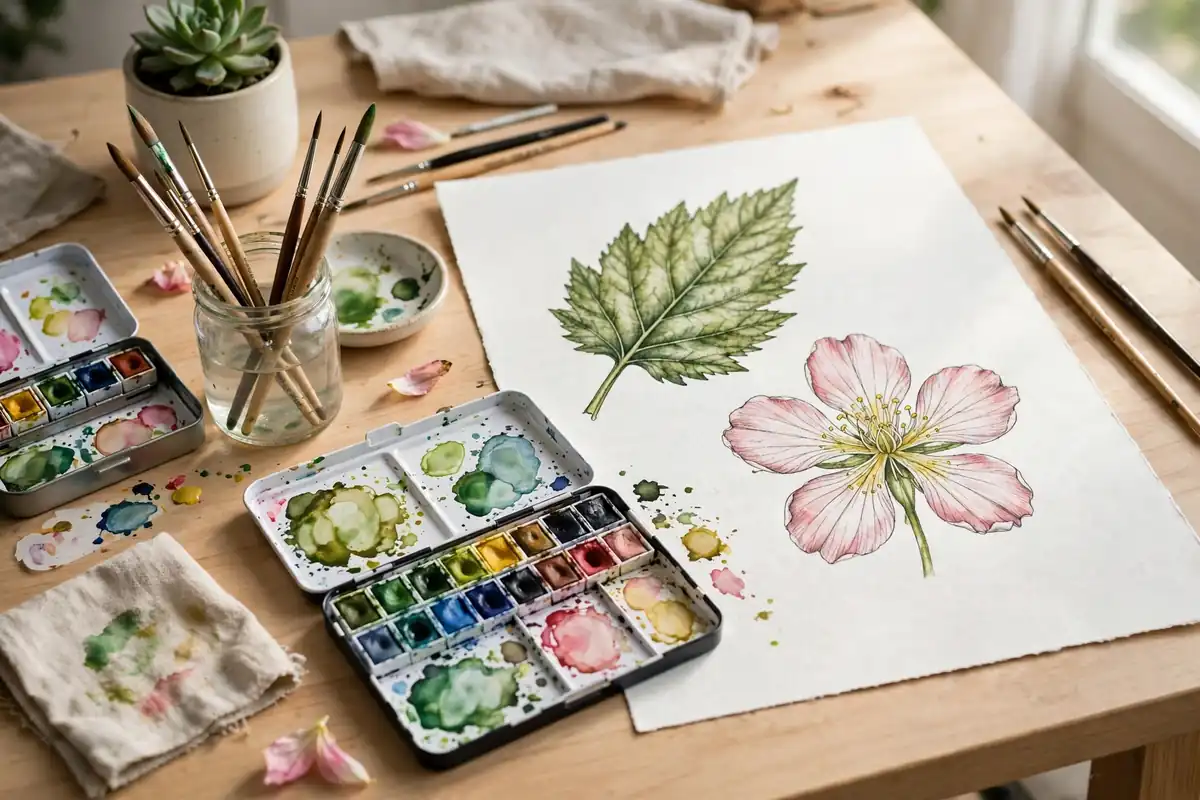
Have you ever stopped to look closely at a leaf and noticed the tiny veins, the gentle curve, and the way light falls across its surface? Botanical illustration for beginners is all about learning to see those small details and turn them into beautiful, accurate drawings. You do not need years of art training or expensive supplies to begin. With a pencil, some paper, and a little patience, you can start drawing plants that look alive on the page.
Botanical illustration is different from a quick sketch. It combines careful observation with artistic skill. Artists who work in this style study real plants, notice their shapes, and draw them with honesty and care. As a result, their work feels both scientific and artistic. In the United States, this art form is growing fast, thanks to garden lovers, nature journals, and online art communities that celebrate slow, mindful creativity.
In this guide, you will learn what botanical illustration is, which tools you need, and how to draw your first plant step by step. We will also cover color, shading, and common mistakes, so you can build confidence from your very first page.
What Is Botanical Illustration for Beginners?
Botanical illustration is the art of drawing plants in a clear, detailed, and beautiful way. Unlike decorative flower art, it focuses on accuracy. A good botanical drawing shows the true shape of a leaf, the way petals overlap, and the texture of a stem. However, it is still art, not a photograph. The artist chooses what to highlight and how to arrange the plant on the page.
For beginners, the goal is not perfection. Instead, the goal is to slow down, observe, and practice. Each drawing teaches you something new about plants and about your own hand. Over time, your lines become steadier, your shading becomes softer, and your drawings start to look more natural. If you already enjoy sketching for beginners, botanical illustration is a wonderful next step because it builds on the same basic skills.
Essential Tools for Botanical Illustration
You do not need a big shopping list to start. In fact, too many supplies can feel overwhelming. Start simple, and add tools only when you know what you need.
Pencils and Paper
A set of graphite pencils in grades HB, 2B, and 4B will cover most of your early work. HB gives you light, clean lines for planning, while softer pencils add rich dark shading. Smooth, heavyweight paper works best because it holds detail without tearing. A sketchbook with 140 gsm paper or heavier is a good choice for practice and finished pieces alike.
Color Tools
When you are ready for color, colored pencil drawing is a friendly place to begin because it is easy to control and layer. Watercolor is another classic choice for botanical art, and it creates soft, transparent washes that suit leaves and petals perfectly. You can learn the basics through a guide to watercolor techniques for beginners before you try them on a plant study.
Helpful Extras
A good eraser, a pencil sharpener, and a ruler are small tools that make a big difference. A magnifying glass helps you see tiny details on small flowers and seeds. In addition, a simple plant press or a small vase lets you keep your subject fresh while you work. Finally, keep your tools in one place so you can start drawing whenever inspiration strikes.
How to Observe Plants Like an Artist
Observation is the heart of botanical illustration. Before you draw a single line, spend a few minutes simply looking at your plant. Notice its overall shape first. Is it tall and narrow, or round and spreading? Then look at the parts: leaves, stems, flowers, and buds. How do they connect? Which parts overlap others?
Next, study the details. Count the petals. Look at the edge of a leaf. Is it smooth, toothed, or wavy? Notice how the veins branch out from the center. These small observations are what make a drawing feel real. Many beginners rush this step, but patient looking saves you time later because your drawing will need fewer corrections. A still life approach helps here too, and you can practice observation with still life drawing for beginners.
Step-by-Step: Draw Your First Botanical Illustration
Let us draw a simple leaf and flower together. Choose a plant with a clear shape, such as a monstera leaf, a daisy, or a sprig of eucalyptus. Place it where you can see it well, with good natural light.
Step 1: Sketch the Basic Shapes
Start with light, loose lines. Draw the overall outline of the plant as simple shapes: ovals for leaves, circles for flower heads, and curved lines for stems. Do not worry about details yet. This stage is like building a skeleton for your drawing, and it helps you get the proportions right before you commit to darker lines.
Step 2: Refine the Outline
Now slowly refine your shapes into the real contours of the plant. Follow the curves of each leaf and petal. Erase extra construction lines as you go. Keep your hand relaxed, and draw from your shoulder for long curves rather than only from your fingers. As a result, your lines will look smoother and more confident.
Step 3: Add Details and Veins
Add the midrib of each leaf, then the smaller side veins. Draw the center of the flower, then each petal around it. Work from large shapes to small details, and check your plant often. If a petal curves away from you, show that curve with a shorter, foreshortened shape. These choices create depth and make the drawing feel three-dimensional.
Step 4: Shade for Form and Light
Shading turns a flat outline into a living plant. First, decide where your light comes from. Areas facing the light stay pale, while areas turned away grow darker. Use soft, layered strokes rather than pressing hard at once. Build up darkness slowly, and leave small highlights where light catches a glossy leaf. Understanding color theory for beginners will also help you choose natural greens and flower colors that look believable.
Adding Color to Botanical Illustrations
Color brings a botanical drawing to life, but it also needs patience. Start with light washes or layers, then deepen the color gradually. Real leaves are rarely a single flat green. Look closely and you will see yellow-green in sunlit areas, blue-green in shadow, and even hints of brown near the stem. Mixing these tones makes your plant look natural instead of cartoon-like.
When you paint a flower, layer petals one at a time. Let each layer dry before you add the next, so colors stay clean. Similarly, when you use colored pencils, build up thin layers and blend gently with a light touch. If you enjoy painting, you may also love landscape painting for beginners, where the same layering skills help you paint trees, fields, and skies.
Common Mistakes Beginners Make
Every beginner makes mistakes, and each one is a chance to learn. One common mistake is drawing what you think a plant looks like instead of what you actually see. For example, many people draw leaves as simple pointed ovals, even when the real leaf has a wavy edge or a split shape. Looking again fixes this quickly.
Another mistake is pressing too hard too early. Heavy lines are hard to erase and make a drawing look stiff. Instead, keep early lines light and build up slowly. A third mistake is skipping practice. Botanical illustration rewards regular, short sessions much more than one long session every few months. Even fifteen minutes a day will improve your eye and your hand. Finally, do not compare your first drawings to professional work. Every skilled artist started with shaky lines, and your progress will surprise you.
Botanical Illustration Ideas to Practice
Once you finish your first plant, try new subjects to grow your skills. Herbs like basil, mint, and rosemary have interesting leaf shapes and are easy to find in a kitchen garden. Wildflowers teach you to handle delicate petals. Vegetables, such as a sliced lemon or a whole artichoke, offer bold shapes and textures. In autumn, fallen leaves give you rich colors and curling forms to study.
You can also keep a nature journal. Draw one plant a week, note where you found it, and write down its colors and details. Over a year, you will build a beautiful personal record of the seasons. If you later want to explore other figure and form studies, figure drawing for beginners teaches similar observation skills with the human form. For softer color work, gouache painting for beginners offers opaque, velvety color that suits botanical studies well.
Sharing and Selling Your Botanical Art
Many beginners wonder what to do with finished drawings. First, share them with friends or in online art groups, where kind feedback can encourage you and point out strengths you missed. Next, consider making prints, greeting cards, or a small portfolio. Botanical art is popular for home decor, wedding stationery, and book illustration, so there is real demand for it. If you want to turn your hobby into income, read about how to sell art online and learn how artists price and present their work.
You can also combine botanical drawing with other media. Try adding a painted background, a hand-lettered plant name, or a pressed flower beside your drawing. Mixing techniques keeps your work fresh, and mixed media art for beginners shows how to combine materials safely and beautifully.
Conclusion: Start Your Botanical Illustration Journey Today
Botanical illustration for beginners is a gentle, rewarding art form that anyone can learn. You do not need talent, only curiosity and practice. Start with one plant, observe it closely, and draw what you see. Use simple tools, build your skills step by step, and enjoy the quiet focus that comes with drawing nature.
Pick a leaf or flower today, set aside twenty minutes, and make your first study. Then draw the same plant again next week and compare the two. You will see progress faster than you expect, and you will never look at a garden the same way again.
A rose is a perfect first flower to practise on, and if you want a focused step-by-step project, see our guide to draw a rose, which breaks the spiral, petals, stem, and shading into simple beginner steps.