
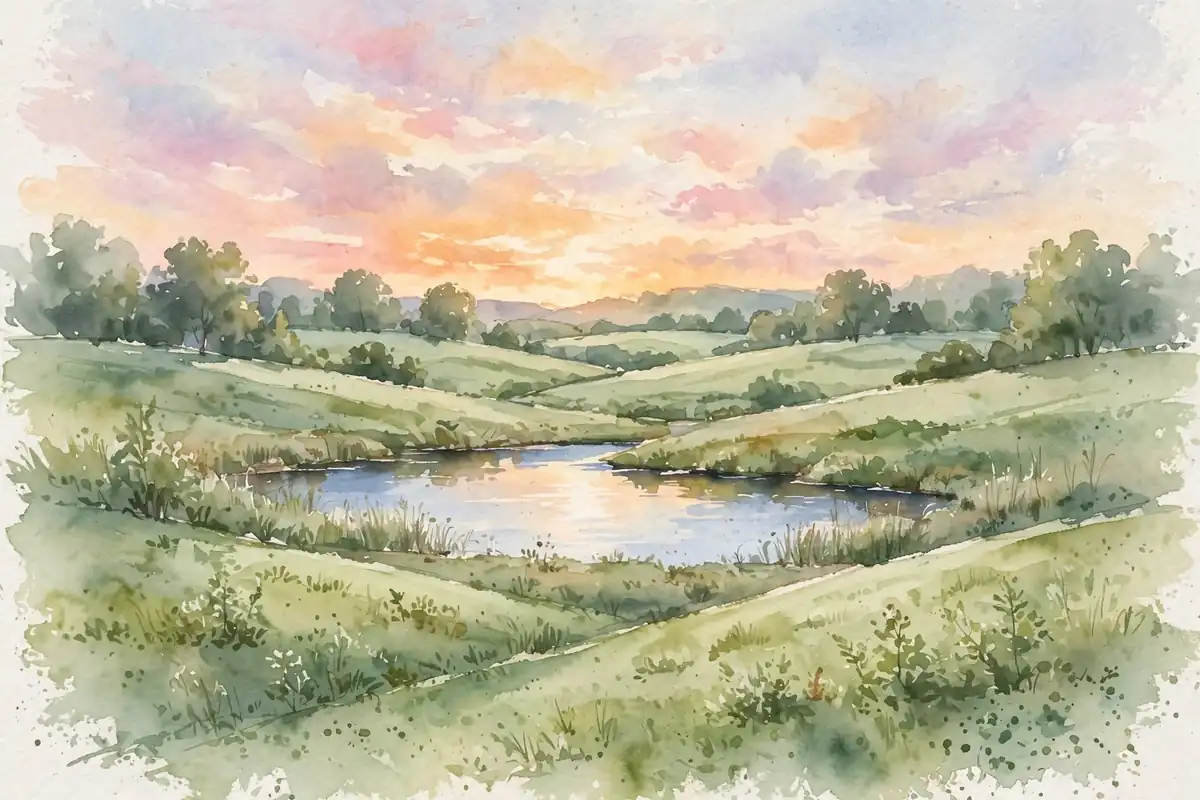
Landscape painting is one of the most relaxing and rewarding ways to begin painting. A good landscape does not need to be complicated. With a few colors and a simple composition, you can create a painting of hills, water, trees, and sky that feels calm, open, and personal. Landscape painting for beginners is mostly about learning a few core ideas: how to plan a composition, how to mix colors that look natural, and how to build a painting in layers from the background to the foreground.
In this guide, you will learn everything you need to paint your first landscape with confidence: the supplies you need, how to choose a scene, how to sketch a simple composition, and how to paint the sky, distant hills, water, and trees step by step. We will also look at common beginner mistakes and a simple practice plan. Whether you prefer watercolor, acrylic, or gouache, the ideas here will work for you.
Why Landscape Painting Is Perfect for Beginners
Landscapes are forgiving subjects, and that is wonderful news for a beginner. If a tree is slightly wider than you planned, it still looks like a tree. If the sky is a little more pink than you expected, it still looks like a sky. Unlike a portrait, where a small error can change the whole face, a landscape stays believable even when it is not perfect.
Landscape painting also teaches you the most important painting skills in a natural way: color mixing when you create greens and blues, depth when you paint distant hills lighter and closer trees darker, and light when you decide where the sun sits. These skills apply to every other kind of painting, so time spent on landscapes pays off everywhere. If you are completely new to painting, our guide to watercolor techniques for beginners is a great companion to this article, and acrylic painting techniques for beginners covers the same foundations in a medium that is easier to correct.
Supplies You Need for Your First Landscape Painting
Keep your first setup simple. Starting with a small kit helps you focus on painting rather than shopping. Here is what you need:
- Paint in a limited palette: a warm and cool version of each primary color, plus white, will mix almost any landscape color you need
- Three brushes: one large flat brush for skies and washes, one medium round brush for general shapes, and one small round brush for details
- Paper or canvas suited to your medium, such as watercolor paper for watercolor or primed canvas for acrylic
- A palette for mixing colors, two water jars for rinsing brushes, and a cloth or paper towel
- A pencil and eraser for a light sketch before you start painting
A limited palette is actually an advantage for beginners: with fewer tubes of paint, you learn how colors mix, and your paintings tend to look more harmonious. If you like thick, creamy paint, gouache painting for beginners explains a medium that combines the ease of watercolor with the opacity of acrylic. For a more playful approach, acrylic pour painting shows how fluid paint can create beautiful abstract landscapes and skies.
How to Choose a Scene for Landscape Painting
The best first landscape is simple. Choose a scene with three clear layers: a sky, a middle distance with hills or fields, and a foreground with something simple like grass, a path, or a few trees. Avoid scenes with buildings, people, or complicated reflections at first. A photo of a quiet countryside view, a lake at sunset, or rolling hills works well.
Light matters as much as the scene itself. Early morning and late afternoon light, often called golden hour, gives landscapes warm colors and long, soft shadows. Our guide to golden hour photography tips explains how this light works, and the same ideas apply when you paint it. Painting the contrast between warm light and cool shadow is one of the fastest ways to make a landscape feel real.
Landscape Painting for Beginners Step by Step
Work from back to front and from light to dark. Start with the sky, then the distant hills, then the middle ground, and finally the foreground details.
Step 1: Sketch a Simple Composition
Before you touch paint, sketch your scene lightly in pencil. Divide your paper into three horizontal bands for the sky, the middle ground, and the foreground, but do not make the divisions equal. Give the sky about one third of the painting and the land about two thirds, or the other way around if the sky is the most interesting part. Then add one focal point, such as a single tree, a small lake, or a winding path, placed slightly off-center.
This quick sketch is your map. Keep the lines light so they disappear under the paint. Thinking about composition before painting saves you from the most common beginner problem: a painting where everything sits in the center and nothing leads the eye anywhere. A simple sketch also connects to drawing skills, and sketching for beginners offers exercises that make this planning stage faster.
Step 2: Paint the Sky
The sky sets the mood for the whole painting, so paint it first while your paper or canvas is clean. For a daytime sky, start with a light blue wash at the top, fading to a paler, warmer color near the horizon. Real skies are deeper overhead and lighter near the horizon, and that gradient alone adds a sense of space.
For clouds, add soft cloud shapes while the paint is still slightly damp, letting the edges stay soft. Keep clouds simple: a few larger shapes with a bright side and a shadow side look more convincing than many small, fussy ones. For a sunset sky, layer warm colors like soft orange and pink near the horizon and let them blend gently into cooler blue above. Blending takes practice, and color theory for beginners explains how warm and cool colors interact, which helps you mix skies that glow instead of turning muddy.
Step 3: Paint Distant Hills and the Middle Ground
Distant hills should be painted lighter, cooler, and softer than anything in the foreground. This effect, called atmospheric perspective, happens because air and moisture between you and distant objects soften their appearance. Mix a little blue and white into your hill color, and keep the edges soft. As hills come closer, make them slightly darker and warmer.
Paint the middle ground next, using mid-tone greens and earth colors for fields, trees, or a winding river. Keep the shapes simple and avoid adding detail at this distance. A group of trees in the middle ground can be a single soft shape with a few darker marks. If you enjoy soft, blended color, pastel drawing techniques teach a similar way of layering color for hills and skies, and charcoal drawing techniques are excellent for practicing value, the lightness and darkness that creates depth.
Step 4: Paint Water and Reflections
Water is simpler to paint than most beginners expect, because it mostly reflects what is above and around it. Start by painting the water with the colors of the sky, slightly darker. Then add horizontal strokes for reflections of trees or hills, keeping them a little darker and less detailed than the objects themselves. Water reflections stretch sideways, not vertically, and that one detail makes water look believable.
Leave a few small horizontal gaps of lighter color in the water to suggest sparkle and movement. Avoid painting every ripple, and avoid making the water a flat, solid color. A calm lake needs only a few gentle strokes, while a moving stream needs shorter, more broken marks.
Step 5: Add Foreground Trees, Grass, and Final Details
The foreground, closest to the viewer, is where you add the darkest darks, the sharpest edges, and the most detail. Paint foreground trees with darker, warmer greens, and suggest branches and leaves with a few confident strokes rather than painting every leaf. Add grass with short vertical strokes in varied greens.
Finally, step back and look at the whole painting from a distance. Check that the sky is the lightest area, the foreground is the darkest, and the middle ground sits between them. Add a small highlight, such as sunlit grass or a bright cloud edge, to draw the eye to your focal point. Then stop: overworking a landscape by adding detail everywhere usually makes it look worse, not better. Once you are happy with a painting, our guide on how to sell art online explains how artists present and sell their work.
Common Mistakes in Landscape Painting
The most common beginner mistake is using green straight from the tube for every tree and field. Real greens vary enormously, from warm yellow-green in sunlight to cool blue-green in shadow, and mixing your own greens gives a much more natural result. Add a touch of red to darken a green instead of reaching for black, which can make colors look dull.
Another common mistake is painting everything with the same level of detail. Distant objects should stay soft and simple, while only the foreground gets detail. A third mistake is placing the horizon line exactly in the middle of the painting, which can make the composition feel static. Moving the horizon up or down creates a more interesting balance. Finally, vary your brushstrokes: a mix of broad washes, medium strokes, and a few small details keeps a painting lively. If you want to explore richer, slower-drying paint for landscapes, our guide to oil painting techniques for beginners covers blending and layering methods that suit landscapes beautifully.
A Simple Practice Plan for Landscape Painting
Paint small and paint often. Small paintings, no larger than a postcard page, let you finish quickly, try new ideas without pressure, and learn faster than one large painting every month. Try painting the same simple scene three times: once in watercolor, once in acrylic, and once as a quick sketch.
Another useful exercise is a sky study on its own, without any land. Spend twenty minutes painting different skies: a clear morning sky, a cloudy afternoon, and a warm sunset. Sky studies build your color-mixing skill and give you ideas for full landscapes later. Keep your studies in a sketchbook to track your progress.
Frequently Asked Questions About Landscape Painting
Which paint is best for a beginner?
Watercolor and acrylic are both excellent for beginners. Watercolor is portable and creates beautiful transparent skies, but it is harder to correct. Acrylic is opaque, so you can paint over mistakes easily, which is why many beginners start with it.
How do I make my landscape look deep instead of flat?
Use atmospheric perspective: paint distant objects lighter, cooler, and softer, and foreground objects darker, warmer, and sharper. Overlap shapes so nearer objects hide part of farther ones. A path or river winding into the distance also leads the eye through the painting.
Do I need to paint outdoors to paint good landscapes?
No. Painting outdoors is wonderful, but painting from photos is a perfectly good way to learn at first. Photos let you work at your own pace, in comfortable light, with time to mix colors carefully. Many artists combine both: they sketch outdoors to understand the light, then finish paintings at home from their sketches and photos.
Conclusion
Landscape painting for beginners is about keeping things simple, observing light and color, and building a painting layer by layer. Choose a simple scene, sketch a balanced composition, paint the sky first, keep distant hills light and soft, and save your darkest colors and sharpest details for the foreground. Mix your own greens, vary your brushstrokes, and know when to stop. If a finished painting turns out well, consider hanging it on your wall. Our ideas for bedroom wall art ideas show how original artwork can transform a room, and your own landscape might be the perfect piece. Pick up your brushes, choose a scene you love, and paint your first landscape today.
If you enjoy painting outdoor scenes, perspective drawing basics will help your landscapes recede naturally instead of looking flat.


