
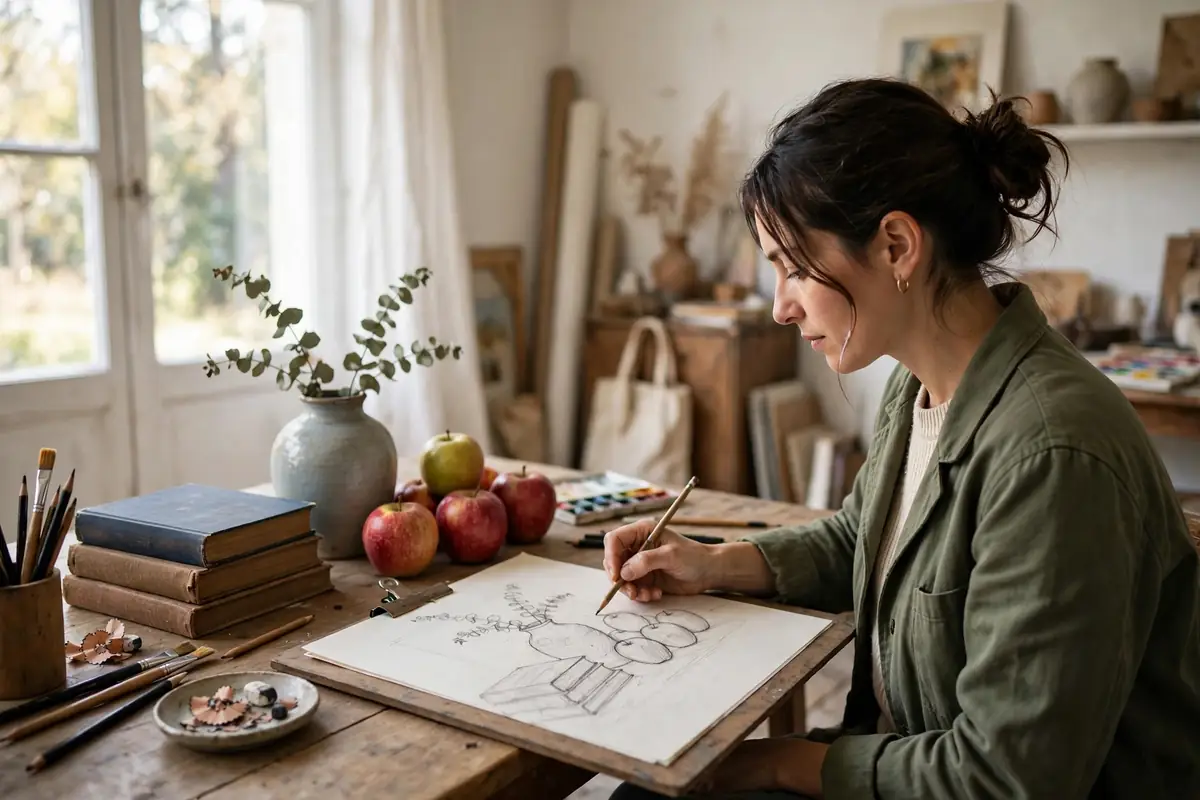
Still life drawing is one of the best ways to learn how to draw, and you do not need fancy equipment or years of experience to start. You simply arrange a few everyday objects, sit down with a pencil, and train your eyes to see shapes, proportions, and light. Unlike drawing from a photograph, a real still life stays put while you study it, so you can compare your lines to the real thing again and again. That slow, honest practice builds the observation skills behind every other kind of drawing, from portraits to landscapes.
If you have ever felt that your drawings look flat or slightly wrong without knowing why, still life practice will show you the reason. Most beginner mistakes come from drawing what you think an object looks like instead of what you actually see. A mug is not just a rectangle with a handle. It has an ellipse at the top, a curve that changes with your eye level, and a shadow that anchors it to the table. When you learn to notice those details, your drawings improve quickly, and the improvement carries into everything else you draw.
What Is Still Life Drawing?
A still life is a drawing or painting of objects that do not move: fruit, cups, bottles, books, flowers, or tools. Artists have used still life setups for centuries because they offer total control. You choose the objects, the lighting, and the viewpoint, and nothing walks away mid-drawing. For beginners, that control is a gift. You can spend twenty minutes on one apple without pressure, and you can return to the same setup tomorrow and see your progress clearly.
Still life drawing also teaches patience in a way that quick doodles do not. When you commit to one arrangement, you start noticing small things: how light wraps around a round orange, how a shadow softens at its edge, or how the space between two objects matters as much as the objects themselves. Those observations are the real curriculum. The finished drawing is only proof that you paid attention.
Choose a Simple First Setup
Start with three objects that are different in shape, size, and surface. A good first group is an apple, a mug, and a book. The apple gives you a round form, the mug gives you straight sides and an ellipse, and the book gives you straight edges and angles. Avoid glass and shiny metal at first, because reflections are hard to read. Matte, solid-colored objects are much easier to shade, and they forgive small mistakes.
Place your objects on a plain table near a window so light comes from one side. A single light source creates clear shadows and makes forms easy to understand. If light comes from every direction, shadows disappear and everything looks flat. Put a plain cloth or sheet of paper behind the setup if the background is busy. Keep the arrangement close enough to see clearly, but leave some empty space around it so your composition can breathe. Before you draw, spend two full minutes just looking. Notice which object is tallest, which is widest, and how much space sits between them.
Start With Big Shapes, Not Details
The most common beginner habit is zooming into details too early. You draw one perfect apple while the rest of the page stays empty, and then the proportions never line up. Instead, block in the whole arrangement first. Lightly sketch the overall shape of each object as a simple form: a circle for the apple, a rectangle for the mug, and a tilted box for the book. These light construction lines are your map, and you can erase or adjust them as you go.
Learning to sketch loosely before committing to dark lines will change your drawings fast. Loose lines let you correct mistakes without tearing the paper or leaving heavy marks. Keep your pencil sharp, hold it further back for lighter strokes, and work from your shoulder rather than your fingers for long lines. When the big shapes look right, you can slowly refine the edges and add the smaller features, like the stem of the apple or the handle of the mug.
Measure Proportions With Your Pencil
Proportional errors make drawings feel wrong even when the shading is good. A simple measuring trick fixes most of them. Hold your pencil at arm’s length, close one eye, and use your thumb to mark the height of one object. Then compare that height to the width of the same object, or to the height of the object next to it. Ask simple questions: is the mug twice as tall as the apple? Is the book wider than the mug is tall? Those comparisons turn guessing into measuring.
Use the same method to check negative space, which is the empty shape between and around objects. Beginners often ignore negative space, but it is one of the most reliable checks in drawing. If the gap between the mug and the book looks too wide in your sketch, something is off. Figure drawing uses the same measuring habits, so this skill transfers directly when you move on to drawing people. Measure twice, draw once, and check your proportions again halfway through.
Draw Ellipses and Perspective Honestly
Cups, bowls, and bottles confuse beginners because their round openings look different depending on height. When you look down at a mug, the opening is a wide ellipse. When the mug sits at eye level, the opening flattens into a thin line. Neither version is wrong; each one simply records where you sat. Pick one viewpoint and stay consistent. If you draw the top of one mug as a wide ellipse, every other round object in the scene must follow the same eye level.
Draw ellipses in one smooth motion rather than building them from short, scratchy strokes. A confident ellipse looks better even if it is slightly imperfect, and you can always draw a second, lighter correction line beside it. The same idea applies to drawing hands and other rounded forms: trust the overall curve first, then refine. Many beginners also tilt ellipses by accident, so check that the long axis of each ellipse stays level unless the object itself is tipped.
Shade From Light to Dark in Layers
Shading turns flat outlines into objects that look round and solid. Start by identifying the lightest area, where light hits the object directly, and the darkest area, usually the core shadow on the side away from the light. Between them sits a gradual range of mid-tones. Work in light layers rather than pressing hard right away. You can always darken a drawing, but a dent made by pressing too hard is difficult to remove, and it catches light on the paper in an ugly way.
Try charcoal shading methods once you feel comfortable with pencil, because charcoal forces you to think in big tonal shapes. With either medium, keep your strokes consistent within one object and follow its form: curved strokes for round fruit, straight strokes for a box. Add the cast shadow last, and remember that a cast shadow is usually darker and sharper near the object, then softer as it stretches away. That single detail makes objects sit on the table instead of floating above it.
Five Values Are Enough to Start
You do not need twenty shades of gray. Five values will carry most beginner drawings: white for highlights, light gray, mid gray, dark gray, and near-black for the deepest shadows. Squint at your setup to simplify the values you see. Squinting removes small details and reveals the big light and dark pattern, which is exactly what your shading should copy.
Common Still Life Mistakes to Avoid
One frequent mistake is drawing each object separately, as if it existed alone. In a real arrangement, objects overlap, cast shadows on each other, and share the same light. Draw the overlaps honestly, and let a nearer object hide part of a farther one. Another mistake is outlining everything with the same dark line. Real objects do not have black outlines. Their edges appear where light meets shadow, so vary your line weight: darker where a form turns away from light, lighter where it catches light.
Beginners also tend to rush the background. A blank white background can work, but a careless smudge behind the objects looks unfinished. Either leave the background clean on purpose or shade it lightly so the objects stand out. Colored pencil drawing offers a gentle next step when you want to add color, because you can layer color over the same value structure you already built in graphite. Keep the background simpler than the objects, so the viewer’s eye stays where it belongs.
Build a Simple Practice Routine
You do not need hours a day to improve. Three focused sessions of thirty minutes each week will beat one long, exhausting session. In the first session, set up a new arrangement and block in the big shapes. In the second, return to the same setup and focus only on shading. In the third, try the same objects from a different angle or with a different light direction. Repeating a setup teaches you far more than constantly changing subjects, because you can measure progress against a known target.
Keep your early drawings, even the ones you dislike. Date them and store them in a folder. After a month, compare your newest drawing to your first one. The improvement will be obvious in ways that daily practice hides. Pastel drawing for beginners is another forgiving medium to try later, since pastels let you build color quickly over a strong value sketch. The habit matters more than the medium: show up, look carefully, and draw what you see.
Try These Three Beginner Exercises
First, draw a single object five times in five minutes each. Speed forces you to focus on the big shape and skip fussy details. Second, draw an arrangement using only shadow shapes, with no outlines at all. Fill in the dark shapes and let the light areas stay white. This exercise rewires your brain to see tones instead of objects. Third, draw the same setup with your non-dominant hand. The awkwardness slows you down and makes you look more carefully, which is the entire point.
When you feel ready for color, start with one colored object in an otherwise graphite drawing. A single red apple in a gray drawing teaches you how color relates to value without overwhelming you. Gouache painting for beginners pairs well with still life because it dries fast and lets you correct mistakes easily. Acrylic painting techniques offer another route into color, while watercolor techniques reward the patience you built while shading in pencil. Each medium rewards the same observation skills, so your still life practice never goes to waste.
Your First Finished Still Life
When you complete a drawing you like, step back and judge it from arm’s length. Small errors that bothered you up close often disappear, and the overall impression matters more than any single line. Ask three questions: do the proportions look right, does the light feel consistent, and do the objects sit firmly on the surface? If the answer is mostly yes, you have a successful still life.
Still life drawing rewards anyone willing to slow down and look. You do not need talent as a starting point; you need a few objects, a pencil, and the willingness to compare your drawing to reality without frustration. Every artist you admire once drew lopsided apples and wobbly mugs. They improved because they kept arranging, measuring, and shading, one setup at a time. Your next drawing starts with the objects already sitting in your kitchen, so set them up, pick up your pencil, and begin. If you also want to draw people, learning to draw faces builds on the same measuring and shading habits you practice here.


