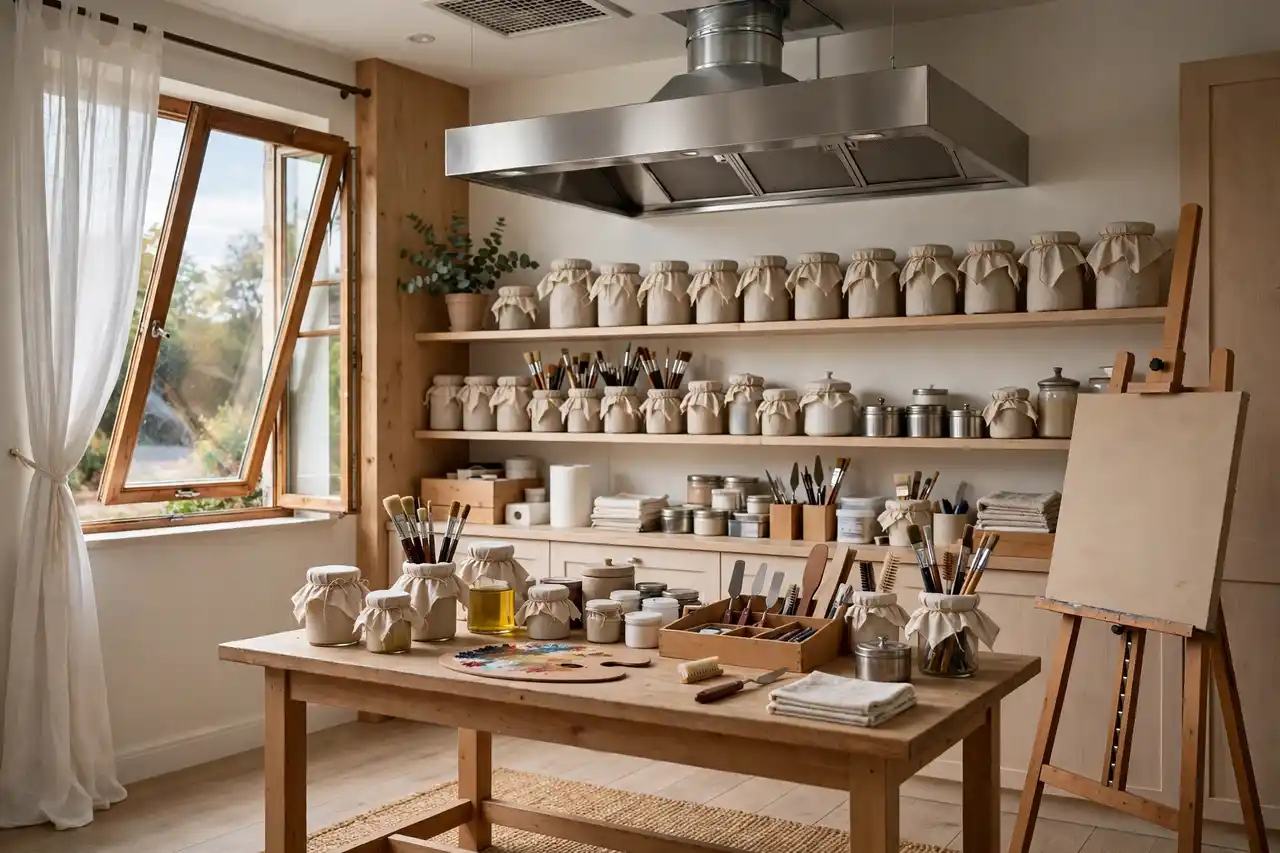
What oil painting safety tips Means for Artists
Oil painting safety tips protect both the painter and the painting, because oil paints, solvents, and mediums involve chemicals that deserve respect, even though oil painting is a safe hobby when practiced sensibly. Good ventilation, careful solvent use, safe rag disposal, and tidy studio habits prevent most health and fire risks, and they cost little time or money. This guide covers the practical safety habits that every oil painter, from beginner to professional, should build into their routine.
Safety matters because oil painting risks are often invisible and cumulative, rather than dramatic and immediate. Solvent fumes can cause headaches, dizziness, and long-term lung irritation without any obvious warning, oil-soaked rags can spontaneously combust hours after painting, and some pigments contain toxic metals that should never be ingested or inhaled as dust. None of these risks should stop anyone from painting, but all of them reward simple, consistent precautions. A related guide is oil painting techniques every beginner should know.
Why oil painting safety tips Matters
Ventilation is the single most important safety habit, since fresh air dilutes solvent fumes and keeps a studio comfortable for long sessions. A room with an open window and a fan exhausting air outward is far safer than a sealed room, even when using odorless solvents, which still release vapors. If you cannot ventilate a room adequately, choose water-mixable oils, solvent-free mediums, or a different workspace, rather than painting for hours in still, fume-filled air.
Fire safety deserves special attention, because linseed oil and other drying oils generate heat as they oxidize, and a crumpled pile of oil-soaked rags can ignite on its own. Rags should be spread flat to dry outdoors, stored in a sealed metal container, or soaked in water before disposal, and they should never be left in a trash bin or a pile in a warm room. That one habit, practiced every session, prevents the most serious fire risk in oil painting. For more on a nearby skill, see acrylic painting techniques for beginners.
Tools and Materials You Will Need
Start with a small, reliable kit rather than buying everything at once. The items below cover most early projects, and you can add specialty supplies later as your interests narrow. This pairs well with color theory for beginners.
- A sealed metal container for oil-soaked rags and paper towels
- Covered solvent jars with tight lids for mineral spirits and mediums
- Nitrile gloves and barrier cream for protecting skin from paint and solvents
- A fan or exhaust system for studio ventilation
- A first aid kit, eye wash, and a fire extinguisher rated for chemical fires
Key Techniques to Practice
Ventilation habits
Open a window and use a fan to exhaust air outward whenever you paint with solvents, and take fresh-air breaks during long sessions. Good ventilation should be a habit, not an afterthought, and it matters even when you cannot smell the solvent, since odorless does not mean vapor-free. You may also enjoy landscape painting for beginners.
Solvent safety
Keep solvents in covered jars, use only the amount you need, and never pour solvents down drains or into household trash. Choose odorless mineral spirits over turpentine when possible, since they are less irritating, but treat all solvents as chemicals that require ventilation and careful handling.
Rag and waste disposal
Spread oil-soaked rags flat to dry in a safe outdoor area, or store them in a sealed metal container, and dispose of them according to local hazardous waste rules. Never leave rags crumpled in a bin, a drawer, or a warm studio corner, where spontaneous combustion is a real risk. A useful companion guide is how to draw faces.
Pigment and skin safety
Avoid getting paint on your skin, wear gloves when handling paints containing cadmium, cobalt, or lead, and never eat, drink, or smoke while painting. Wash hands thoroughly after painting, and keep paints and mediums away from children and pets, who may not recognize the danger.
Step by Step: Your First Project
- Set up your studio with ventilation, a metal rag container, and covered solvent jars before you start painting.
- Wear gloves and an apron, and keep food, drinks, and cigarettes out of the painting area entirely. For a related approach, see still life drawing for beginners.
- Use the smallest amount of solvent that achieves your goal, and keep jars covered when you are not actively using them.
- Clean brushes with solvent in a covered jar, then wash with soap and water, rather than leaving open solvent containers around.
- At the end of the session, spread rags flat or seal them in the metal container, close all medium bottles, and wash your hands. This connects naturally with sketching for beginners.
Common Mistakes to Avoid
- Painting in a sealed room with solvents, which allows fumes to build up to headache and dizziness levels.
- Leaving oil-soaked rags crumpled in a trash bin, which creates a spontaneous combustion fire risk. A helpful next read is mixed media art for beginners.
- Eating or drinking in the studio, which can transfer toxic pigments from hands to mouth without you noticing.
- Pouring solvents down drains or into regular trash, which pollutes water and creates hazards for waste workers.
Practical Tips That Make a Difference
- Label all medium and solvent bottles clearly, so you never mistake a solvent for water or another liquid. For broader context, see gouache painting for beginners.
- Keep a fire extinguisher in or near the studio and know how to use it before an emergency occurs.
- Take regular breaks for fresh air, water, and stretching, since long painting sessions increase both fume exposure and fatigue.
- Consider water-mixable oils or solvent-free painting methods if ventilation is limited, since they greatly reduce solvent exposure. A related topic worth exploring is charcoal drawing techniques.
Choosing Materials and Subjects
For studio setup, a dedicated painting area, even a corner of a room, is safer than painting at a kitchen table, because it keeps paints, solvents, and rags away from food and family activity. A sturdy table, a washable floor covering, and a shelf for closed medium bottles will make safety habits easy to maintain. For supplies, invest first in a metal rag container and good ventilation, since those two items address the most serious oil painting risks, before spending on additional paints or brushes. This builds nicely on visiting an art exhibition.
For habits, treat safety as part of your painting ritual rather than as a chore that interrupts it: ventilate before you open a solvent jar, glove up before you squeeze paint, and deal with rags before you leave the studio. Those habits quickly become automatic, and they protect not only your health but also your paintings, since a safe, tidy studio is also a studio where canvases are stored properly and mediums are kept fresh. Painting should be a lifelong pleasure, and safe habits are what make that possible.
A Four-Week Practice Plan for oil painting safety tips
A short, regular practice plan will improve your oil painting safety tips faster than occasional long sessions, because skills consolidate between sessions and each week builds on the last. Treat the plan as a guide, not a rigid rule, and adjust the pace to fit your schedule and energy.
- Week one: focus on fundamentals. Spend three short sessions on basic exercises for oil painting safety tips, keeping each session under an hour and noting what felt easy and what felt difficult in a sketchbook.
- Week two: apply the fundamentals to a simple finished piece using oil painting safety tips, working slowly and comparing your result with your reference or your earlier exercises at each stage.
- Week three: try a slightly harder subject or a new material related to oil painting safety tips, and deliberately practice the part you found hardest in week one, since targeted practice improves weak areas fastest.
- Week four: complete a small project that combines everything you practiced, share it with a friend or an online art community for feedback, and choose one skill to carry into your next month of practice.
Frequently Asked Questions
Are oil paints toxic to breathe?
Oil paints themselves release little vapor, but solvents and some mediums do, so ventilation matters most when you use solvents. Water-mixable oils and solvent-free methods greatly reduce vapor exposure for painters concerned about fumes.
Can oil painting rags really catch fire by themselves?
Yes, oil-soaked rags can spontaneously combust as drying oils oxidize and generate heat, especially when rags are crumpled in a pile. Spread rags flat to dry or store them in a sealed metal container, and never leave them in a trash bin.
Is turpentine safe for oil painting?
Turpentine is effective but more irritating and flammable than odorless mineral spirits, so many painters prefer the latter. If you use turpentine, ensure strong ventilation, keep jars covered, and store it away from heat and children.
Do I need gloves for oil painting?
Gloves are recommended, especially when handling paints with cadmium, cobalt, or lead pigments, and when using solvents that dry and irritate skin. Nitrile gloves are inexpensive, comfortable, and easy to change between sessions.
Final Thoughts
Oil painting safety tips are simple, practical, and easy to make automatic: ventilate your studio, use solvents sparingly and with covered jars, dispose of oil-soaked rags safely every session, protect your skin, and keep food out of the painting area. Those habits will not limit your creativity, and they will ensure that oil painting remains a healthy, enjoyable practice for years to come, which is the best foundation any artist can give their work. For another angle, see how to sell art online.