
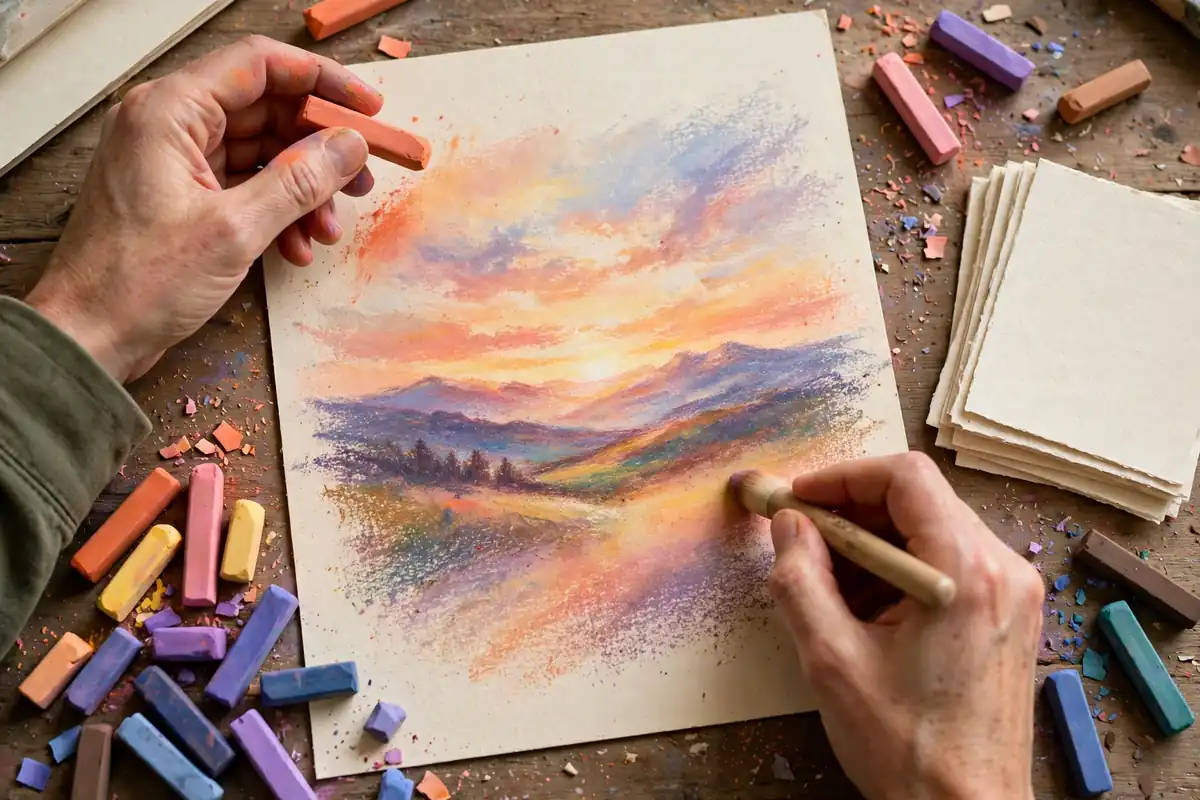
Pastel drawing is one of the most joyful ways to make art. The colors are bright, the sticks feel wonderful in your hand, and you can blend a sky or a sunset in minutes. If you have ever admired a soft, glowing landscape in an art gallery and wondered how it was made, the answer is often pastel. In this guide to pastel drawing for beginners, you will learn which supplies to buy, how to hold and layer the sticks, and how to finish your first beautiful pastel drawing today.
Pastels sit somewhere between drawing and painting. You draw with them like a pencil, but the rich color behaves like paint. That combination makes them perfect for beginners who want bold results without the mess of brushes, water, or drying time. Best of all, mistakes are easy to fix: you can brush away a layer, blend over it, or simply add a new color on top.
Pastel Drawing for Beginners: Soft Pastels vs Oil Pastels
The first choice every beginner faces is between soft pastels and oil pastels, and the two behave very differently. Soft pastels are dry, chalk-like sticks made of pure pigment and a small amount of binder. They blend easily with your fingers or a blending stump, and they produce soft, velvety color. They are the best choice for landscapes, portraits, and the glowing skies that make pastel art so famous.
Oil pastels, by contrast, feel creamy and waxy, more like a crayon. They do not blend with your fingers as easily, but they stick to almost any surface and never need fixative. They are wonderful for bold, expressive work and for mixed-media pieces. If you are just starting out, a small set of soft pastels is usually the better first purchase, because blending is where the magic happens.
Whichever type you choose, buy artist-grade pastels if your budget allows. Student-grade sets look tempting, but they contain more filler and less pigment, which means duller colors and harder blending. A set of 24 good soft pastels will take you much further than a box of 72 weak ones. Understanding how pigments behave also becomes easier once you study color theory for beginners, because pastel work is all about layering and mixing color right on the paper.
Supplies You Need for Pastel Drawing
You do not need a large kit to begin. Start with a set of 24 to 48 soft pastels, a pad of textured pastel paper, a few blending stumps, and a kneaded eraser. Textured paper matters more than beginners expect: the tiny tooth of the paper grabs the pastel dust and holds layers in place. Smooth copy paper will not hold pastel well, and your colors will slide right off.
Sanded pastel paper, such as UArt or Pastelmat, holds many layers and is beloved by professionals, but it costs more. A good middle ground is a mid-weight textured paper like Canson Mi-Teintes, which comes in many colors. Try a mid-tone paper, such as warm gray or soft blue, instead of white. A colored ground makes your lights pop and saves you from covering every inch of the page.
Add a can of workable fixative to your kit. A light spray between layers helps you add more pastel on top without disturbing what is underneath. Spray outdoors or near an open window, and use a light hand: too much fixative can darken your colors. If you already enjoy sketching for beginners, you will find that your pencils, eraser, and sketchbook habits transfer directly to pastel work.
Basic Pastel Techniques Every Beginner Should Practice
Pastel rewards a light touch. Hold the stick near the end, like a conductor’s baton, and let the weight of the stick do the work. Pressing hard crushes the pastel and fills the paper tooth too fast, leaving you no room for more layers.
Layering Colors
Layering is the heart of pastel drawing. Lay down a light base color first, then add darker tones on top, then finish with bright highlights. For a green landscape, start with yellow-green, add mid-green, then deep blue-green in the shadows, and finally a touch of bright yellow-green where the sun hits. Each layer changes the one beneath it, creating colors you could never get from a single stick.
Blending
Blend with your finger, a tissue, or a blending stump for different effects. Fingers give the softest, most natural blends and are perfect for skies and skin. A blending stump gives you more control for small areas like eyes or flower petals. Blend lightly: over-blending turns everything into mud. Leave some unblended strokes visible, because those strokes give your drawing energy and texture.
Scumbling and Hatching
Scumbling means dragging the side of the stick lightly over the paper so the texture shows through. It is perfect for grass, foliage, and sparkling water. Hatching means drawing short parallel lines close together, which builds color gradually without filling the tooth. Both techniques pair beautifully with the layering skills you learn in watercolor techniques for beginners, where transparent layers create depth in a similar way.
Your First Pastel Drawing: A Simple Sunset Landscape
Let us put these techniques together in a first project. Choose a mid-tone blue-gray paper and a reference photo of a sunset over fields or water. Sketch the horizon line lightly with a hard pastel pencil, keeping the composition simple: sky above, land below, and one focal point such as a tree or a sun.
Block in the sky first, working from light to dark. Lay pale yellow near the horizon where the sun sits, then peach, then pink, then lavender toward the top. Blend each band gently into the next with your finger. Next, block in the land with deep purple and dark green, keeping it much darker than the sky. This contrast is what makes the sunset glow.
Add the sun as a small bright circle, then drag a few horizontal strokes of yellow and orange across the water or field to suggest reflections. Finish with a few crisp, unblended strokes: bright highlights on the clouds, dark accents in the foreground grass, and a sharp silhouette for your tree. Step back and admire your work. You have just made a pastel painting.
If you enjoy building color in layers, you will also love colored pencil drawing, which uses the same patient layering approach with a different tool. And when you want deeper, darker tones, charcoal drawing techniques teach you how to push values further without losing control.
Drawing Faces and Still Life in Pastel
Once you feel comfortable with landscapes, try a portrait or a still life. For a portrait, start with a warm underpainting: block in the shadow shapes with a muted purple or brown, then layer skin tones on top. Keep your lightest lights for the forehead, nose, and cheekbones, and let the paper tone show through in the mid-tones. Studying how to draw faces first will help you place the features correctly before you add color.
For a still life, arrange three simple objects, such as an apple, a cup, and a cloth, near a window. The single light source creates clear shadows that teach you how pastel handles form. Paint the background first, then the objects, then the shadows they cast. Squint at your setup often: squinting simplifies the colors and helps you see the big value shapes instead of tiny details.
Common Pastel Mistakes and How to Fix Them
The most common beginner mistake is filling the paper tooth too early by pressing hard. Once the tooth is full, no more pastel will stick, and your colors look flat. Fix this by working light to dark, saving your hardest pressure for the final highlights. If an area is already full, brush it gently with a stiff brush or lift some pastel with tape, then try again.
Another common problem is muddy color. Mud happens when you blend too many colors together, especially complements like red and green. Prevent it by blending only neighbors on the color wheel, and by cleaning your blending stump often. A third mistake is skipping the background. A finished background makes your subject look complete, even if it is just a simple gradient of color.
Pastel dust gets everywhere, so protect your work. Place a sheet of glassine paper over finished drawings before stacking them, and frame your best pieces behind glass. Never use hairspray as a substitute for fixative: it yellows over time and can ruin your colors.
From Practice to Finished Art
Pastel is wonderfully forgiving, which makes it ideal for daily practice. Try a small daily sketch: one sky, one tree, or one fruit each day. These quick studies build your confidence faster than rare, large projects. Photograph your work in natural light and keep a simple portfolio, either in a sketchbook or online.
When you finish a piece you love, consider how it would look on a wall. Many pastel artists find that bedroom wall art ideas and living room makeover ideas give them fresh inspiration for color palettes and framing. And if you want to explore bolder, more experimental color, acrylic painting techniques for beginners offer a natural next step. Pastel artists also find inspiration in modern abstract art trends, where expressive color takes center stage.
Conclusion
Pastel drawing for beginners is all about enjoying color: choose good sticks, work on textured paper, layer lightly, blend with restraint, and let the paper do some of the work. Start with a simple sunset, practice a little each day, and watch your confidence grow with every drawing. Your pastels are waiting, and your first glowing landscape is closer than you think. Pick up a stick and start today.


