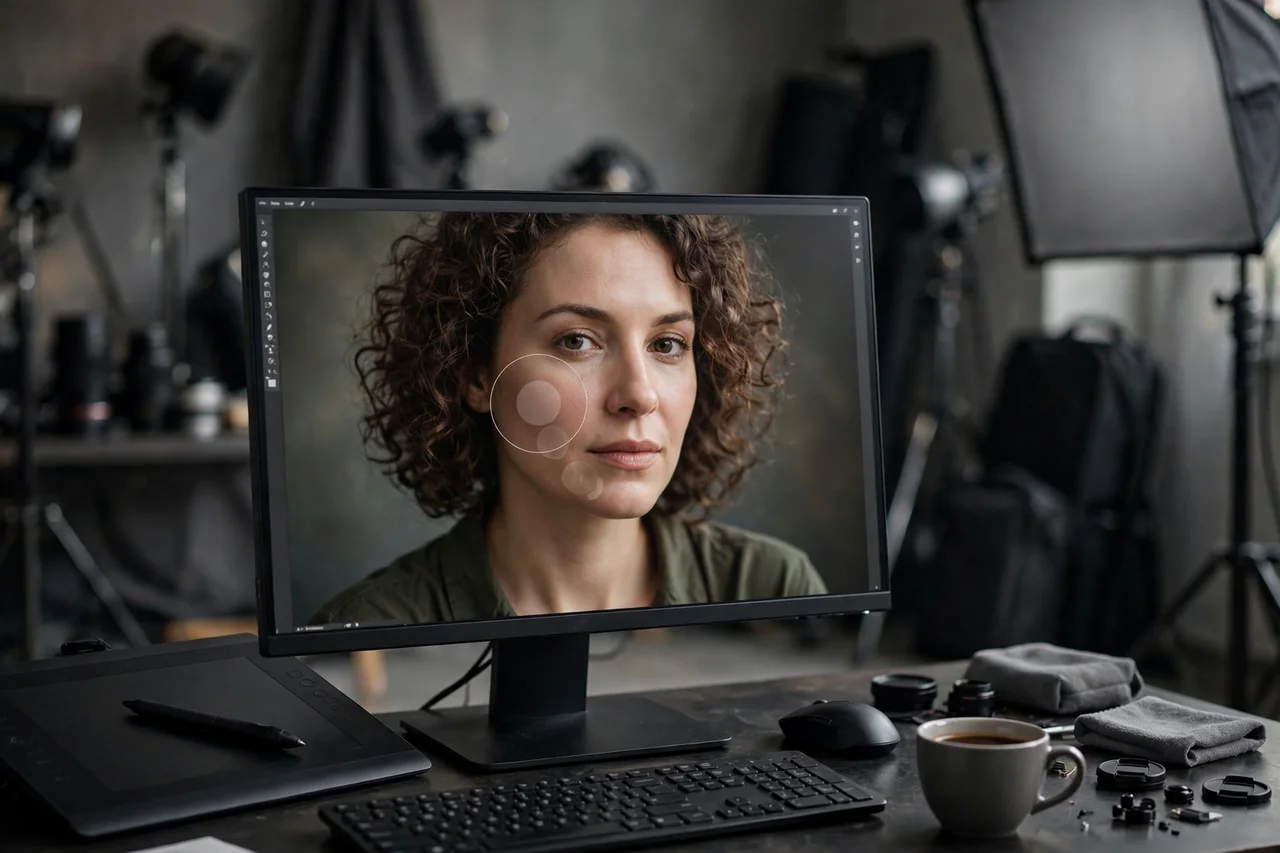
Learning photoshop photo retouching is one of the most rewarding ways to grow as a creative person, whether you are starting from scratch or building on skills you already enjoy. This guide walks through the ideas, tools, and practice habits that make photoshop photo retouching approachable, enjoyable, and genuinely useful in real projects, with clear steps you can follow at your own pace.
You do not need expensive equipment or years of training to begin. What you need is a clear starting point, a few simple exercises, and a habit of looking closely at your work and learning from each attempt. A good companion skill is how to draw faces, which builds the same eye for detail and patient practice you will use here.
By the end of this guide, you will understand how photoshop photo retouching works, which tools suit it best, and how to practice in short sessions that fit a busy week. You will also find related ideas, such as how to draw hands, to explore once the basics feel comfortable.
What Is Photoshop Photo Retouching?
Photoshop photo retouching is the careful cleanup of a portrait or photograph: removing temporary blemishes, softening distractions, and refining light and color so the person still looks like themselves. Good retouching is almost invisible. The viewer notices a confident, polished photo, not the editing.
Beginners often worry that retouching means changing how someone looks. It does not have to. The goal here is honest polish: keep freckles, texture, and character, remove only what is temporary or distracting, and make small, believable improvements that respect the person in the photo.
People in the United States turn to photoshop photo retouching for many reasons: a hobby that relaxes them, a side income, a professional skill, or simply a better way to share what they make. Whatever your reason, the learning path is the same. Start small, finish real projects, and let each finished piece teach you something for the next one. A related starting point worth reading is golden hour photography tips.
Tools and Materials for Photoshop Photo Retouching
Good tools do not have to be costly, but the right basics remove friction and help you practice more often. Gather the items below before your first session so you can focus on learning instead of hunting for supplies.
- Photoshop or a similar layer-based editor
- A high-resolution copy of the photo, with the original backed up
- A graphics tablet or a precise mouse for detailed work
- A calibrated screen for accurate skin tones
- A simple layer-naming habit for organized files
Start with the simplest version of each tool and upgrade only when you notice a real limit. Many beginners improve faster with basic tools they use often than with advanced tools they rarely touch. For a broader view of creative tools, see phone photography tips.
Core Photoshop Photo Retouching Methods
These four methods cover most of what beginners need. Practice each one on a small project before moving on, and keep notes about what worked and what felt awkward.
Work on separate layers
Do every retouch on its own layer so you can lower its strength, mask part of it, or delete it without harming the original. Name layers clearly, such as skin cleanup, eyes, and background, so you can revisit the file weeks later. Layer discipline is the single habit that separates calm editing from messy files. A helpful related read is best drawing tablets.
Heal and clone with care
Use healing tools for small blemishes and the clone tool for larger distractions, sampling clean skin nearby and working at low opacity. Match texture and light direction, and zoom out often, because edits that look fine at high zoom can look patchy at normal viewing size. A helpful related read is Procreate drawing tutorial for beginners.
Dodge and burn for shape
Lighten and darken gently to restore shape the camera flattened, such as softening under-eye shadows or adding depth to cheekbones. Keep the effect subtle and build it in passes. Strong dodging and burning quickly looks sculpted and artificial. A helpful related read is color theory for beginners.
Frequency separation, used lightly
Frequency separation splits texture from color, letting you even out tone without erasing pores. It is powerful and easy to overdo, so keep opacity low and always compare with the original. If skin starts to look plastic, reduce the effect until texture returns. A helpful related read is how to start digital art.
Photoshop Photo Retouching Step by Step
Follow these steps in order for your first few projects. Once the sequence feels natural, you can adapt it to suit your own style and the project in front of you.
- Duplicate the background layer and back up the original file.
- Clean temporary blemishes with healing tools on a new layer.
- Even out distracting tone changes with gentle dodging and burning.
- Refine eyes, hair edges, and background distractions lightly.
- Zoom out, compare with the original, and export a sharing copy.
After finishing, step away for a day and look at the result with fresh eyes before deciding what to change. That short break often reveals small fixes that are hard to see while you are still working. If you enjoy structured creative practice, you may also like how to sell art online.
Common Photoshop Photo Retouching Mistakes to Avoid
Most beginners make the same few mistakes, and all of them are easy to fix once you know to watch for them.
- Removing all skin texture, which makes portraits look plastic.
- Retouching at very high zoom and missing how edits read at normal size.
- Changing facial features instead of cleaning temporary flaws.
- Flattening the file and losing the ability to undo a step.
When something goes wrong, treat it as information rather than failure. Note what happened, change one thing, and try again. That habit alone will carry your skills further than any single tutorial.
A Simple Photoshop Photo Retouching Practice Plan
Short, regular practice beats long, rare sessions. Set aside two or three sessions of thirty to forty-five minutes each week, and give each session one clear goal, such as finishing a single exercise or testing one new method. Keep your early work in one folder or sketchbook so you can look back and see progress that daily practice hides. For inspiration on building a creative habit, see sketching for beginners.
Every fourth week, review your recent work and pick the strongest piece and the weakest one. Ask what makes the strong one work, and choose one skill to practice from the weaker one. This simple review loop keeps practice purposeful instead of repetitive.
Tips for Better Photoshop Photo Retouching Results
- Keep retouching opacity low and build effects gradually.
- Check your work at full-image size, not only at high zoom.
- Ask a second person whether the result still looks like the subject.
- Save layered files so you can adjust any retouch later.
Small, steady improvements add up quickly. Focus on finishing projects, even imperfect ones, because finished work teaches far more than abandoned attempts. A related guide that pairs well with this one is graphic design tips for beginners.
Choosing Your First Photoshop Photo Retouching Project
Pick a first project that is small enough to finish in one or two sessions but interesting enough that you want to see it done. A project with a clear end point, such as a single finished piece or a short set of exercises, gives you a sense of completion and a concrete example of your current level. Avoid projects that depend on many new skills at once, since each unknown adds frustration and slows learning.
As you work, keep your goal visible: write down what you want the finished piece to do or say, and check your progress against that note rather than against polished work you admire online. Comparing early work with expert work is discouraging and misleading, because it hides the years of practice behind the expert result. Your honest comparison is your own work from a month ago, and that comparison will usually show real growth.
Frequently Asked Questions About Photoshop Photo Retouching
How long does it take to learn photoshop photo retouching?
Most people feel comfortable with the basics after a few weeks of regular practice, and they keep improving for years. Expect steady progress rather than instant mastery, and judge yourself by finished projects, not by speed.
What do I need to start photoshop photo retouching?
Start with the basic tools listed above and one small project. Add new tools only when a project genuinely needs them, which keeps costs down and learning focused.
Can beginners try photoshop photo retouching?
Yes. This guide is written for beginners, and every method here works on a first project. Begin slowly, follow the steps in order, and let your confidence grow with each finished piece.
How often should I practice photoshop photo retouching?
Two or three short sessions a week work well for most people. Consistency matters more than session length, so protect a regular time slot even when life gets busy.
Related Creative Guides
If you enjoyed this guide, continue with how to draw anime for another approach to the same creative skills, and browse the related guides linked throughout this article for techniques that complement what you have learned here.
Final Thoughts on Photoshop Photo Retouching
Photoshop Photo Retouching rewards patience, curiosity, and finished work. Start with one small project this week, use the steps and methods above, and keep practicing in short, regular sessions. Over time, the skills that feel effortful now will become habits, and your work will show it.
For a related introduction to this kind of creative work, see https://gallerydaily.com/best-drawing-tablets/, and then explore photoshop photo retouching in detail at https://gallerydaily.com/photoshop-photo-retouching/.