
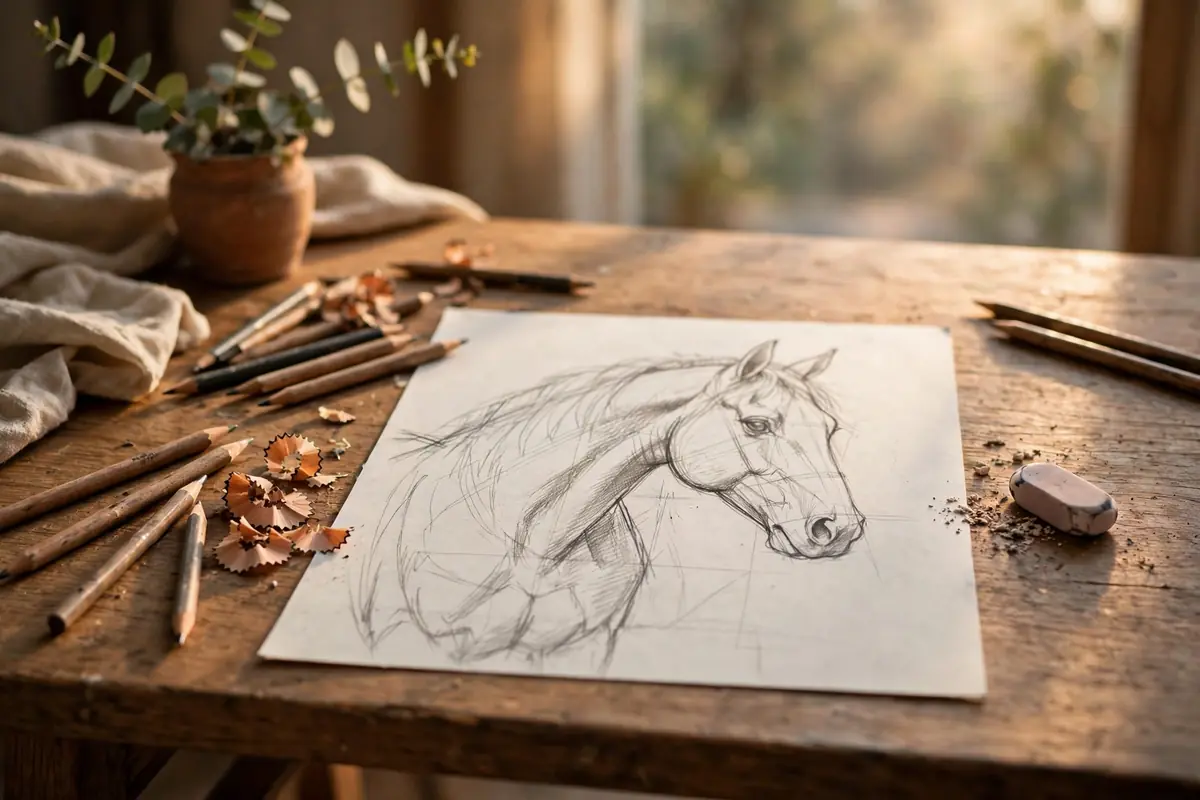
Horses have inspired artists for thousands of years, from cave paintings to modern illustrations, and learning how to draw a horse is one of the most rewarding skills a beginner can build. A horse combines grace, power, and gentle expression in a single subject, which is exactly why it can feel intimidating at first. The long legs, the arched neck, and the flowing mane all seem to move even when the animal is standing still. The good news is that drawing a horse is not about talent alone. It is about breaking a complex shape into simple parts and practicing a little at a time. In this guide, you will learn how to draw a horse step by step, with clear explanations that work even if you have never drawn an animal before.
By the end of this article, you will know which supplies to use, how to sketch the body using basic shapes, how to draw the head, legs, mane, and tail, and how to add shading that makes your horse look three-dimensional. So grab a pencil and let us begin.
Why Learning How to Draw a Horse Is Worth the Effort
Many beginners start with simple subjects and avoid horses because they worry about getting the proportions wrong. That worry is understandable, but it is also the reason horses are such a good subject to practice. When you learn how to draw a horse, you practice almost every fundamental drawing skill at once: proportion, gesture, anatomy, shading, and patience.
Horses are also versatile subjects. You can draw a calm horse standing in a field, a running horse full of energy, or a gentle portrait focused on the head and eyes. Each version uses the same basic structure, so once you understand the foundation, you can adapt it to many different poses. The step-by-step approach in our guide on how to draw a dog uses the same idea of starting with simple shapes, and the same approach works beautifully for horses. Similarly, how to draw a cat shows how small changes in proportion can turn one animal sketch into another, a lesson that applies directly to horses too.
Supplies You Need to Draw a Horse
You do not need expensive tools to draw a horse well. A basic set is more than enough. Here is a short list to get you started:
- A graphite pencil set or just one HB pencil and one 2B pencil for darker lines and shading
- Smooth sketch paper or a sketchbook that can handle light erasing
- A soft eraser for corrections and a kneaded eraser for lifting highlights
- A pencil sharpener to keep a fine point for details like the eyes and muzzle
- Reference photos of horses in the pose you want to draw
Reference photos matter more than most beginners expect. Drawing from a photo helps you see the real angles of the neck, the bend of the legs, and the shape of the head. If you are still building your basic skills, our guide to sketching for beginners covers supplies, warm-up exercises, and daily practice habits that pair well with this tutorial. If you are curious about a digital setup, our roundup of the best drawing tablets can help you compare choices for every budget.
How to Draw a Horse Step by Step
Work lightly in the early steps. Use soft, loose lines you can erase or adjust, and only press harder once the overall shape looks right.
Step 1: Sketch the Basic Body Shapes
Start with three simple shapes: a large oval for the barrel of the body, a smaller circle for the chest at the front, and another smaller circle for the hindquarters at the back. Connect them with light curved lines to suggest the back and the belly. These guide shapes only hold the proportions in place while you build the rest of the drawing.
Next, draw a long, curved shape for the neck rising up from the chest at an angle. A horse’s neck is thick at the base and narrower near the head. Getting this angle right is key to making your horse look natural, so compare it with your reference photo before moving on. This habit of checking proportions early is the same skill taught in figure drawing for beginners, where gesture and proportion come before detail.
Step 2: Draw the Head and Face
For the head, draw a long, slightly tapered shape that narrows toward the muzzle. A horse’s head is much longer than a human head or a dog’s head. Place the eye about halfway down the head, and keep it soft and almond-shaped rather than round. The nostril sits near the end of the muzzle, and the mouth is a gentle curve below it.
Add the ears as two pointed shapes on top of the head, angled slightly outward. Horses move their ears to show attention and mood, so the angle of the ears can change the whole feeling of your drawing. Take your time with the eyes, because they carry most of the expression, and a small highlight left unshaded in the eye will make it look alive. If facial features feel tricky, the techniques in drawing faces can help you think about placement and expression, even though animal faces follow their own proportions.
Step 3: Draw the Legs Correctly
Legs cause more trouble than any other part of a horse drawing, because the joints bend in ways that surprise beginners. A horse’s front legs bend forward at the knee, while the back legs have a more angular shape with a hock joint that bends backward. Sketch each leg as two or three straight segments first, then connect them with smooth curves to suggest muscle.
Keep the legs long and slim, but not stick-thin. The upper leg carries visible muscle, especially on the hindquarters, while the lower leg is slimmer and ends in a dark hoof, a short, slightly rounded block shape. If you are drawing a standing horse, check that the legs reach the same ground line and that the horse looks balanced. Our guide to drawing hands explains a similar segment-by-segment method for complex shapes.
Step 4: Add the Mane and Tail
The mane and tail bring movement and softness to a horse drawing. Draw the mane as flowing strands that fall along one side of the neck, following its curve. Avoid drawing the mane as a single solid block. Instead, suggest separate strands with varied lengths and a few gaps where the neck shows through. The tail grows from the top of the hindquarters and falls in long, loose waves.
Use longer pencil strokes for the mane and tail than you used for the body, and let the strokes follow the direction the hair grows. A few darker strands mixed with lighter ones will create depth. If you enjoy softer, more expressive media, charcoal drawing techniques are a great next step for rendering flowing hair, and pastel drawing offers a colorful way to explore the same subject.
Step 5: Shade and Add Final Details
Shading turns a flat outline into a horse that looks solid and real. First, decide where your light is coming from, then shade the opposite side of the body more darkly. The barrel of the body is rounded, so shade it with a smooth gradient, darkest at the edge farthest from the light and lightest near the middle.
Build shading in layers rather than pressing hard right away. Two or three light layers give you more control and a smoother result than one heavy layer. Leave the brightest highlights untouched, especially on the forehead, the shoulder, and the top of the back. Add a soft shadow under the horse to ground it. For a warmer, colored version of the same drawing, colored pencil drawing techniques let you layer browns, blacks, and warm grays gradually, and color theory for beginners will help you choose shading colors that look natural together.
Common Mistakes When Drawing a Horse
Every beginner makes the same handful of mistakes, and knowing them in advance makes them much easier to avoid. The first is drawing the neck too short or too thin. A horse’s neck is long and powerful, and a short neck makes the whole animal look wrong. The second is making the legs too short, which makes the horse look stocky and heavy.
The third common mistake is placing the eye too high or too large. A horse’s eye is relatively small compared to the long head. The fourth mistake is drawing the mane and tail as stiff, helmet-like shapes instead of flowing hair, which loose, directional strokes solve quickly. Finally, many beginners skip the ground shadow, which leaves the horse looking disconnected from its surroundings. If you want to explore horses in a more stylized way after mastering the realistic version, how to draw anime shows how the same anatomy can be adapted into a completely different style.
A Simple Practice Routine for Horse Drawing
Short, regular practice beats occasional long sessions. Try this simple routine three or four times a week. Spend five minutes on quick gesture sketches of basic horse body shapes in different poses. Then spend fifteen minutes on one longer drawing, working through the steps in this guide with a reference photo. Finish by comparing your drawing with the reference and noting one thing to improve next time.
Over a few weeks, this routine builds a strong mental library of horse shapes. You will start to notice how the neck angle changes when a horse lowers its head to graze and how the legs fold when a horse runs. Keep your early drawings, even the ones you dislike, because looking back at them later shows your progress clearly.
Frequently Asked Questions About Drawing Horses
What is the easiest horse pose for a beginner to draw?
A horse standing calmly in profile, facing sideways, is the easiest pose for a beginner. In profile, you can see the full length of the body, the neck, and all four legs without dealing with foreshortening, the distortion that happens when parts of the body point toward or away from the viewer. Once the profile feels comfortable, try a three-quarter view, then action poses like running or jumping.
Should I draw a horse from a photo or from imagination?
Start from photos. A good reference photo shows you the real proportions and angles, which are hard to guess correctly from memory. As you gain experience, you will remember more of the structure and draw more from imagination, but even experienced artists use references for difficult poses.
How long does it take to get good at drawing horses?
That depends on how often you practice, but most beginners see clear improvement within a few weeks of regular sketching. You may not produce a perfect horse on your first try, and that is completely normal. Each drawing teaches you something, whether it is a better neck angle or softer shading.
Conclusion
Learning how to draw a horse is a journey of observation, patience, and practice. Start with simple shapes, build the head and legs carefully, let the mane and tail flow, and shade with a clear light source in mind. Avoid the common mistakes, practice a little at a time, and use reference photos generously. Pick up your pencil, choose a reference photo you love, and draw your first horse today.


