
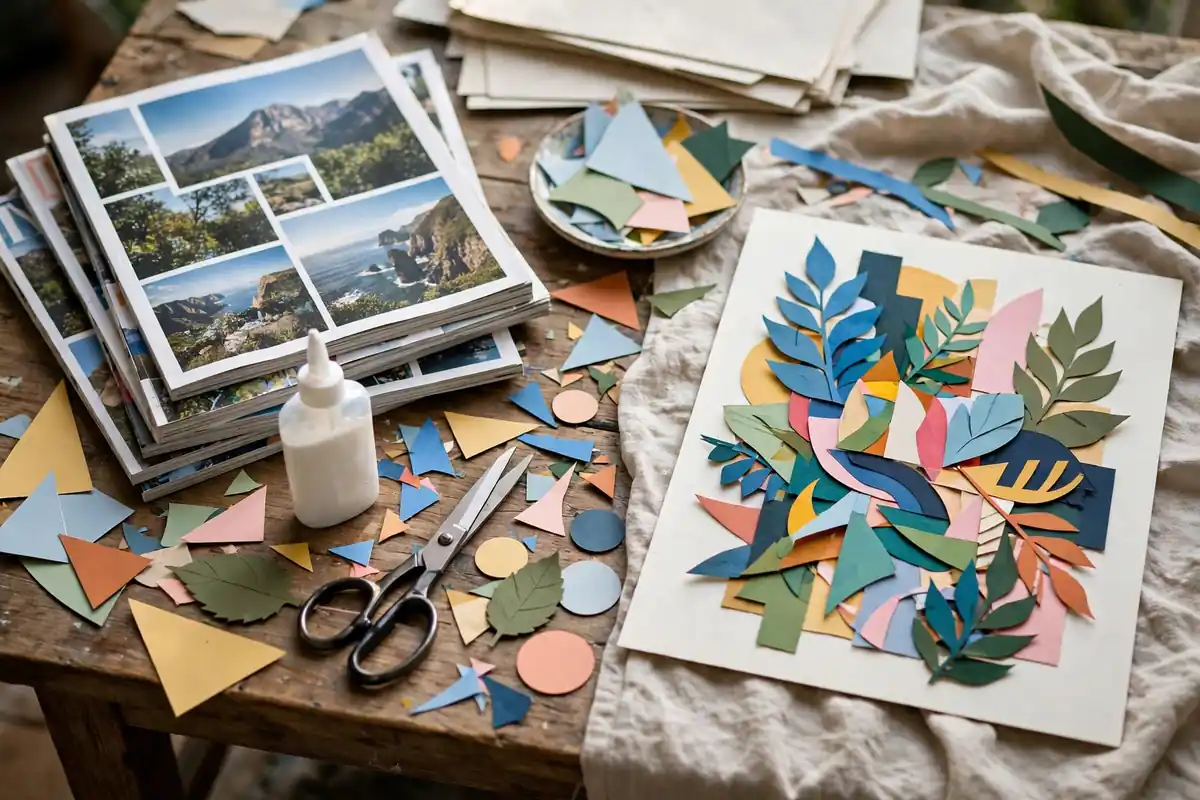
Open an old magazine, tear out a colorful photo, and glue it next to a piece of patterned paper. Add a painted shape, a handwritten word, and a scrap of fabric. Congratulations, you have just made collage art. Collage art for beginners is one of the most welcoming art forms in the world, because it uses materials you already have and celebrates imperfection, play, and personal expression.
Collage comes from the French word coller, meaning to glue. Artists have used collage for over a century, from Picasso and Braque to modern mixed-media artists. Today, collage is everywhere: in journals, greeting cards, home decor, and gallery exhibitions across the United States. It is also a wonderful way to recycle paper and turn everyday scraps into something meaningful.
In this guide, you will learn what collage art is, which materials you need, how to compose a beautiful collage step by step, and how to develop your own style. No drawing skills are required, only curiosity and a willingness to experiment.
What Is Collage Art for Beginners?
Collage art is the practice of assembling different materials onto a surface to create a new image. Those materials can include magazine clippings, photographs, patterned paper, fabric, tickets, maps, and found objects. The artist cuts, tears, layers, and glues these pieces into a composition that tells a story, expresses a mood, or simply looks beautiful.
For beginners, collage is liberating. You do not need to draw a perfect face or paint a realistic landscape. Instead, you borrow images from the world around you and rearrange them into something new. This makes collage an ideal first art form for adults who believe they cannot draw, as well as a playful practice for experienced artists. If you enjoy combining materials, you will also love mixed media art for beginners, which shares collage’s spirit of creative freedom.
Materials You Need for Collage Art
You probably already own most collage supplies. Start with what you have, and add specialty materials only as your interest grows.
Paper and Images
Old magazines, newspapers, catalogs, and junk mail are treasure troves for collage. Look for interesting colors, textures, faces, landscapes, and patterns. Patterned scrapbook paper, wrapping paper, and old maps add variety. Keep a box for clippings you love, sorted loosely by color or theme, so you can find inspiration quickly when you sit down to create.
Adhesives and Tools
A glue stick works well for paper, while liquid glue or gel medium suits heavier materials and gives a more durable bond. Sharp scissors let you cut precise shapes, while tearing paper by hand creates soft, organic edges that many collage artists prefer. A craft knife and cutting mat help with detailed work, but always use them carefully and away from your body.
Surfaces and Extras
Sturdy surfaces work best for collage. Try heavyweight paper, cardboard, canvas board, or an old book page. Paint, markers, and colored pencils let you add details over your collage. Fabric scraps, ribbon, thread, and small found objects add texture and dimension. For journal-style projects, junk journal ideas show how to combine collage with notes, tickets, and memories.
Understanding Collage Composition
Good composition is what turns a pile of paper scraps into a work of art. Start with a focal point, one image or shape that draws the eye first. It might be a large face, a bold color, or an unusual object. Arrange other pieces around it to support, not compete with, that focus.
Balance matters too. A collage can feel balanced even if it is not symmetrical. For example, a large shape on one side can balance several small shapes on the other. Overlap pieces to create depth, placing some images in front and others behind. Leave a little breathing space as well, because a collage packed edge to edge can feel chaotic. Learning color theory for beginners will help you choose color combinations that feel harmonious and intentional.
Step-by-Step: Create Your First Collage
Set aside an hour, spread your materials on a table, and give yourself permission to play. There is no single right way to make a collage, but these steps will guide you.
Step 1: Choose a Theme
A theme gives your collage focus. It could be a place, a season, a feeling, or a color. For example, a travel collage might use maps, postcards, and photos of cities. A nature collage might use leaves, flowers, and greens. A dream collage might use surreal images and soft colors. A theme helps you choose images quickly and makes the finished piece feel coherent.
Step 2: Gather and Arrange Pieces
Flip through your clippings and pull out images that fit your theme. Lay them on your surface without gluing anything yet. Move pieces around, try different arrangements, and take a photo of an arrangement you like so you can recreate it. This playful stage is often the most enjoyable part of collage, so take your time and trust your instincts.
Step 3: Layer From Back to Front
Start gluing with background pieces first, then add middle layers, and finally the focal image on top. Press each piece flat and smooth out air bubbles with your fingers or a bone folder. If an edge lifts, add a little extra glue underneath. Working back to front keeps your composition clean and prevents you from gluing over a piece you wanted to keep visible.
Step 4: Add Details and Finishing Touches
Once the main pieces are glued, add details. Draw lines with a pen, add paint splashes, stamp a pattern, or glue on small embellishments like thread or sequins. Step back often to see the whole piece. When it feels finished, let it dry flat under a heavy book overnight. A final coat of gel medium or clear varnish protects the surface and gives it a unified finish.
Collage Art Styles to Explore
Collage has many styles, and trying different ones helps you find your voice. Photomontage combines photographs into surreal, dreamlike scenes. Abstract collage focuses on color, shape, and texture rather than recognizable images. Landscape collage builds scenes from torn paper, creating hills, skies, and water from color alone. Portrait collage uses many small images to build a face, a technique that looks complex but is surprisingly approachable.
You can also combine collage with painting and printmaking. For example, paint a background with flowing color, using techniques from acrylic pour painting, then collage images on top. Or print bold shapes with resin art for beginners in mind for glossy finishes over collage pieces. Exploring embroidery stitches for beginners can also inspire you to stitch into your collages, adding thread lines and texture that glue alone cannot achieve.
Collage Art for Relaxation and Self-Expression
Many people use collage as a form of self-expression and stress relief. Because collage does not require drawing skills, it frees you from performance anxiety. You can express feelings, memories, and dreams through images you choose, without worrying about technical skill. Art therapists often use collage for this reason, helping people explore emotions in a safe, creative way.
Try making a vision board collage, choosing images that represent your goals and dreams. Or make a gratitude collage, using images of people, places, and things you appreciate. These personal collages become meaningful keepsakes, and the process of making them often brings clarity and calm. Keep a collage journal, adding one small collage a week, and watch how your style and interests evolve over time.
Common Mistakes Beginners Make
The most common mistake is gluing too early. Beginners often glue the first piece down, then regret its placement. Always arrange everything first and live with the arrangement for a few minutes before gluing. Another mistake is using too many competing focal points. If every image screams for attention, none stands out. Choose one star and let the rest support it.
A third mistake is using weak glue or too little of it, which causes edges to peel over time. Use enough adhesive and seal your finished piece. A fourth mistake is overworking a collage. Adding more and more pieces can turn a clear composition into clutter. When a piece feels almost finished, stop and step away. You can always add more tomorrow, but you cannot easily remove glued layers.
Displaying and Selling Your Collage Art
Collage art looks wonderful framed, especially with a simple mat that gives the busy composition room to breathe. Small collages make charming greeting cards and gifts. Larger pieces suit living rooms, studios, and offices, where their layers reward close looking. For display ideas, explore bedroom wall art ideas, which show how to hang and group art effectively.
Many collage artists sell prints, originals, and cards online and at craft fairs. Because collage uses affordable materials, it can be a profitable creative business. Learn how to price and present your work by reading about how to sell art online. You can also visit galleries for inspiration, and a guide to visiting an art exhibition helps you study how professional artists present mixed-media work. For a sense of current styles, explore modern abstract art trends and see how collage fits into contemporary art.
Conclusion: Start Your Collage Art Journey Today
Collage art for beginners is proof that anyone can make art. You do not need talent, training, or expensive supplies. You need scissors, glue, paper scraps, and a willingness to play. Every collage you make teaches you about color, composition, and your own taste.
This week, gather a few magazines, choose a theme you love, and make your first collage. Arrange, glue, and finish it, then hang it where you can see it. Notice how satisfying it feels to turn scraps into art. Then make another one. Before long, collage will become a joyful habit and a unique way to tell your story.


