
Figure drawing is the foundation of all art. If you can draw the human body with confidence, you can draw almost anything. Portraits, comics, animation, fashion, and illustration all depend on understanding how people stand, move, and balance. This guide to figure drawing for beginners will teach you proportions, gesture, and simple practice routines that build real skill fast, even if you have never drawn a person before.
Do not worry if your first figures look stiff or awkward. Every artist starts there. Figure drawing is a skill built through observation and repetition, not talent alone. With the right approach and a few minutes of daily practice, your figures will start to look natural, lively, and believable.
Figure Drawing for Beginners: Understanding Proportions
The human body follows rough proportions that give beginners a reliable starting point. The classic rule measures the body in head lengths: an average adult stands about seven and a half heads tall. The head itself is one unit, the torso is roughly three units from chin to hips, and the legs make up the remaining three and a half units.
Useful landmarks help you place everything. The elbows line up with the waist. The wrists reach about mid-thigh. The knees sit halfway between the hips and the feet. The shoulders are about two head-widths wide on an adult man and slightly narrower on an adult woman. These are averages, not rigid laws: real people vary, and children have very different proportions, with larger heads relative to their bodies.
Start every figure with these measurements in mind, and check them against your reference. The habit of measuring will also improve your other portrait work, including when you practice how to draw faces and how to draw hands, where small errors are easy to spot.
Gesture Drawing: Capturing Movement in 30 Seconds
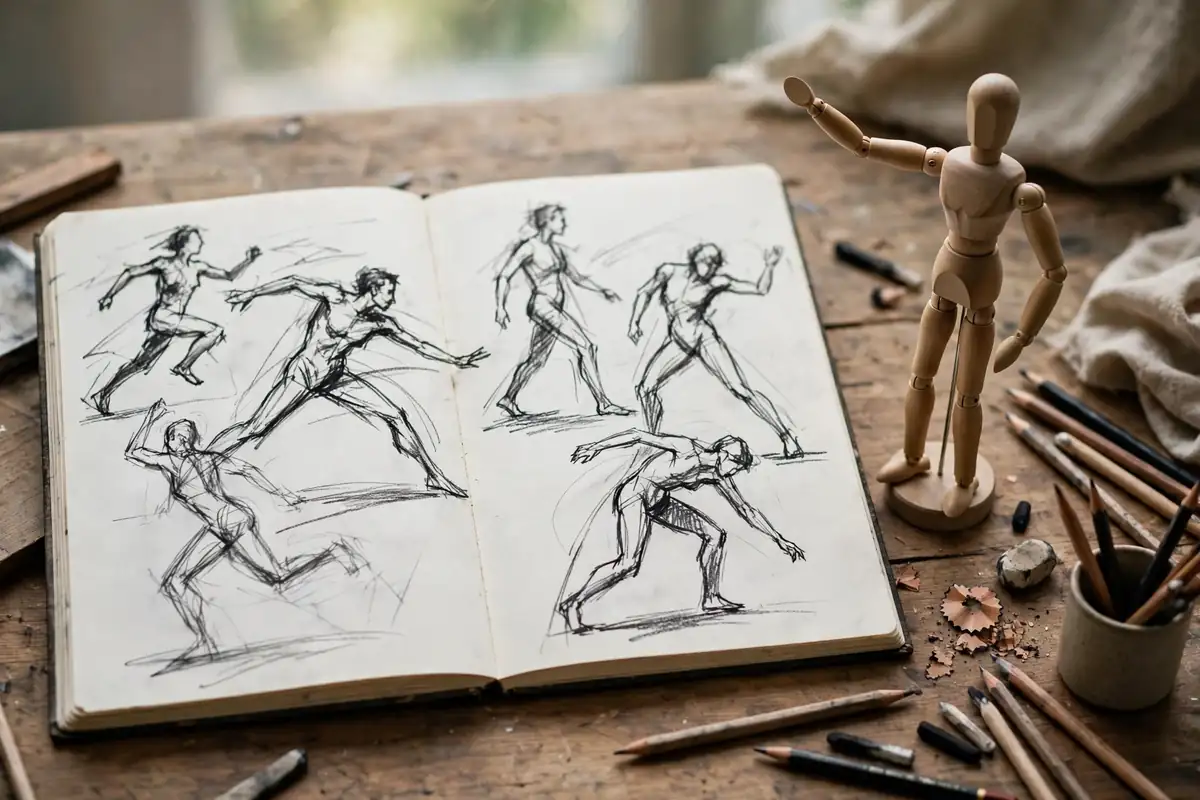
Gesture drawing is the fastest way to make your figures feel alive. Instead of carefully outlining the body, you draw the energy and movement of the pose in a few sweeping lines. Set a timer for 30 seconds, look at a reference photo, and draw the main line of action: the curve of the spine, the tilt of the hips, and the direction of the limbs.
Do not lift your pencil much, and do not worry about details. A good gesture drawing looks like a scribble that somehow feels like a person running, dancing, or reaching. Repeat this exercise ten times in a row, and you will notice your lines getting looser and more confident. Gesture practice is the warm-up that professional animators and illustrators do every day.
Once the gesture feels right, you can build the figure on top of it. Think of the gesture as the skeleton of the drawing: if the skeleton is wrong, no amount of detail will fix it. If the gesture is right, the figure will look convincing even with simple shapes. This same loose-to-tight approach helps when you learn how to draw anime characters, where dynamic poses matter enormously.
Building the Figure With Simple Shapes
After your gesture line, block in the body with simple three-dimensional forms. Draw the head as an egg shape, the ribcage as a rounded box, and the pelvis as a tilted bowl. Connect them with a curved line for the spine. Draw the arms and legs as tapered cylinders, with small spheres for the joints at the shoulders, elbows, wrists, hips, knees, and ankles.
Thinking in volumes instead of flat outlines is the key that separates beginner figures from believable ones. A cylinder arm can twist, bend, and foreshorten. A flat arm cannot. Practice drawing these forms from different angles: front, side, back, and three-quarter views. Use a wooden artist mannequin or an anatomy app to study how the forms change when the body turns.
If you already enjoy sketching for beginners, you will recognize this method: it is the same construction approach used for animals, objects, and architecture. The only difference is that the human body has more moving parts, so it rewards more practice.
Drawing Hands, Feet, and Faces in Figure Work
Hands and feet cause the most frustration for beginners, and the usual advice is to hide them. Do the opposite: practice them deliberately. Draw your own hand in five different positions every day for a week. You will quickly learn that a hand is a mitten shape with four finger cylinders, and that the thumb sits lower and rotates differently from the fingers.
Feet are simpler than they look. Think of the foot as a wedge: the ankle is the narrow end, and the toes fan out at the wide end. Draw the arch on the inner side and keep the toes as short, rounded shapes rather than long fingers. For faces in figure drawings, keep them simple at first: place the eyes on the halfway line of the head, the nose halfway between the eyes and chin, and the mouth one third of the way down from the nose to the chin.
These small studies compound quickly. A month of daily hand sketches will transform your figure drawings more than any single tutorial. For deeper tone work on the body, charcoal drawing techniques are excellent, because charcoal forces you to think in big value shapes rather than fussy lines.
Foreshortening: Drawing the Body in Perspective
Foreshortening happens when a limb points toward or away from the viewer, making it look shorter than it really is. A hand reaching toward you looks huge, while an arm pointing away looks compressed. Beginners often resist this and draw limbs at full length, which makes the pose look flat and wrong.
To handle foreshortening, trust what you see, not what you know. Measure the limb in your reference photo and draw exactly that length, even if it feels too short. Overlap is your friend: when one body part passes in front of another, draw the front part fully and let the back part disappear behind it. This overlap creates depth instantly.
Practice foreshortening with photos of athletes, dancers, and people reaching toward the camera. These dramatic poses are challenging, but they teach you more in one session than ten standing poses. The same observation skills help when you draw animals, including when you learn how to draw a cat in a curled or stretching pose.
Shading the Human Figure
Once your construction is solid, shading adds weight and realism. The human body is made of soft, rounded forms, so shade with smooth gradients rather than harsh lines. Identify the light source, then shade the shadow side of each form: the far side of the torso, the underside of the arms, and the inner thighs.
Look for core shadows, the darkest band where a form turns away from the light, and reflected light, the soft glow just beyond the core shadow caused by light bouncing off nearby surfaces. Capturing these two elements makes a figure look round instead of flat. Use colored pencil drawing techniques if you want to practice layering skin tones slowly and gently.
Keep your darkest darks for the deepest creases: under the chin, in the armpits, behind the knees, and between overlapping limbs. Keep your lightest lights on the tops of the shoulders, the forehead, and the kneecaps. Step back often and squint: squinting reveals the big light and shadow pattern that holds the whole figure together.
A Simple Weekly Figure Drawing Routine
Consistency beats intensity. A practical weekly routine looks like this. On Monday, do twenty one-minute gesture drawings from photos. On Tuesday, draw three longer ten-minute figures with full construction. On Wednesday, study one body part in detail, such as hands or feet. On Thursday, copy a master drawing to learn how great artists solve problems. On Friday, draw from life: a friend sitting still, a person at a cafe, or yourself in a mirror.
Keep every drawing, even the bad ones. Date them and flip back through your sketchbook each month. The progress will surprise you. Joining a local life-drawing session, even once a month, accelerates everything: drawing a real person in front of you teaches you to see proportions and movement in a way photos cannot.
Digital tools can support this routine too. A Procreate drawing tutorial for beginners shows how to use layers and quick shapes for figure studies on a tablet. And when you want inspiration, visiting an art exhibition lets you study how master artists handled the figure up close. Contemporary work in modern abstract art trends also shows how far artists can push the figure once they understand it.
Common Figure Drawing Mistakes
The most common mistake is drawing the head too large, which makes the figure look childlike. Check your head-unit measurements early. Another mistake is making both arms and legs symmetrical in a dynamic pose: real bodies twist, so one shoulder should usually be higher than the other, and the hips should tilt in the opposite direction, creating a natural S-curve through the spine.
A third mistake is stiff, straight limbs. Real arms and legs are rarely perfectly straight: they bend slightly, even at rest. Add a gentle curve to every limb. Finally, avoid the trap of drawing what you think a body looks like instead of what you actually see. Cover your reference, draw from memory, then compare: the gaps between the two reveal exactly what you need to study next.
Conclusion
Figure drawing for beginners comes down to three habits: measure proportions, capture gesture first, and practice a little every day. Build your figures from simple volumes, study hands and feet on purpose, trust foreshortening when it looks strange, and shade with soft, rounded values. Your figures will not be perfect, and they do not need to be. Each drawing makes the next one easier.
Set a timer, find a reference photo, and draw your first gesture figure today. In a month of steady practice, you will look back at today’s sketchbook page and see just how far you have come.
Once you can feel the rhythm of a pose, gesture drawing for beginners will help you capture movement before you worry about anatomy.


