
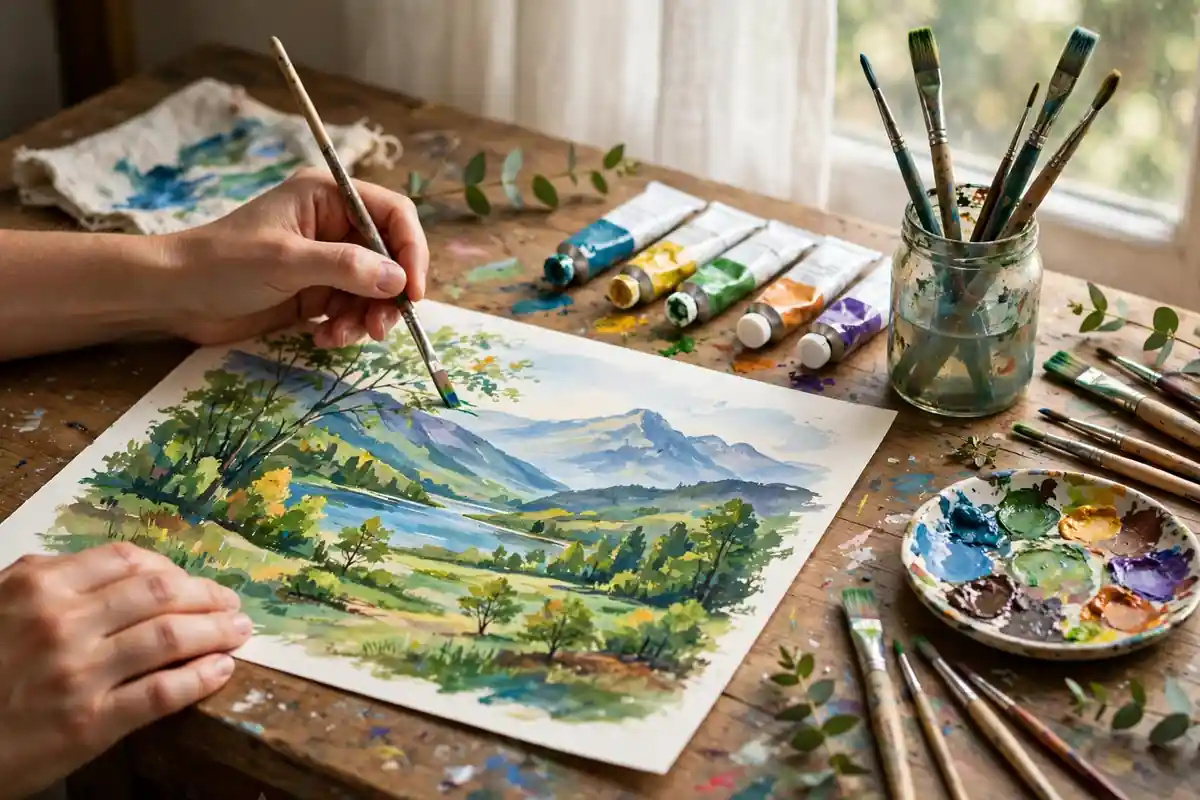
If you have ever admired the rich, matte colors of a children’s book illustration or the bold flat tones of a modern poster, you were probably looking at gouache. This centuries-old paint has become one of the most popular mediums among American artists in 2026: it dries quickly, covers like acrylic, blends like watercolor, and forgives mistakes gracefully. This complete guide to gouache painting for beginners covers supplies, core techniques, a step-by-step first painting, color mixing, and the mistakes that trip up almost every newcomer.
What Is Gouache? The Basics of Gouache Painting for Beginners
Gouache (pronounced “gwash”) is essentially opaque watercolor. It is made from the same pigment-and-gum-arabic base as watercolor painting techniques you may already know, but it contains a much higher concentration of pigment plus an opacifying agent. The result is a paint that dries to a smooth, matte, completely opaque finish. Unlike watercolor, where you work from light to dark and preserve the white of the paper, gouache lets you paint light colors directly over dark ones.
Think of it as the best of both worlds: the reworkability and portability of watercolor combined with the coverage power of acrylic. When a dried area bothers you, simply wet your brush and reactivate the paint. This forgiving quality makes gouache painting for beginners far less intimidating than it first appears. One brushstroke is never a final verdict.
Why Gouache Is Perfect for Beginners
Gouache rewards experimentation in ways other mediums do not. Because it reactivates with water, you can fix errors even days later — a luxury you do not get with fast-drying acrylics. The matte finish photographs beautifully, which is why so many American illustrators and travel artists switched to gouache. A small palette of tubes, a travel brush, and a pad of mixed-media paper fit in a tote bag, so you can paint in a park, on a train, or at your kitchen table.
Compared with acrylic painting techniques for beginners, gouache dries faster, cleans up with plain water, and costs significantly less to start. Compared with oils, there are no solvents, no fumes, and no week-long drying times. For anyone curious about oil painting techniques every beginner should know later on, gouache builds the exact same foundational skills: brush control, value, color mixing, and composition.
Essential Supplies for Gouache Painting for Beginners
You need surprisingly little to start. Resist the urge to buy a 24-tube set; a limited palette teaches you more about color than a wall of tubes ever will.
The Paint: Start With a Limited Palette
Buy artist-grade tubes if your budget allows — student grade contains more filler and less pigment, which makes clean color mixing frustrating. A perfect starter palette is just five colors: titanium white, cadmium yellow, alizarin crimson, ultramarine blue, and ivory black. With these five you can mix nearly any color in the real world. White is used far more in gouache than in watercolor because it lightens every tone; buy the largest tube of white you can afford.
Brushes, Paper, and the Rest
Round brushes in sizes 4, 8, and 12 plus one flat wash brush will handle 95 percent of your paintings. Synthetic brushes work beautifully with gouache and cost a fraction of sable. For paper, choose mixed-media or watercolor paper at least 140 lb (300 gsm) — thin sketchbook paper buckles the moment water touches it. You will also need two water jars, a palette or ceramic plate, paper towels, and a spray bottle.
If you enjoy paper-based crafts, many of these supplies overlap with other creative hobbies. Artists who love colored pencil drawing techniques or calligraphy for beginners will find that gouache complements those skills beautifully — gouache backgrounds under calligraphy lettering are a beloved combination.
8 Core Techniques in Gouache Painting for Beginners
1. Flat Wash
The flat wash is the foundation of everything. Load your flat brush with a generous amount of creamy paint — gouache should be mixed to the consistency of heavy cream, not watery soup. Pull the brush across the paper in even, overlapping strokes without scrubbing. If you see streaks, your mixture is too dry; add water, not more paint. Practice filling rectangles with a single smooth tone before you paint anything else.
2. Wet-on-Wet Blending
Paint two colors into a still-wet area and let them merge on the paper. This is how you create soft skies, distant hills, and glowing sunsets. Work quickly — gouache dries in minutes — and use a spray bottle to extend the open time on hot days.
3. Dry Brush
Drag a brush with very little paint across dry, textured paper to create broken, scratchy marks. Dry brush is perfect for tree bark, stone walls, weathered wood, and sparkling water. It adds the kind of texture that makes a painting feel alive instead of flat.
4. Layering (Painting Light Over Dark)
This is gouache’s superpower. Let a dark layer dry completely, then paint a lighter shape right on top. Try painting a deep blue night sky, letting it dry, then adding a bright moon and stars. No masking fluid, no careful planning around whites — just paint over it. Every time you do this you will wonder why all paint doesn’t work this way.
5. Glazing
Thin your gouache with more water and lay transparent veils of color over dry layers to shift the temperature or mood of an area. A thin warm glaze over a green field turns it golden; a cool blue glaze pushes distant mountains back in space. Artists working in today’s modern abstract art trends use glazing to build luminous color fields without disturbing the layers beneath.
6. Scumbling
Scrub a dry, stiff brush with a small amount of opaque paint over a dry layer to create texture and sparkle. Scumbling over a dark background with a lighter color produces the shimmer of distant city lights or the sparkle of ocean waves.
7. Lifting and Sgraffito
Because gouache reactivates with water, you can lift color back out with a damp brush to create highlights — perfect for clouds, ripples, and foam. For crisp details, try sgraffito: scratch through wet paint with the end of a brush handle to reveal the layer beneath. Thin branches, telephone wires, and whiskers become easy instead of terrifying.
8. Fine Detail Work
Use the very tip of a small round brush with thick paint for details. Load the brush well and touch the paper lightly — pressing hard splays the bristles. Details go on last, always, when every layer beneath is bone dry.
Mixing Colors in Gouache: A Beginner’s Framework
Gouache mixing follows simple, reliable rules. Mix on your palette, not on the paper, and always mix more paint than you think you need — matching a dried color exactly is nearly impossible.
- Remember that gouache dries darker. Colors darken as they dry, sometimes dramatically. Paint a test swatch and let it dry for two minutes before judging the color.
- Mix with white to lighten, not water. Adding water makes gouache transparent and chalky; adding white keeps it opaque and clean.
- Limit your mixtures to three pigments. More than three and colors turn muddy. If a mixture looks dull, start over with fresh paint.
- Neutralize instead of blackening. Mix complementary colors (red and green, blue and orange) to create rich browns, grays, and shadows that look far more natural than black from the tube.
- Keep a color journal. Swatch every mixture you make and label the colors used. Within weeks you will have a personal recipe book that makes painting faster and more confident.
These same mixing principles strengthen every painting medium you will ever try. Artists working on acrylic pour painting projects use identical complementary-color logic to control their palettes, and the discipline transfers straight into how to draw faces when you start mixing skin tones.
Your First Gouache Painting: A Step-by-Step Landscape
This simple landscape uses every technique above. Set aside 60 to 90 minutes and give yourself permission to make an ugly first attempt — it is still a complete, finished painting.
Step 1: Sketch Lightly (10 Minutes)
With a pencil, divide your paper into three horizontal bands: sky (top half), distant hills (a thin band), and foreground (bottom). Add a simple tree silhouette in the foreground and a sun or moon in the sky. Keep lines faint — heavy pencil shows through light gouache.
Step 2: Block In the Sky (15 Minutes)
Mix a generous puddle of sky blue (ultramarine plus white). Using your flat brush, lay a flat wash over the entire sky area. While it is still wet, add a touch of warm yellow near the horizon with the wet-on-wet technique and let the colors melt together. Leave it alone now — overworking wet gouache causes mud.
Step 3: Paint the Distant Hills (10 Minutes)
Once the sky is dry to the touch, mix a muted blue-green (ultramarine, a little yellow, white). Paint the hill band with loose horizontal strokes. Add a thin cool glaze over part of it to push it into the distance.
Step 4: Build the Foreground (20 Minutes)
Mix a rich green (yellow plus ultramarine, neutralized with a touch of red). Paint the foreground with energetic strokes, varying the color as you go — darker at the bottom, lighter toward the hills. Add dry-brush texture for grass. Then paint your tree: dark trunk, a mass of foliage built from layered dabs, and a few lifted highlights.
Step 5: Details and Finish (15 Minutes)
With everything dry, add the sun or moon by painting light over dark — this is the moment gouache feels like magic. Scratch in a few birds with the brush handle (sgraffito), add small foreground details with your smallest brush, and sign your work. Step back, and admire a real painting you made in about an hour.
7 Mistakes Every Gouache Beginner Makes (and How to Fix Them)
1. Using too much water. Watery gouache turns streaky and transparent. If your paint looks chalky or patchy, you added water instead of paint. Mix it thicker — heavy cream, always.
2. Scrubbing the paper. Going back and forth over a wet area lifts the layer beneath and creates mud. Lay the stroke down and leave it. If it is wrong, let it dry and paint over it.
3. Not mixing enough paint. Running out mid-wash guarantees a visible seam. Mix twice what you think you need; leftover paint can be rewetted tomorrow.
4. Judging colors while wet. Gouache dries darker. Every beginner panics at a too-bright wet color, adds more pigment, and ends up with a painting that is too dark. Test, dry, then decide.
5. Painting details too early. Details need a dry surface. If your fine lines are bleeding, the layer beneath was still damp. Patience is a technique.
6. Using dirty water. Muddy rinse water contaminates every mixture. Change your water the moment it looks cloudy — it costs seconds and saves paintings.
7. Skipping the value sketch. Beginners obsess over color and ignore value (light vs. dark). A painting with correct values and wrong colors still reads beautifully; the reverse is never true. Squint at your subject constantly.
Growing Your Skills: What to Practice Next
Once your first landscape is done, build a simple practice rotation. Dedicate one session a week to flat washes and color charts, one to a small study from a photo, and one to painting outdoors — even your own backyard counts. Within two months you will see a transformation that surprises you. The brush control you develop also transfers beautifully to pottery for beginners glazing work and handmade illustration projects.
When your paintings start feeling frame-worthy, learn how to present them. Studying visiting an art exhibition teaches you how professionals mat, frame, and light their work. Gouache has carried the work of professional illustrators, concept artists, and fine artists for over a century. Now it is your turn to pick up the brush.


