
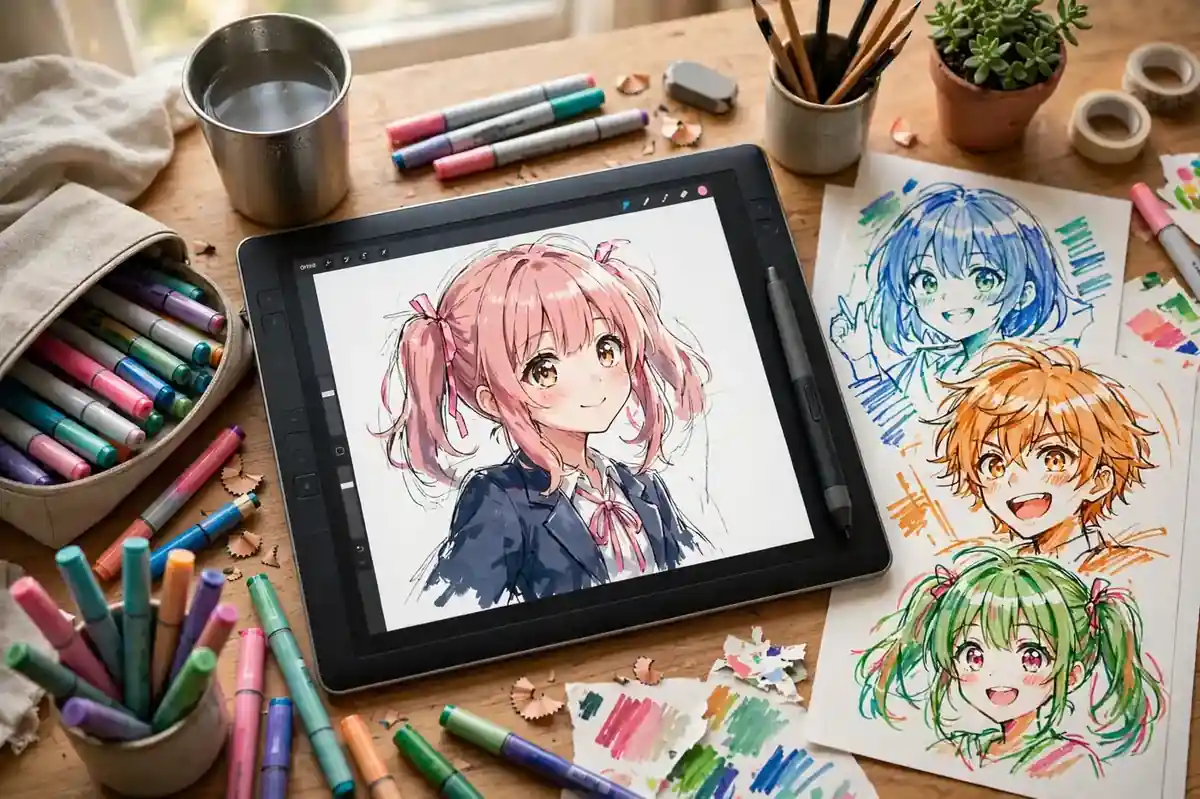
Anime art has taken over the world. From Netflix hits to TikTok fan art, the big expressive eyes and dynamic energy of Japanese animation style have inspired millions of new artists across the United States. If you have ever looked at an anime character and thought, “I wish I could draw that,” you are in the right place. Learning how to draw anime is not about mysterious talent; it is about learning the proportions, shapes, and techniques that anyone can master.
This guide teaches you how to draw anime from the ground up. You will learn the signature anime face structure, how to draw anime eyes that actually look right, body proportions for chibi and standard characters, hair that flows with energy, and the coloring techniques that give anime art its vibrant look. Whether you draw on paper or on a tablet, these fundamentals will take you from rough sketches to characters you are proud to share.
How to Draw Anime: Understanding the Style’s Core Rules
Anime is not one single style; it is a family of styles that share certain conventions. What most beginners mean by “anime” is the mainstream look popularized by studios and manga: simplified noses and mouths, highly expressive eyes, clean line art, and cel-style shading. The charm of anime comes from this simplification. Realistic detail is stripped away so that emotion and design take center stage.
The most important rule when you learn how to draw anime is that proportions are flexible but consistent. Anime faces use a smaller nose, a larger forehead, and eyes that sit lower than in realistic drawing. Once you internalize these conventions, you can bend them to create your own style. Many artists begin with realistic basics like those in our guide to how to draw faces, then adapt them into the anime look.
Drawing the Anime Face: The Foundation
Start with a circle for the cranium, then draw a vertical center line and a horizontal eye line across the lower third. In anime, the eyes sit noticeably lower than the middle of the head, creating that youthful look. Below the circle, sketch a pointed chin; anime chins are narrower and sharper than realistic ones.
Place the eyes on the eye line, leaving about one eye-width between them. The nose in anime is often just a tiny mark, a short line, or even nothing at all at a three-quarter view. The mouth is small and sits close to the chin, drawn as a simple curve that changes shape dramatically with expression. Ears sit at about the same height as the eyes and are usually simplified into a few curved lines.
Do not rush this construction stage. A clean face structure makes everything else easier, from hairstyles to expressions. Practice drawing the blank anime head from the front, from three-quarter view, and in profile until you can do it without thinking.
How to Draw Anime Eyes That Look Amazing
Anime eyes are the soul of the style, and they are where beginners should spend the most practice time. Start with the upper lash line: draw a thick, curved line that is heavier at the outer corner. The upper lashes carry most of the visual weight in anime eyes, so make them bold. The lower lash line is thinner and often incomplete, fading out toward the inner corner.
Inside, draw a large iris that fills most of the eye opening. Add a big highlight circle near the top of the iris and a smaller one near the bottom; these reflections are what make anime eyes look alive and glossy. Color the iris with a gradient, darker at the top and lighter at the bottom. Add the pupil as a dark oval in the center, and shade the top of the eye with the shadow cast by the upper lash.
Eyebrows matter more than most beginners realize. Anime eyebrows are expressive and often drawn high above the hairline. Angled down toward the center, they show anger; raised with curved inner ends, they show sadness. Practice the same eye in five emotions: happy, sad, angry, surprised, and shy. This emotional range is what separates flat anime drawings from ones that tell a story.
How to Draw Anime Hair With Energy and Flow
Anime hair is drawn in chunky, distinct sections rather than individual strands. Think of the hair as a helmet made of flowing ribbons. Start by drawing the overall hair shape as one big form that extends beyond the skull, because anime hair has volume and defies gravity far more than real hair.
Then divide that big shape into 5 to 8 large locks or spikes. Each lock should taper to a point and overlap its neighbors slightly. Draw a few thin highlight streaks along the top of the larger locks to suggest shine. Avoid drawing hundreds of tiny strands; the bold, graphic locks are what read as “anime” to the viewer.
For long hair, let the locks flow past the shoulders and give them a sense of movement by curving them in one direction, as if caught by wind. For short, spiky hair, vary the length and direction of the spikes so the silhouette looks interesting from every angle. Hair is one of the fastest ways to give a character personality, so experiment freely. When you are ready to color your work, the layering skills from colored pencil drawing transfer beautifully to rendering anime hair.
Anime Body Proportions: Chibi to Realistic
Anime bodies use a “heads tall” measuring system. A standard anime character is about 6 to 7 heads tall, slightly stylized compared to the realistic 7.5 to 8 heads. A chibi character, the super-deformed cute style, is only 2 to 4 heads tall with a giant head and tiny body. Knowing which proportion system you are using before you start prevents the most common beginner mistake: a head that is too big for a realistic body or too small for a chibi one.
Draw the body using simple shapes first: an oval for the torso, circles for the joints, and tapered cylinders for the limbs. Anime bodies are slimmer than realistic ones, with less emphasis on muscle definition. Female characters typically have narrower shoulders and wider hips; male characters have broader shoulders and a more rectangular torso. Keep the hands and feet simplified, especially in chibi style, where they can be little more than rounded shapes.
Dynamic posing is what makes anime art exciting. Study action poses from your favorite shows and notice how characters lean, twist, and exaggerate their gestures. Even a standing pose looks better with a slight contrapposto, weight shifted to one leg. If you create characters digitally, the workflow tips in our Procreate drawing tutorial will help you pose and refine figures faster.
Clothing and Folds: Dressing Your Anime Characters
Anime clothing follows the body but adds its own shapes. School uniforms, the most iconic anime outfit, are drawn with crisp collars, pleated skirts, and ribbon ties. The trick to believable clothing is drawing the body underneath first, even if it will be covered, so the clothes sit on a real form.
Folds radiate from tension points: where fabric is pulled tight over shoulders, elbows, and knees, and where it bunches at the waist and under the arms. Draw folds as curved lines that follow the direction of the pull, never as random zigzags. Loose clothing like hoodies has big, soft folds; tight clothing like leggings has thin, stretched wrinkles. A few well-placed fold lines suggest the whole garment better than dozens of confusing ones.
How to Draw Anime: Inking and Line Art
Clean line art is the backbone of the anime look. Whether you ink traditionally with fineliners or digitally, aim for confident, varied lines. Outer contours should be thicker than inner details, which creates depth and makes the character pop off the page. Taper your lines at the ends instead of leaving blunt stops; tapered lines feel more organic and professional.
When inking, work from the general to the specific. Ink the big shapes first, then the face details, then the hair locks, and finally the small accents. If you make a mistake on paper, do not panic; many professionals scan their pencils and ink digitally, where an undo button fixes everything. This hybrid workflow is also a great stepping stone into digital art for beginners, where layers make inking far more forgiving.
Coloring Anime Art: Cel Shading Made Simple
Classic anime coloring uses cel shading: flat base colors with one or two hard-edged shadow shapes. Start by filling each area with its base color, keeping your color palette limited and harmonious. Then add shadows as solid shapes on one side of each form, imagining a single strong light source. The edge between light and shadow is crisp, not blended, which gives anime its graphic punch.
Add a thin rim light along the edges opposite the light source for extra dimension, and finish with the glossy eye highlights and hair shine streaks. For skin, anime uses a simple formula: base skin tone, one shadow shape under the chin and hair, and a soft blush on the cheeks. Once you master cel shading, you can experiment with softer painterly styles, but the clean cel look remains the heart of anime coloring. Artists curious about AI-assisted workflows can also explore how to use Midjourney for generating anime-style concept inspiration.
Common Mistakes When Learning How to Draw Anime
Symmetrical, lifeless faces. Beginners often draw both sides of the face identically, which looks stiff. Introduce slight asymmetry: tilt the head, vary the eye shapes a touch, or let the hair fall unevenly.
Eyes too high on the face. Placing eyes at the realistic midpoint ruins the anime look. Push them lower, into the bottom third of the head circle.
Copying without understanding. Tracing your favorite characters teaches your hand but not your brain. Always follow a traced study by drawing the same character from imagination, so the knowledge sticks.
Neglecting the body. Many beginners draw amazing anime faces attached to stiff, awkward bodies. Give figure drawing equal practice time, because a great face cannot save a broken pose.
Over-detailing too early. Rendering every fold and strand before the structure is solid leads to polished-looking mistakes. Nail the construction first; details are the easy part. This discipline applies across all art forms, including the bold compositions explored in modern abstract art trends and the design principles in our graphic design tips for beginners.
A 30-Day Plan for Learning How to Draw Anime
Week 1: Draw 20 anime heads from the front and three-quarter views. Focus only on structure: circle, chin, eye line, and feature placement.
Week 2: Draw 50 pairs of anime eyes in different emotions. Then add hairstyles, practicing 10 distinct hair designs on your head bases.
Week 3: Study body proportions. Draw 15 full-body figures in the 6-heads-tall system, then 10 chibi characters at 3 heads tall.
Week 4: Complete three finished pieces: one portrait, one full-body character, and one colored illustration with cel shading. Share them online for feedback. Seeing real art in person accelerates growth too, so check out our guide to visiting art exhibitions for inspiration, and try traditional media like watercolor or acrylic painting to broaden your skills.
Conclusion: Your Anime Style Is Waiting
Learning how to draw anime is a journey of joyful repetition. Every professional anime artist started with wobbly eyes and lopsided faces. The ones who got good are simply the ones who kept drawing. Follow the structure-first method in this guide, practice eyes and hair daily, and finish one complete character each week. Pick up the pencil and start drawing today.


