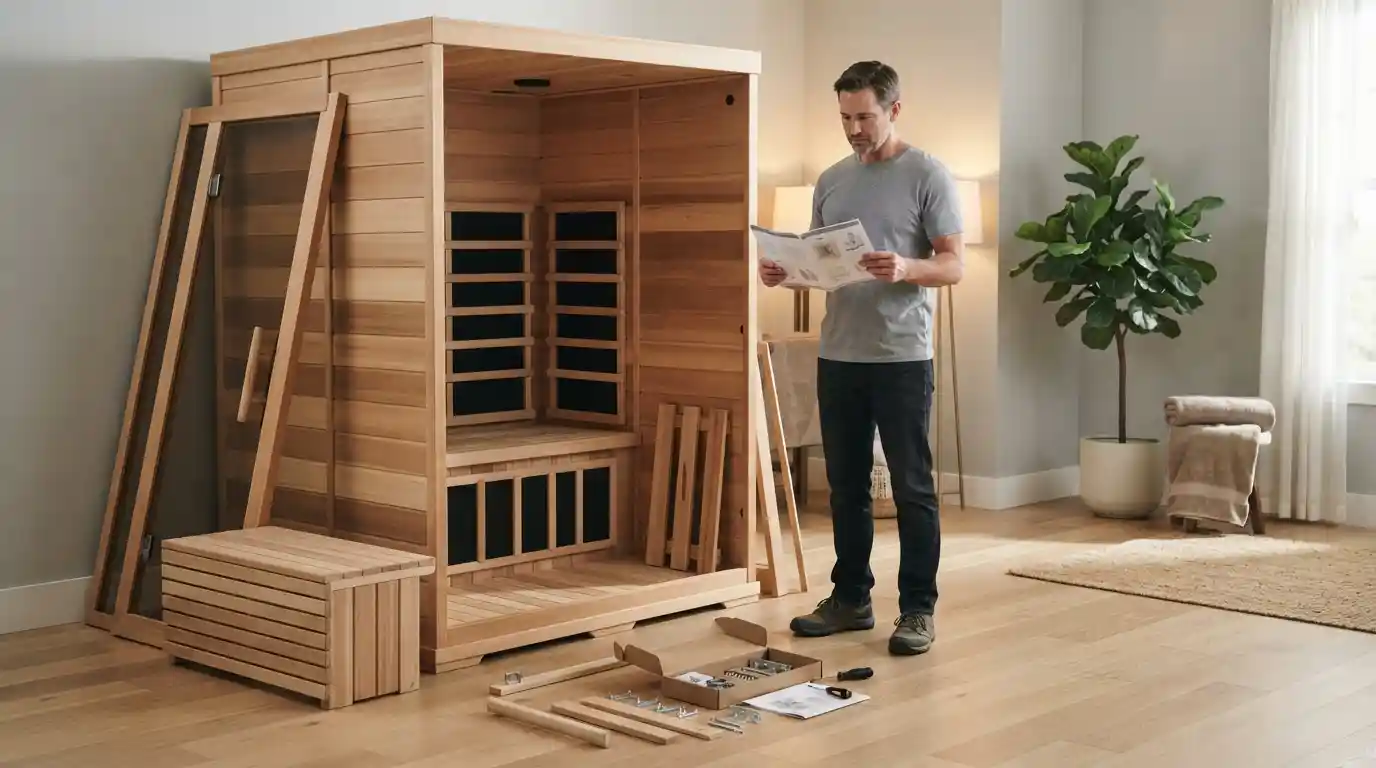
Whether you are assembling a new unit, preparing for your first session, or trying to maintain an existing sauna, this guide explains the most important steps in a practical order. The goal is to help you approach installation and everyday use carefully while keeping the manufacturer’s instructions for your specific model as the primary source of model-specific requirements.
Why the JNH Lifestyles Sauna Manual Matters
Infrared sauna models can look straightforward once assembled, but several details matter during installation. Panels need to be positioned correctly, electrical connections must match the model’s requirements, the cabin needs an appropriate location, and controls should be understood before the first session.
That is why reading the manual before opening every box or connecting the power supply is worthwhile. A careful setup can make later maintenance much easier and can reduce the chance of problems caused by incorrect assembly or unsuitable installation conditions.
The manual should remain accessible after installation. You may need it later when checking a control-panel function, identifying a component, reviewing cleaning instructions, or contacting customer support about an issue.
For homeowners interested in creating a broader wellness-focused living environment, related home and lifestyle topics can also provide useful planning ideas, including home solutions and maintenance and professional home improvement services.
What to Check Before Assembling Your Sauna
Before beginning assembly, choose a suitable location and make sure the floor is level, stable, dry, and capable of supporting the installed unit. Avoid rushing directly into construction simply because all the boxes have arrived.
Start by checking the package contents against the parts list supplied with your model. Look for panels, benches, heaters, hardware, cables, control components, door parts, and other accessories. If something appears damaged or missing, document the issue before continuing.
It is also helpful to clear enough space around the sauna for assembly and future access. The exact clearance requirements can vary by model, so follow the dimensions and installation instructions provided with your particular manual.
If your home project involves broader improvements, you can also explore healthy home cleaning practices and home service solutions as part of a wider home-maintenance routine.
JNH Lifestyles Sauna Assembly: Step-by-Step Overview
The exact assembly sequence differs between JNH Lifestyles models, so the model-specific manual should always take priority. However, many home infrared sauna installations follow a logical sequence involving the base, wall panels, front section, interior components, electrical connections, and roof.
1. Prepare the Floor or Base
Begin with the sauna floor or base panel. Place it on the prepared surface and verify that it sits securely without excessive movement. A stable foundation makes it easier to align the remaining panels.
2. Install the Rear Panel
Once the base is correctly positioned, follow the manual’s instructions for fitting the rear panel. Take your time with grooves, connectors, latches, and fasteners. Do not force a panel into place if the alignment appears incorrect.
3. Attach the Side Panels
The side panels normally connect to the base and rear structure. Keep the panels supported while connecting them, particularly when working with glass or other heavy components.
Before fully tightening hardware, confirm that the structure is aligned. Small alignment issues can become more difficult to correct once multiple panels have been secured.
4. Install the Front and Door Components
The front section and door should be installed according to the instructions for your specific model. Check that the door opens and closes smoothly and that the latch or magnetic closure operates correctly.
Never force a door into alignment. If it does not close properly, stop and recheck the surrounding panels and hardware.
5. Install the Bench
Install the bench and its supporting components according to the manual. Make sure the seating surface is secure before placing weight on it.
A towel can also be useful during regular use because it helps reduce direct contact between sweat and the wood. For additional home-comfort ideas, see the related home audio and lifestyle setup guide.
6. Connect the Electrical Components
Electrical installation deserves particular attention. Use only the electrical configuration specified for your sauna model. Do not improvise wiring, modify connectors, or use an unsuitable outlet simply because it appears convenient.
If electrical work is required beyond the normal plug-in setup described by your model’s instructions, use a qualified professional. Never work on energized electrical connections.
7. Install the Roof or Top Panel
After the main structure and interior components are positioned, install the top section according to the manual. Before powering the sauna, perform a final inspection of the panels, connectors, cables, door, bench, and control components.
Understanding the Sauna Control Panel
The control panel is the main interface for operating your sauna. Depending on the model, controls may include temperature adjustment, session timing, lighting, audio, or other functions.
Do not assume that every JNH Lifestyles model uses the same controls or temperature range. Settings can vary between models, so the manual supplied with your unit should determine the correct operating procedure.
Before your first session, learn how to:
- Turn the sauna on and off.
- Adjust the temperature.
- Set the session timer.
- Operate interior lighting.
- Use any included audio or Bluetooth functions.
- Stop the session if you become uncomfortable.
Understanding these controls beforehand makes the first session more relaxed and reduces unnecessary experimentation.
First-Time Use: How to Prepare for Your First Session
Your first session should be treated as an introduction rather than a test of maximum heat. Allow the sauna to operate according to the preparation or initial-use instructions supplied for your model.
Before entering, drink water and make sure the cabin is clean and ready. Keep a towel available for the bench and avoid bringing unnecessary objects into the heated environment.
Start conservatively, particularly if you are new to infrared sauna use. The objective is to become familiar with the temperature, airflow, controls, and duration rather than immediately selecting the most demanding setting.
Leave the sauna if you feel dizzy, weak, nauseated, unusually uncomfortable, or otherwise unwell. Sauna use may not be appropriate for everyone, especially people with certain medical conditions or situations that affect heat tolerance. When in doubt, discuss sauna use with an appropriate healthcare professional.
For broader wellness planning, you can also explore general wellness and health resources and healthcare information.
How to Clean a JNH Lifestyles Sauna
Regular cleaning is one of the simplest ways to keep a home sauna comfortable. Sweat, dust, and moisture can accumulate on benches and flooring if the cabin is not cleaned consistently.
Use the cleaning method specified by your model’s documentation. In general, avoid soaking unfinished sauna wood or leaving standing water on the surface. A lightly damp cloth is often preferable to excessive moisture.
After a session, remove damp towels and allow the cabin to ventilate according to the manufacturer’s care instructions. Regularly inspect the floor and bench for visible dirt or moisture.
Do not introduce harsh household chemicals into the sauna unless the manufacturer specifically says that a particular product is appropriate. Heated enclosed environments require greater care than ordinary household surfaces.
Keeping the surrounding room clean is equally useful. A broader home-care routine can complement the maintenance of a dedicated wellness space.
Sauna Wood Care and Moisture Management
Wood is an important part of the sauna environment, so unnecessary moisture and unsuitable surface treatments should be avoided. Never assume that a normal furniture polish, paint, stain, or household cleaner is appropriate for heated sauna wood.
Follow the exact maintenance instructions supplied with your JNH Lifestyles model. If you notice unusual discoloration, persistent odor, warping, cracking, or moisture damage, investigate the cause rather than simply covering the affected area with a new product.
Good ventilation after use can also help the interior dry naturally. Remove wet towels promptly and avoid leaving water containers where they could spill onto the wood.
Routine Sauna Maintenance Checklist
A simple maintenance schedule can prevent small issues from becoming larger problems. Consider using the following checklist:
- Inspect the bench and floor regularly.
- Remove towels after every session.
- Wipe visible sweat or moisture from appropr