
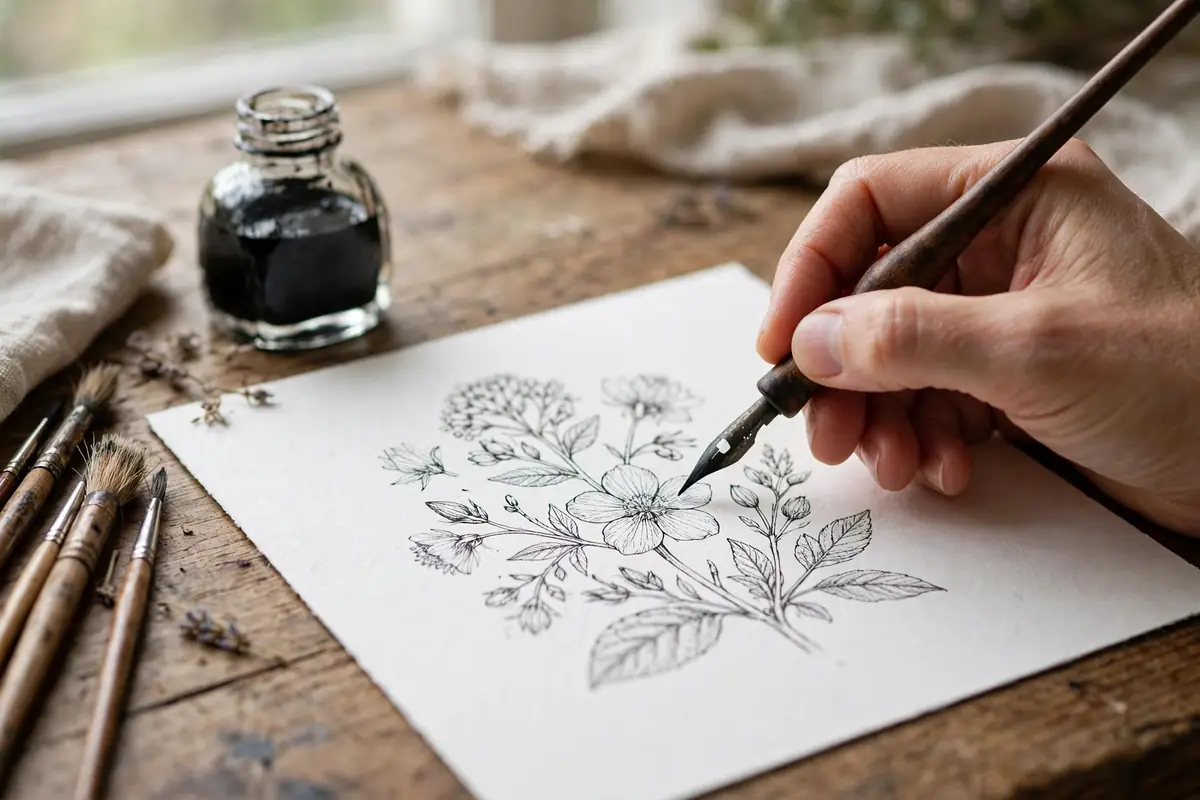
Ink drawing looks bold and effortless, but its confidence comes from simple techniques that anyone can learn. Unlike pencil, ink cannot be erased, and that permanence scares many beginners away. In truth, ink teaches you to slow down, plan your lines, and accept small imperfections as part of the drawing’s character. A slightly wobbly line in ink looks alive, while the same line in pencil might look like a mistake. That quality is why ink drawings feel so expressive and why so many artists return to pen and ink again and again.
This guide covers the tools you actually need, the core shading methods of hatching, cross-hatching, and stippling, and a set of exercises that build control without frustration. You will learn which pens suit beginners, how to avoid smudging, and how to shade a form using only black lines. By the end, you will have a practical routine for turning a blank page into a finished ink drawing that you are proud to show.
Start With Simple, Forgiving Tools
You do not need an expensive dip pen set to start. A single waterproof fineliner in size 0.5 is enough for your first month. Waterproof ink matters because it will not smear when you add watercolor later, and it dries fast enough to avoid most smudges. Add a second pen in size 0.1 for fine details and a brush pen for thick, expressive strokes. That small set covers nearly every beginner technique, and it costs less than a single dinner out.
Paper matters more than pen brand. Thin printer paper buckles under ink and feathers at the edges, which makes clean lines impossible. Choose smooth, heavy paper of at least 120 grams per square meter, labeled for mixed media or marker use. Smooth paper lets the pen glide, while rough paper catches the nib and breaks lines. Calligraphy for beginners uses similar pens and paper, so skills transfer directly between the two crafts. Keep a scrap sheet under your drawing hand to prevent skin oils from smudging fresh ink.
Learn to Love the Line
Ink drawing starts with line quality, which means the character of each mark: its thickness, speed, and confidence. Practice drawing long, smooth lines across a page without stopping. Then practice short, controlled lines for details. Vary your pressure with a brush pen to make lines that swell and taper, and keep fineliner lines steady by moving your whole arm rather than just your fingers. Speed helps more than you might expect: a fast, confident line usually looks better than a slow, trembling one.
Try a line exercise every time you sit down to draw. Fill a small box with parallel lines spaced evenly apart, then fill another box with lines that curve like waves. This warm-up takes five minutes and trains your hand before the real drawing begins. Sketching practice in pencil first can also help, because you can plan the drawing lightly and then commit to ink over the top. Many artists keep the pencil sketch visible as a guide and erase it only after the ink dries completely.
Hatching: Shading With Parallel Lines
Hatching shades a form using parallel lines. Lines placed close together read as dark, while lines spaced far apart read as light. The direction of the lines should follow the form: curved lines around a round apple, straight lines along a flat box. Start with light, widely spaced lines and add more layers only where the shadow deepens. This patient layering is the secret to smooth ink shading, and it works for everything from fruit to faces.
Keep your lines consistent within one area. If you hatch one side of an object with diagonal lines, do not suddenly switch to vertical lines in the same shadow, because the change will look like a mistake. Charcoal shading teaches a similar lesson about consistent stroke direction, and the habit transfers directly to ink. Practice hatching a sphere first: light lines on the lit side, dense lines on the shadow side, and a clean highlight left white. One good sphere teaches you most of what hatching can do.
Cross-Hatching for Deeper Shadows
Cross-hatching adds a second layer of lines at an angle over the first, and it creates darker values faster than hatching alone. A third layer at another angle goes darker still. The classic approach uses two or three directions, but you can use more for very deep shadows. The key is patience: build darkness gradually, and stop before the area turns into a solid black block. Ink shading should keep some paper showing through, because that breathing room keeps the drawing lively.
Cross-hatching also adds texture. Short, layered marks can suggest rough bark, woven cloth, or tousled hair, while long, smooth layers suggest polished metal or calm water. Linocut printing uses a related idea, since carved lines and inked surfaces create bold black-and-white patterns. When cross-hatching, let each layer dry for a few seconds before adding the next, especially with a brush pen, so wet lines do not bleed into each other.
Stippling: Patience That Pays Off
Stippling shades with dots instead of lines. Dots packed closely read as dark, while scattered dots read as light. The technique is slow, but it produces soft gradients that no other ink method can match, and it is very forgiving: a misplaced dot disappears among hundreds of others. Stippling suits subjects with soft textures, like fur, stone, or skin, and it pairs beautifully with line work for outlines and details.
Use a fine pen for stippling, and hold it vertically so every dot is round and consistent. Work in small sections, and step back often to judge the overall value. Beginners often stipple too evenly, which flattens the form, so remember to vary density: dense dots in shadows, sparse dots in light. Colored pencil drawing builds value the same gradual way, layer by layer, and the patience you learn from stippling improves every other medium you try.
Contour Lines and Blind Contour Practice
Contour drawing follows the edges of a subject with a single continuous line, and it trains your eye to move at the same speed as your hand. Blind contour drawing goes further: you draw without looking at the paper at all, only at the subject. The results look strange, but the exercise forces total attention on observation. Ten minutes of blind contour practice before an ink session loosens your hand and sharpens your looking, and it reminds you that ink rewards observation more than perfection.
Avoid Smudges, Bleeds, and Regrets
Smudging is the most common ink frustration, and it is mostly preventable. Work from left to right if you are right-handed, and right to left if you are left-handed, so your hand never rests on wet ink. Let each area dry before shading beside it, and keep a scrap sheet under your palm. If you use a fountain pen or dip pen, wipe the nib gently before starting, because excess ink causes blobs at the start of every line.
When a mistake happens, do not panic. Ink mistakes can become texture, shadow, or part of a pattern. A stray line can turn into a blade of grass, a crack in a wall, or a hatch mark in a shadow. Drawing hands in ink is a great test of this mindset, because hands contain so many small lines that one extra mark never ruins the drawing. If a mistake truly bothers you, white gel pen or gouache can cover small errors cleanly once the ink dries.
Combine Ink With Watercolor
Ink and watercolor are natural partners. Draw the scene in waterproof ink first, let it dry completely, and then wash watercolor over the top. The ink holds the structure while the color adds mood, and the combination looks far more advanced than either medium alone. Use light washes at first, because heavy watercolor can overpower delicate line work. Watercolor techniques pair well here, and gouache painting offers an opaque alternative when you want to correct ink lines with paint.
Test your pen before combining media. Not all black pens are waterproof, and a non-waterproof pen will dissolve into a gray smear under a wet brush. Draw a test line, let it dry for a minute, and brush water over it. If the line stays crisp, the pen is safe. This thirty-second test saves many ruined drawings, and it is worth doing every time you try a new pen brand.
A Simple Weekly Ink Routine
Draw for twenty minutes, three times a week, and rotate your focus. On day one, practice lines and hatching with simple objects like a cup or a leaf. On day two, draw a small scene using only cross-hatching for shade. On day three, try stippling one subject, such as a stone or a piece of fruit. After a month, compare your first and last drawings. The improvement in line confidence will be obvious, because ink makes progress easy to see.
Keep a dedicated ink sketchbook so your experiments stay together. Date each page, and note which pen you used. Over time, you will learn which pens suit your hand and which techniques suit your subjects. Figure drawing in ink is a rewarding next challenge, and anime drawing relies heavily on clean ink lines for its bold, graphic look. Ink drawing rewards anyone willing to commit to the line, so pick up a pen, accept the first wobbly marks, and keep going.


