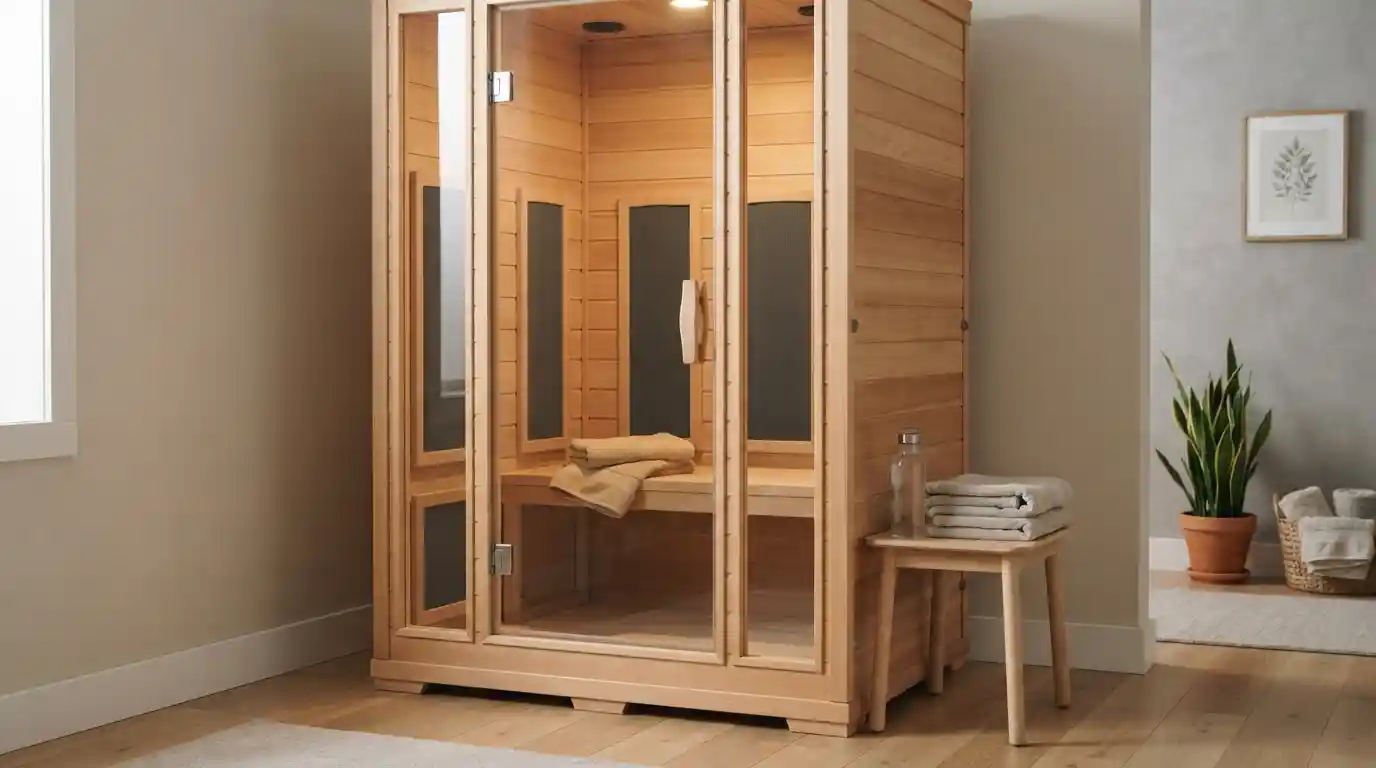
This guide explains how to approach a JNH Lifestyles sauna manual, prepare for assembly, maintain the wooden cabin, use the equipment responsibly, and create a comfortable sauna routine. Because JNH Lifestyles has produced multiple sauna models, always compare the general guidance below with the instructions supplied for your specific model.
Understanding the JNH Lifestyles Sauna Manual
The sauna manual is more than an assembly document. It is a reference for identifying components, understanding connections, positioning panels, operating controls, and maintaining the unit after installation.
Before beginning, read the manual from start to finish. Identify the model number and compare the parts shown in the documentation with everything included in the packaging. This simple step can prevent confusion later, particularly when several panels, cables, fasteners, or heating components look similar.
For another JNH-focused resource, see the JNH Lifestyles sauna manual step-by-step guide.
Prepare Before You Start Assembly
Good preparation makes sauna assembly considerably easier. Choose an indoor location with a stable, level surface and enough clearance to position the panels without obstruction.
Before opening every package, create a clean work area. Keep the manual nearby and organize screws and other hardware so they can be identified easily. A Phillips screwdriver and a flathead screwdriver may be required for some models, while the exact hardware depends on the sauna version.
It is also useful to have another person available. Large sauna panels and glass components can be awkward to lift and position safely, even when the overall assembly system is designed to be straightforward.
Check the Sauna Parts Before Assembly
Most modular infrared sauna designs use several major sections, including a floor or bottom panel, rear and side panels, a front section, a roof panel, seating components, heating elements, a door, and electrical connections.
Do not begin fastening panels immediately. First compare the physical components with the parts diagram in your manual. If a part appears to be missing, damaged, or different from the diagram, resolve the issue before proceeding.
This approach is particularly important for electrical components. Never guess where a cable belongs simply because a connector appears to fit. Follow the wiring diagram and model-specific instructions provided with your unit.
Step-by-Step Approach to Sauna Assembly
1. Position the Bottom Panel
Begin by placing the bottom panel on a clean, dry, level surface. Confirm that the base is stable before adding the walls.
2. Install the Rear Panel
The rear panel generally connects to the bottom section through the sauna’s modular joining system. Align the sections carefully and make sure the connection is secure before moving forward.
3. Add the Side Panels
Attach the left and right panels according to the sequence shown in your manual. Proper alignment is important because even a small positioning problem can make later panel installation more difficult.
4. Connect the Heating Components
Depending on the model, infrared heating elements may be positioned on the rear wall, side walls, or another designated area. Install them only where the manual specifies and connect their cables according to the provided diagram.
Never modify heater wiring or electrical connections as a shortcut. If the configuration does not match your manual, stop and verify the correct instructions for your model.
5. Install the Bench
Once the appropriate support structure is in place, install the sauna bench according to the manual. Check that the seating surface is firmly supported before using the sauna.
6. Attach the Front Section
The front panel normally completes the main cabin structure. Take extra care when positioning the section containing glass because it can be heavier and more difficult to handle than the wooden panels.
7. Position the Roof Panel
Place the top panel carefully and check its alignment on every side. Ventilation openings and electrical components should match the locations shown in the instructions.
8. Install the Door Hardware
Finish the physical assembly by installing the appropriate door handle, knob, hinges, or related hardware supplied with your model. Check that the door opens, closes, and seats correctly before operating the sauna.
Electrical Setup and Safety Considerations
Electrical requirements vary by sauna model, so the manual for your exact unit should always take priority. Before connecting power, inspect the cord, outlet, and visible connections for signs of damage.
A sauna should be connected according to the electrical requirements specified by the manufacturer. Avoid overloaded outlets, unsuitable extension arrangements, or improvised wiring.
If an electrical connection is unclear, professional assistance is safer than experimentation. The goal is not simply to make the sauna turn on; it is to ensure that the equipment is installed and powered correctly.
How to Maintain a JNH Lifestyles Sauna
Regular maintenance helps keep the cabin clean and comfortable while protecting its wooden surfaces. One of the easiest habits is to use towels on the bench and floor during sauna sessions.
Towels help reduce the amount of sweat that reaches the wood. After a session, remove damp towels rather than leaving them inside the cabin.
JNH Lifestyles’ maintenance guidance also emphasizes ventilation and wiping moisture from the wood rather than allowing it to remain on the surface.
Keep the Interior Dry
After using the sauna, leave the door open for a period of time so residual moisture can escape. This is especially useful after a session in which considerable perspiration has accumulated.
If moisture reaches the wooden surfaces, wipe it away with a lightly dampened cloth. Avoid saturating the wood with water.
Clean the Wooden Surfaces Carefully
Wooden sauna interiors require a different approach from ordinary household furniture. Avoid harsh cleaning products unless your specific manufacturer instructions recommend them.
For routine cleaning, use a soft cloth and follow the maintenance instructions supplied for your sauna. JNH Lifestyles advises against treating its sauna wood structure with stains or other finishes and recommends avoiding chemical cleaners on the wood.
Keep the Floor Free of Dirt
Regularly sweep or vacuum the sauna floor to remove dust, hair, and other loose particles. A clean floor contributes to a more pleasant environment and reduces the amount of debris that can accumulate inside the cabin.
Clean the Glass Separately
The glass door and windows can generally be cleaned separately from the unfinished wooden surfaces. Apply an appropriate glass-cleaning product to a cloth rather than spraying liquid directly toward the surrounding wood.
Creating a Better Sauna Experience
Assembly and maintenance are only part of owning a sauna. The environment around the sauna can also influence how enjoyable each session feels.
Keep the area around the unit organized and free from unnecessary clutter. A nearby place for towels, drinking water, and personal items can make the routine more convenient.
If you are building a broader wellness-focused home environment, you may also enjoy reading about healthy home cleaning services and maintaining a fresh living space.
For people interested in general wellness topics, the Max Health Bradenton wellness guide provides another health-related resource.
Sauna Towels, Seating, and Comfort
A towel placed on the bench can reduce direct contact between perspiration and the wood. Another towel on the floor can help catch moisture and debris from your feet.
Comfort also depends on keeping the cabin clean between sessions. Removing wet towels promptly and allowing the interior to ventilate can make the next session more pleasant.
Small lifestyle improvements can complement a home wellness routine. For example, a comfortable home environment can benefit from thoughtful choices in other areas of the living space, in