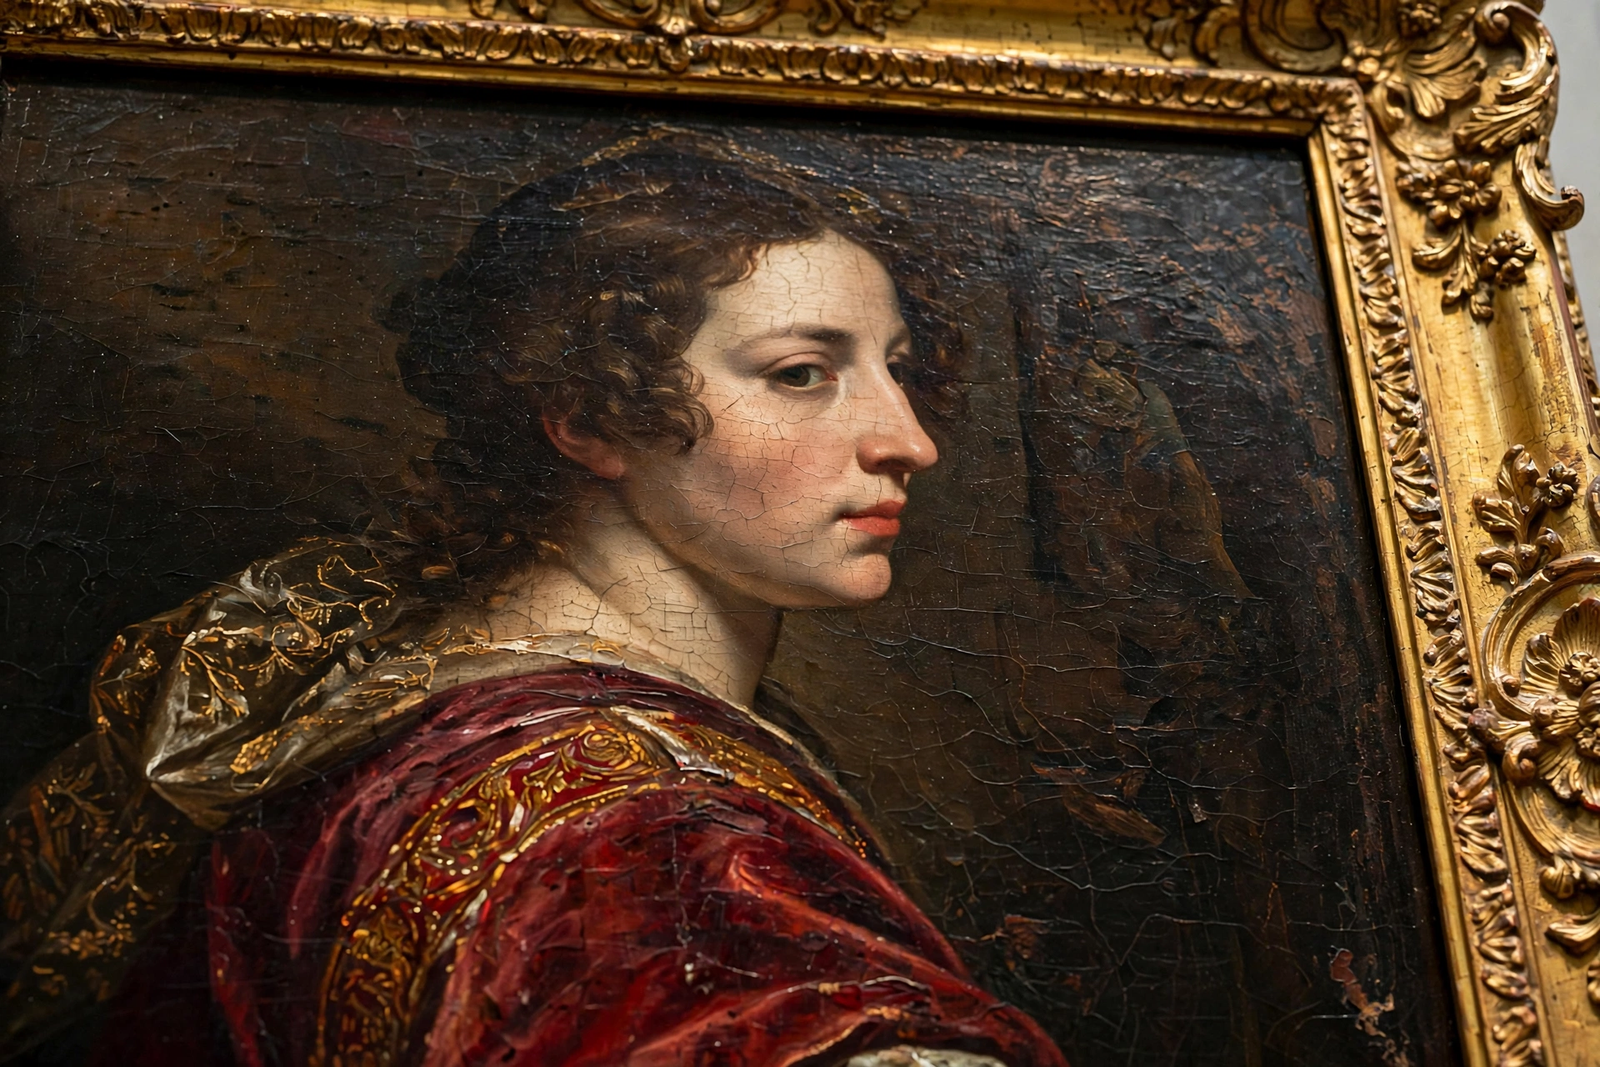
Oil painting has captivated artists for over 600 years — and in 2026, it is enjoying a remarkable renaissance. Sales of oil painting supplies are climbing, adult beginner classes are booked out across the United States, and social media is full of mesmerizing time-lapse videos of portraits emerging from blank canvas. Like other forms of traditional craftsmanship, oil painting rewards patience with results no other medium can match. Here are the essential oil painting techniques every beginner should know.
1. Gather the Right Materials First
You do not need the most expensive supplies, but you do need the right ones. Start with a limited palette of artist-grade paints (titanium white, cadmium yellow, alizarin crimson, ultramarine blue, burnt umber), a few hog-bristle brushes in varied shapes, odorless mineral spirits, linseed oil, and primed canvas panels — panels are cheaper than stretched canvas while you are learning.
Brushes and Surfaces Matter More Than You Think
Cheap brushes shed bristles into wet paint and ruin the experience. Invest in mid-range brushes and clean them properly after every session. For structured learning, pick up a couple of well-reviewed art instruction books — the fundamentals have not changed in centuries, and a good book is a patient teacher.
2. Understand “Fat Over Lean”
This is the golden rule of oil painting: each successive layer must contain more oil (“fat”) than the one beneath it (“lean”). Paint thinned with solvent goes first; paint mixed with oil goes last. Break this rule and your painting can crack as it dries. Write it on a sticky note above your easel until it becomes instinct.
3. Try Alla Prima (Wet-on-Wet)
Alla prima means finishing a painting in a single session, working wet paint into wet paint. It is the most forgiving way to start because there is no waiting between layers. Work from thin dark washes toward thick light highlights, blend directly on the canvas, and embrace happy accidents — this technique built the Impressionist movement.
4. Learn Glazing for Luminous Color
Glazing means applying thin, transparent layers of paint over dry underlayers. Light passes through the glaze, bounces off the layer beneath, and returns to your eye — creating a glow that opaque paint cannot achieve. Old Masters used glazing for skin tones and deep shadows. Let each layer dry completely (several days) before glazing over it.
5. Master Color Mixing
Beginners buy too many paint tubes; experienced painters mix everything from a handful of colors. Practice mixing a full color wheel from just red, yellow, blue, and white. Learn to mix clean secondary colors, muted earth tones, and convincing grays. This single skill will improve your paintings more than any new brush.
6. Vary Your Brushwork
Monotonous brushwork makes paintings feel flat. Experiment: drag a dry brush for texture, use a palette knife for bold impasto, soften edges with a clean dry brush. Study how the old masters varied their touch — tight and smooth in faces, loose and energetic in backgrounds. Your brushwork is your handwriting; develop it deliberately.
7. Explore Different Subjects
Still lifes teach you observation, landscapes teach you atmosphere, and portraits teach you everything at once. Do not overlook playful subjects either — painting fan art of beloved characters is a legitimate way to practice form, color, and likeness while staying motivated. The best subject is the one that keeps you painting.
8. Varnish and Protect Your Work
Wait at least six months for the paint to cure, then apply a removable varnish. Varnish deepens colors, unifies the surface sheen, and protects against dust and UV. Use a varnish designed for oils, apply it in a dust-free space, and your painting will look rich for generations.
Bonus: Setting Up a Beginner-Friendly Studio Space
You do not need a dedicated art studio to start oil painting — a corner of a well-ventilated room works perfectly. Cover your table with a washable drop cloth, position your easel near a north-facing window for consistent indirect light, and keep a small trash bin nearby for used paper towels. Store solvents in sealed containers away from heat, and always ventilate: crack a window or run a small fan. A comfortable, organized corner removes every excuse not to paint, and in 2026 that is half the battle.
Common Oil Painting Mistakes to Avoid
Painting too thickly too soon, using black straight from the tube for shadows (mix chromatic darks instead), neglecting to clean brushes, and working in poor light top the list. Also resist the urge to overblend — beginners often blend the life out of their colors. Step back frequently; a painting reads differently from six feet away.
These oil painting techniques are the foundation everything else builds on. Start with alla prima sketches, graduate to layered glazing, and soon you will be creating work worthy of abstract art galleries — or at least a proud spot in a home gallery wall displaying your paintings. The medium is slow, and that is exactly its gift.